
You’ll want to pick the right snow tire chains, fit them correctly, and know how to drive with them so you stay safe and avoid damage to your car. This guide walks you through measuring tire size, choosing chain type, which wheels to outfit, and step‑by‑step installation and tensioning. You’ll also learn maintenance, legal tips, and simple roadside fixes — and there’s a critical installation detail most drivers miss that you’ll want to see next.
Choosing the Right Chain Type for Your Tires
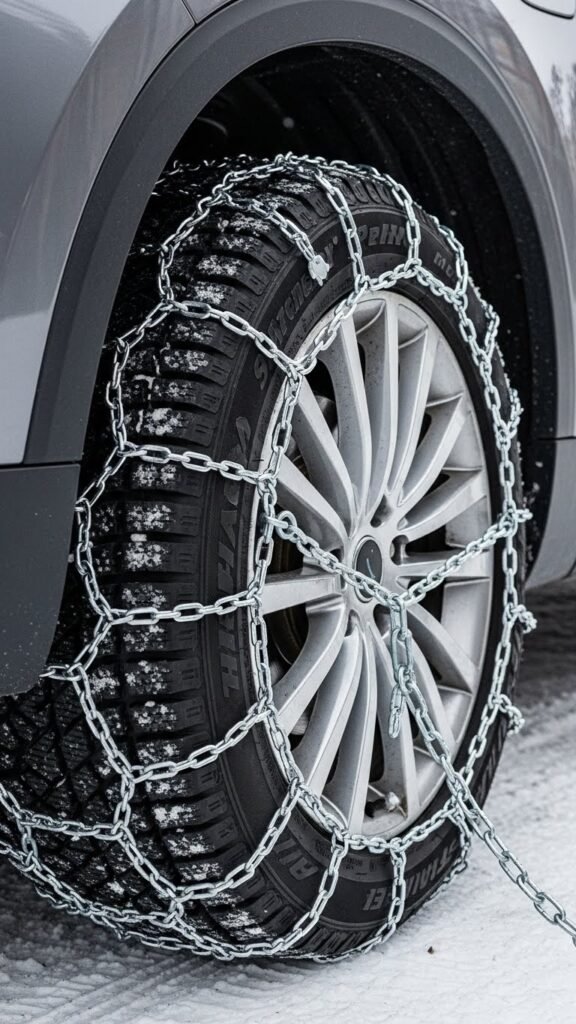
When choosing tire chains, start by matching the chain type to your tire size, vehicle drive (front, rear, or all-wheel), and the conditions you’ll face—snow, ice, or mixed winter roads.
You’ll pick between cable, link, or composite designs; check material compatibility with rims and electronic sensors. Consider chain aesthetics only if you want style.
Install practice saves time and keeps you free on winter roads.
How to Measure Tire Size for Correct Chain Fit
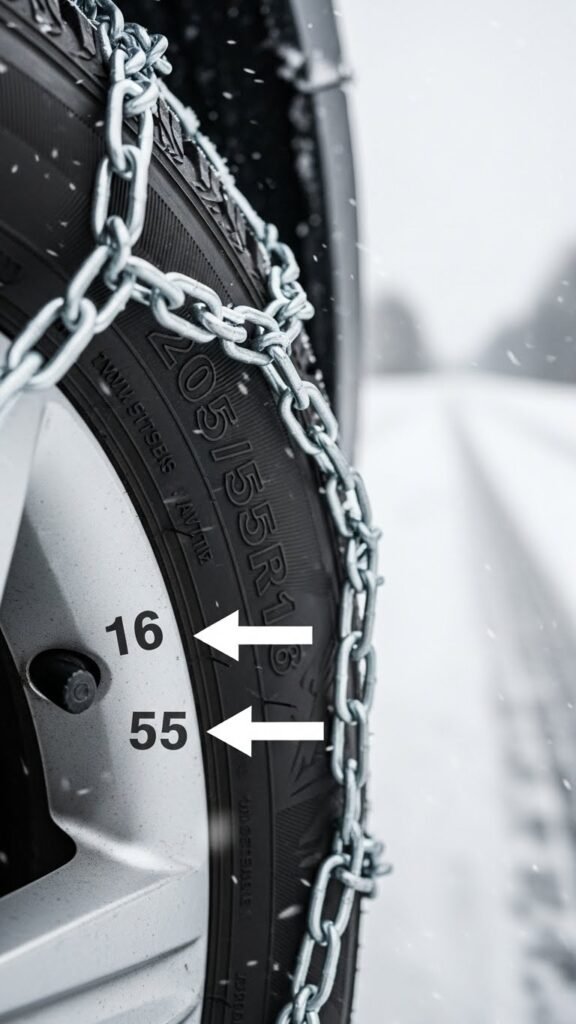
Start by reading the sidewall of your tire—that string of numbers and letters (for example 205/55R16) gives the exact size you need to match to chains.
Note rim diameter and sidewall height from that code; rim diameter is the final number, sidewall height is the percentage in the middle. Use those figures when selecting chains so they fit snugly and let you drive confidently.
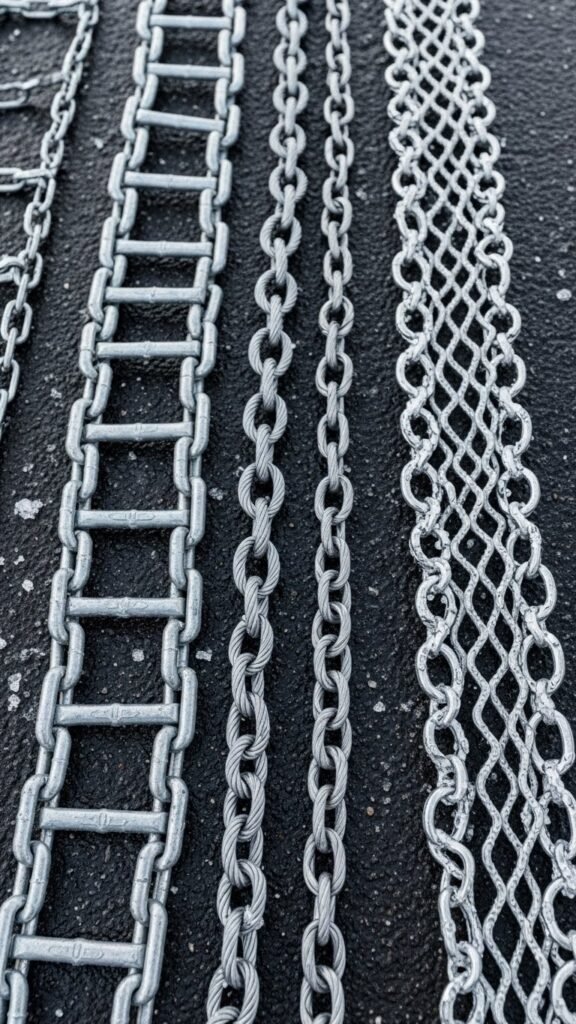
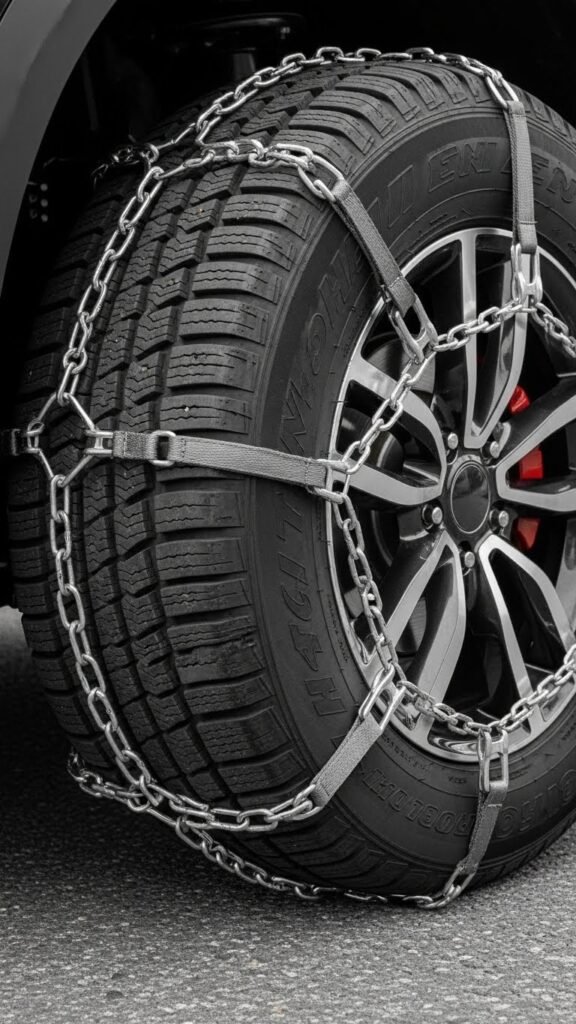
Comparing Cable Chains, Ladder Chains, and Diamond Chains
To choose the right tire traction aid, you’ll want to compare cable chains, ladder chains, and diamond-pattern chains on three practical points: traction performance, installation complexity, and road compatibility. You’ll find cable chains offer light traction and easy fit, ladder chains give rugged bite but higher installation complexity, and diamond-pattern chains balance grip and smoother ride — pick by your driving freedom needs.
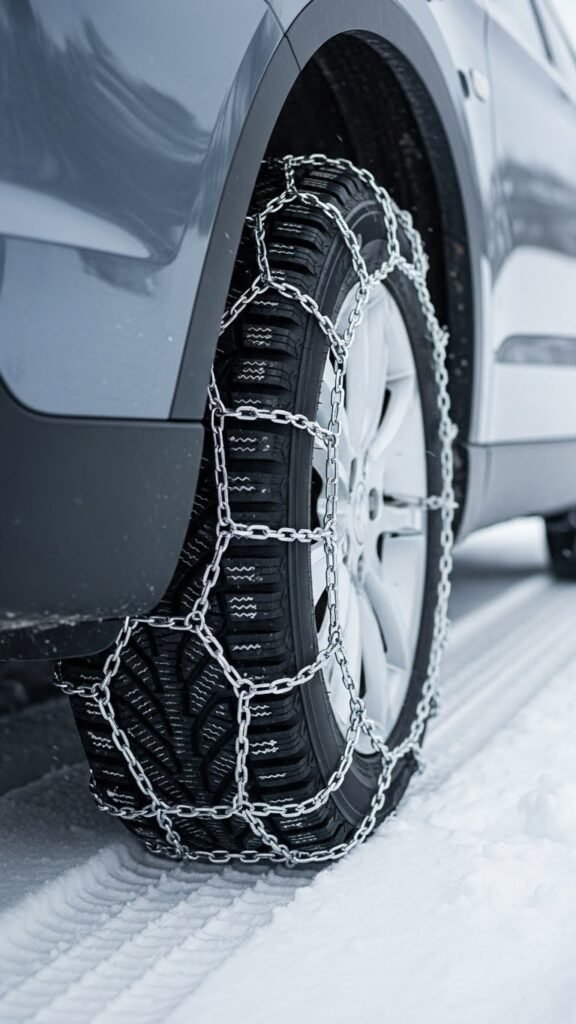
Selecting Chains for Different Snow and Ice Conditions
Having weighed the trade-offs between cable, ladder, and diamond-pattern chains, you’ll next match chain types to the specific snow and ice conditions you expect to face.
Choose chain materials for durability in deep snow or corrosive road salt. Prefer tight diamond grip patterns for icy, packed roads and ladder styles for heavy, loose snow.
Balance traction needs with ease of installation and vehicle clearance.
Checking Local Chain Laws and Mountain Pass Requirements
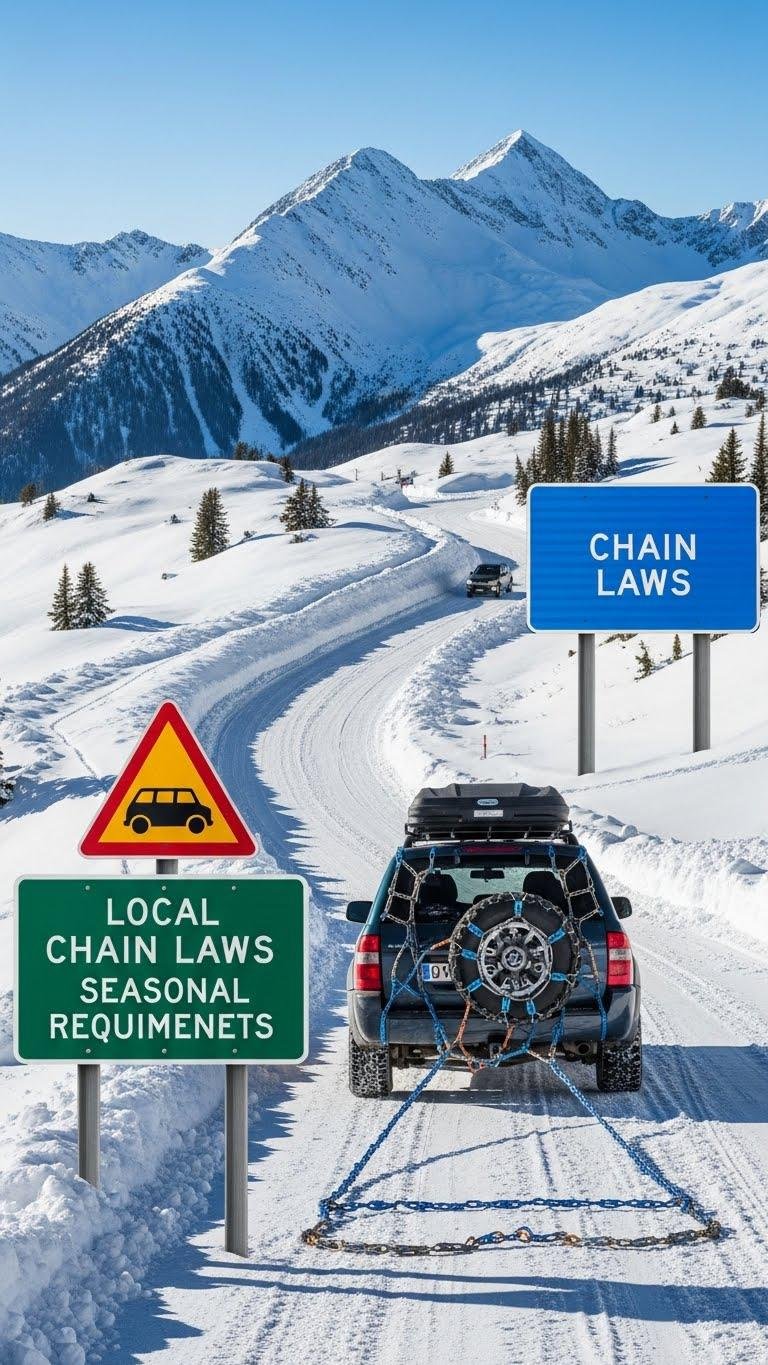
When you plan a winter trip through mountain passes, check local chain laws and seasonal requirements before you leave; agencies often require specific chain types, tire tread depths, or even traction devices for one- or both-axle drive vehicles. Contact county regulations offices or DOT sites, note seasonal restrictions, and carry compliant chains. You’ll avoid fines, delays, and risky detours by confirming rules for each pass.
Preparing a Safe Installation Area and Emergency Gear
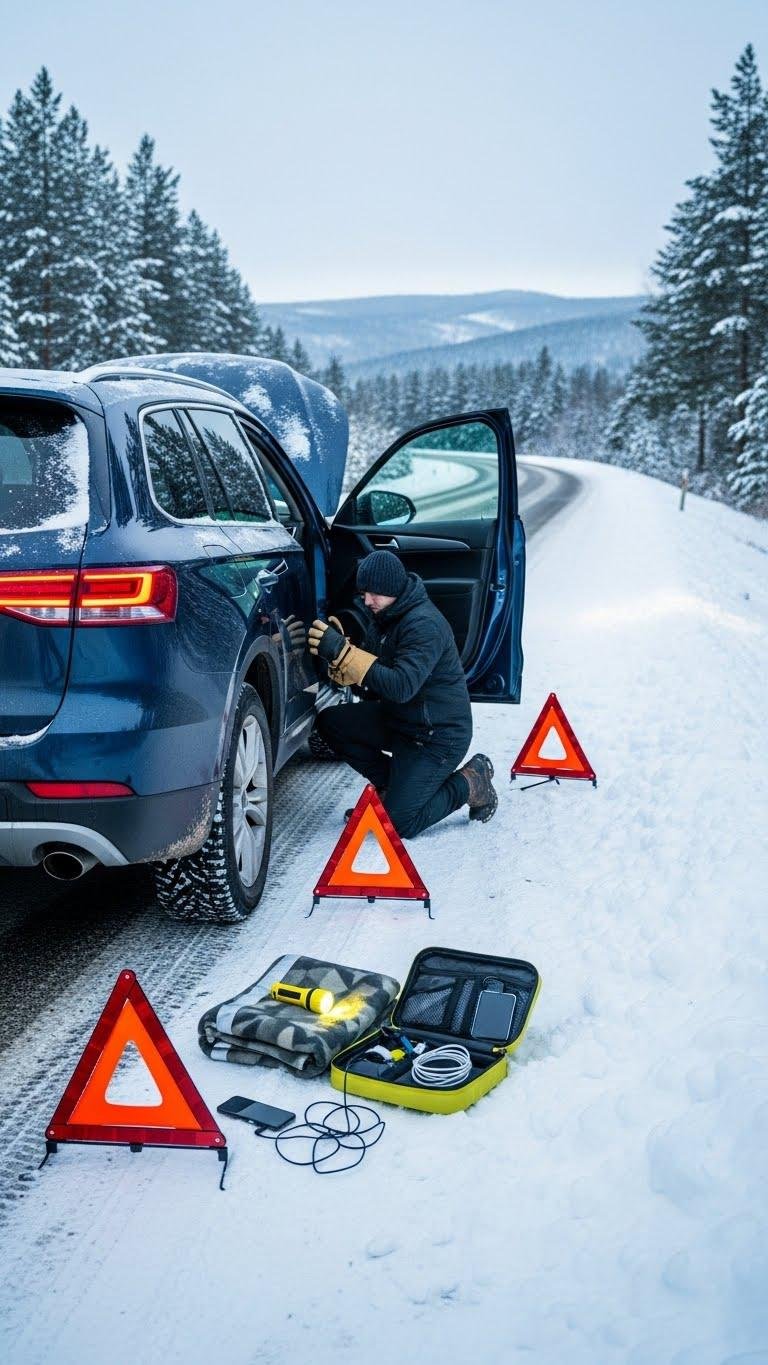
After you confirm local chain laws and pack the right gear, pick a safe, level spot well off the road where you can work without passing traffic or drifting snow; angle your vehicle so the downhill side is away from traffic and engage the parking brake.
Create a designated workspace with warning triangles, wear gloves, and keep an emergency kit nearby with blankets, flashlight, and a phone charger.
Tools and Accessories to Carry for Chain Installation
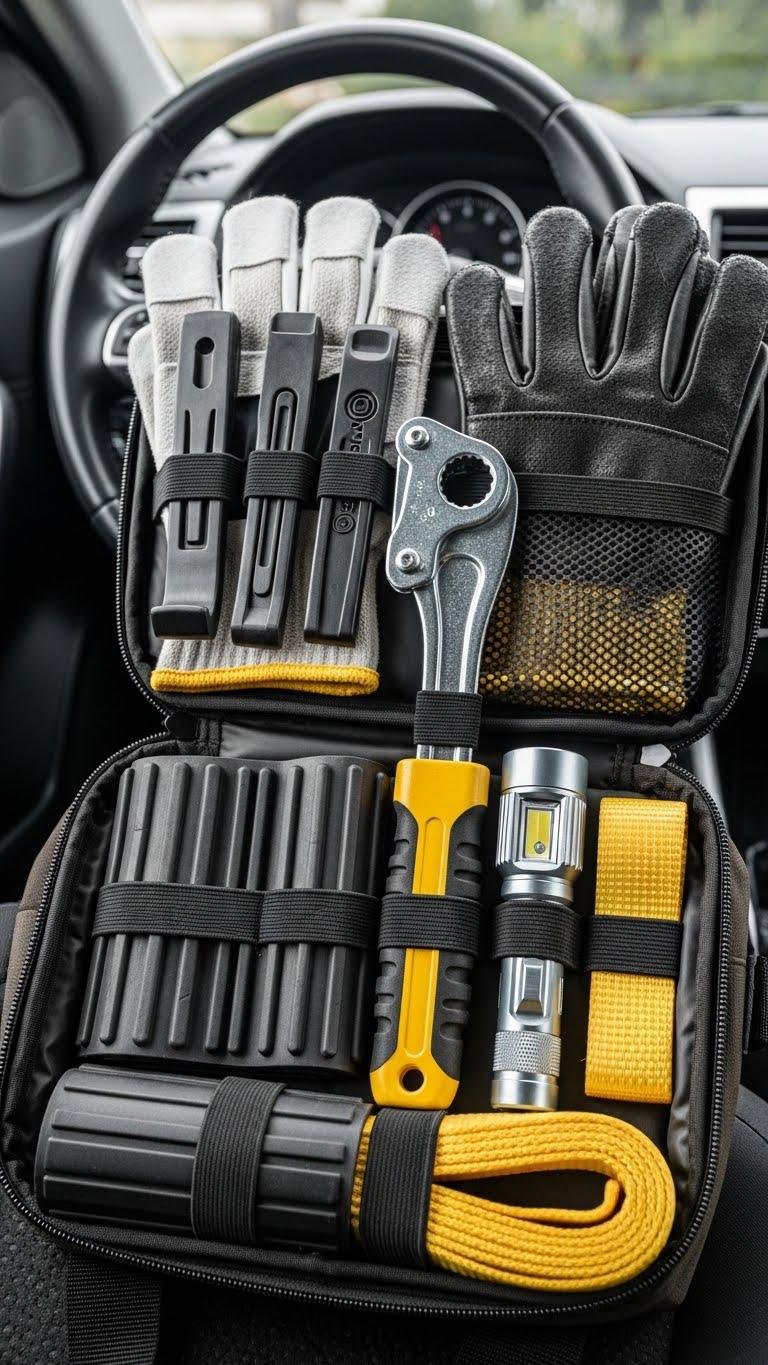
Because a smooth chain installation depends on preparation, pack a compact kit of tools and accessories you can reach from the driver’s seat. Include installation gloves and spare glove selection for warmth and dexterity, a durable carry bag, tire levers, a tensioning tool, and a bright flashlight.
Add a traction mat and basic tow strap so you can regain momentum and keep moving.
Practicing Chain Installation Before You Need Them

Regularly practicing chain installation in a dry, safe area lets you install them quickly and correctly when conditions turn bad.
You should do timed practice installs until you can fit chains confidently. Pack labeled bags, gloves, and a mat for cold weather storage and rehearsals. Practice prevents fumbling roadside, builds muscle memory, and lets you maintain freedom to travel safely in winter.
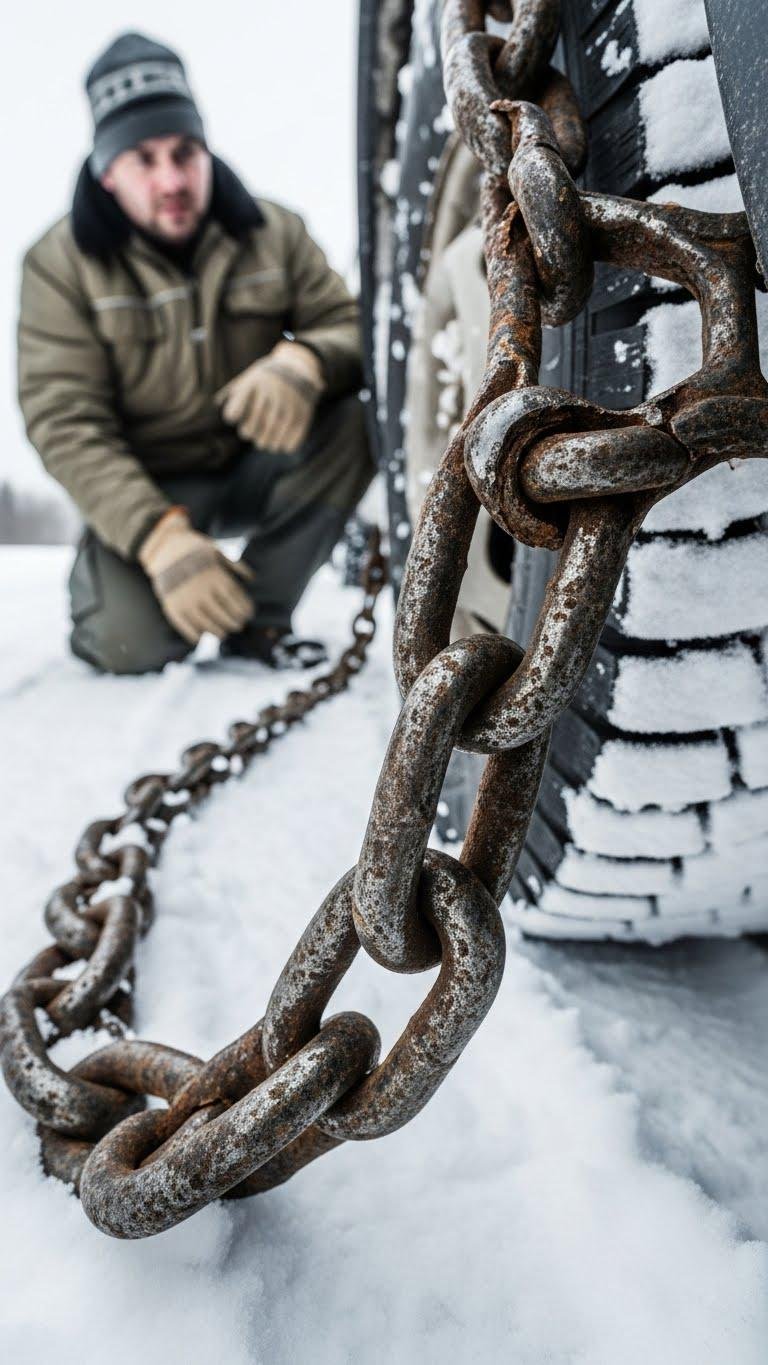
Inspecting Chains for Wear, Rust, and Damage
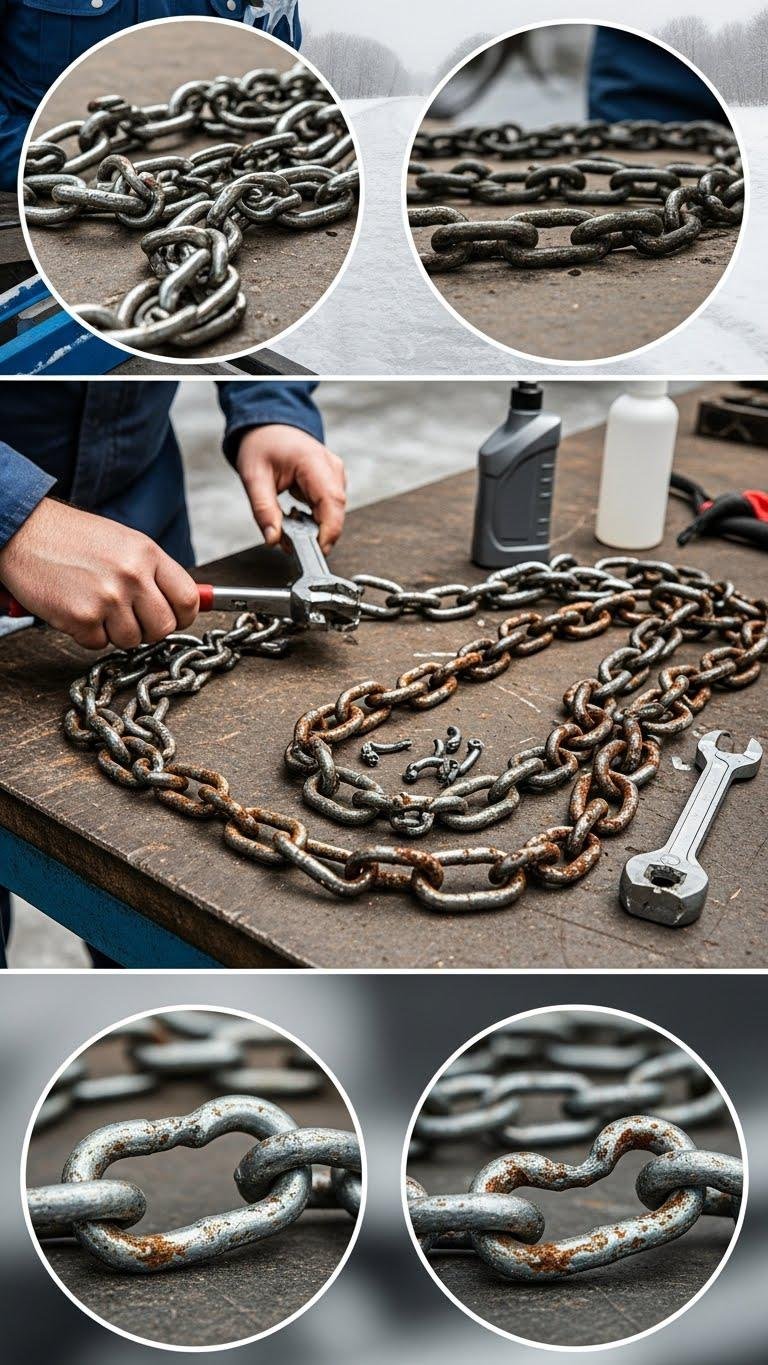
Start each season by closely inspecting your chains for wear, rust, broken links, or missing components so you know they’re safe before you need them.
Check cross chains, connectors, and tensioners for deformities. Remove rust, replace damaged links, and note weak spots.
After cleaning, perform a spring inspection and apply chain lubrication to prevent corrosion. Store chains dry and ready for freedom on icy roads.
Laying Out Chains Correctly Before Mounting
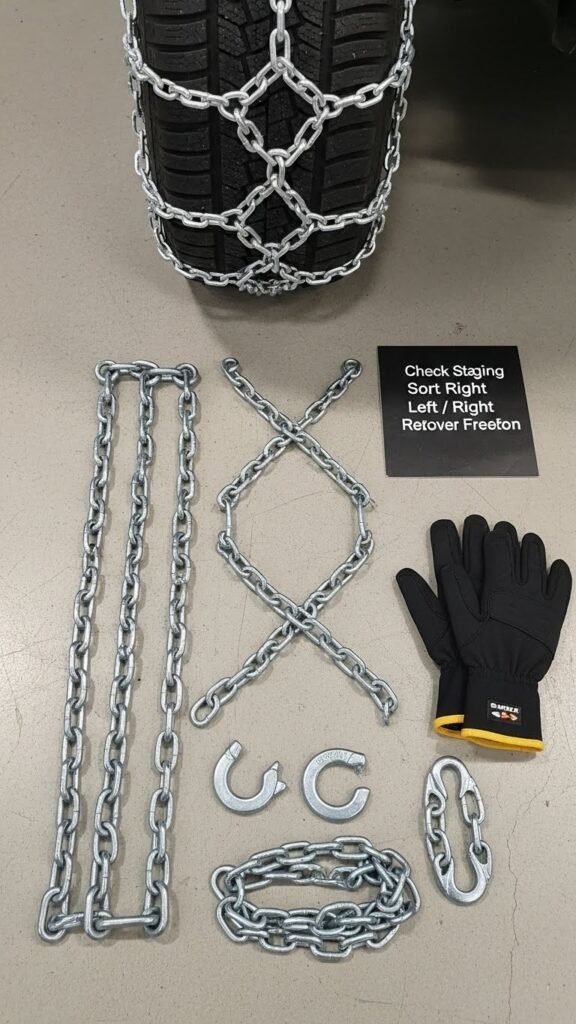
Before you mount the chains, spread them on level ground beside the tire so you can see every link and connector clearly. Check orientation, lay out the cross chains flat, and confirm hooks and fasteners face outward. Use a pre staging layout to sort left/right sets, remove tangles, and wear weather ready gloves to keep dexterity and freedom while preparing for quick, confident mounting.
Positioning Chains Over the Tire Without Twists

Now that you’ve laid the chains out and checked orientation, place the loose end over the top of the tire and let the remainder hang down behind it so the cross chains fall evenly across the tread.
Keep chains centered, check wheel alignment visually, and smooth any twists by hand.
Use light chain lubrication on joints to ease movement and preserve freedom of motion.
Securing Inner Connectors and Fastening Properly

Once the loose end’s hanging straight, reach behind the tire and connect the inner side links first so the chain seats snugly against the wheel, and make sure each inner connector is fully engaged before you move to the outside.
You’ll take up inner slack methodically, inspect for connector corrosion, and adjust until links sit flat and secure, giving you confident freedom on icy roads.
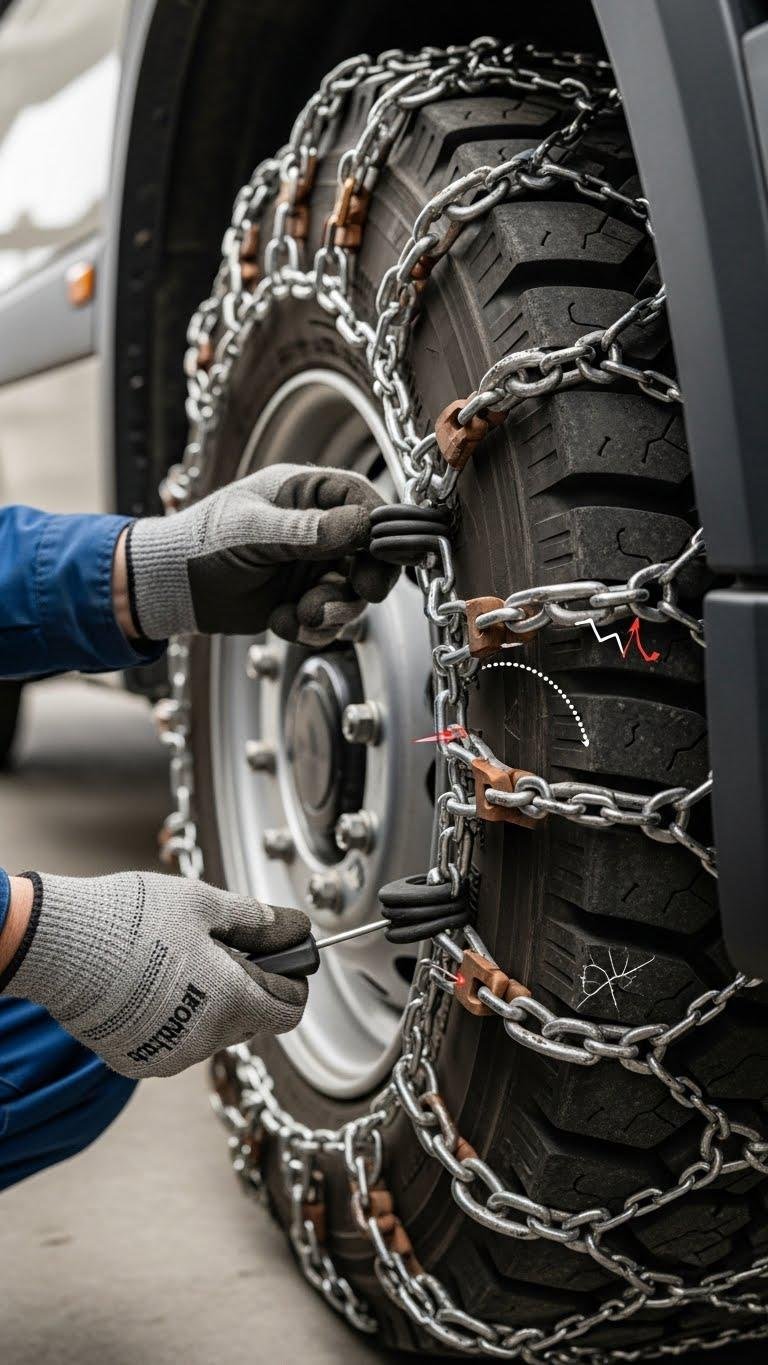
Attaching Outer Connectors and Tightening Straps
After you’ve secured the inner links and removed slack, swing the loose ends over the tire and hook the outer connectors, starting at the valve stem area so you can evenly distribute tension around the rim.
Check connector alignment, then pull straps snug for consistent outer tightening.
Work clockwise, inspect every junction, and make firm but even adjustments so chains sit centered and ready for the road.
Using Tensioners and Rubber Adjusters Effectively
Frequently check the fit of tensioners and rubber adjusters as you finish installing chains, because they keep the assembly tight and centered while you drive. You’ll verify tensioner alignment visually and by hand, ensuring even pressure around the tire.
Inspect rubber maintenance points for cracks or hardening, replace worn pieces, and route adjusters per instructions so chains stay secure without binding or slipping.
Moving the Vehicle to Seat Chains and Retightening
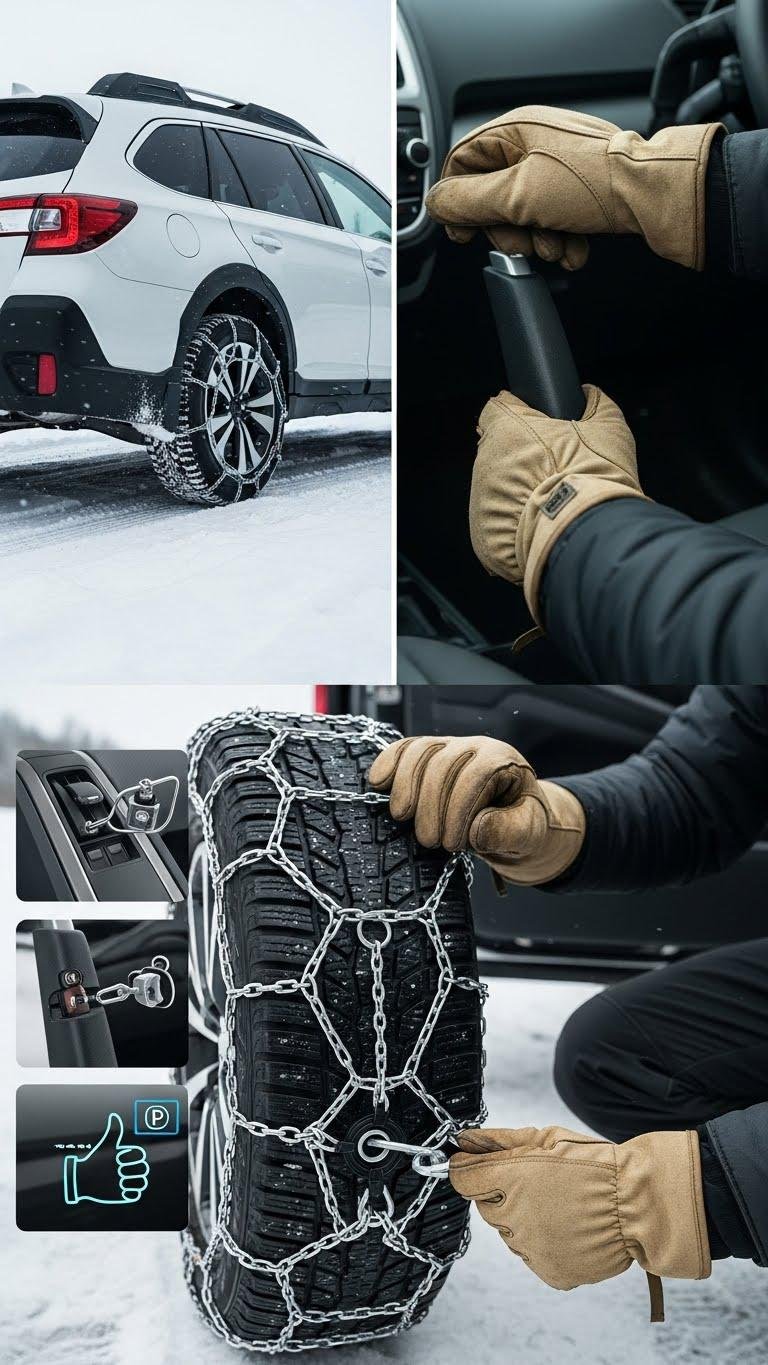
Drive forward or back a short distance to seat the chains so they settle evenly across the tread, then stop and apply the parking brake before you retighten.
You’ll perform seat relocation by checking alignment, then release tensioners, adjust links for even coverage, and complete chain re tensioning firmly but without over-stressing components.
Inspect again, confirm snug fit, and only then resume your route.
Safe Driving Speeds and Handling With Chains Installed

When you’ve got chains on, slow down and keep your speed steady—chains change braking, steering, and stopping distances, so stick to the manufacturer’s recommended maximum (usually 30 mph/50 km/h or less) and reduce speed on curves, hills, and slippery patches.
You’ll use reduced speeds and gentle braking, steer smoothly, avoid sudden lane changes, and relax inputs to maintain control and freedom on winter roads.
Emergency Repairs: Fixing Broken Links or Connectors
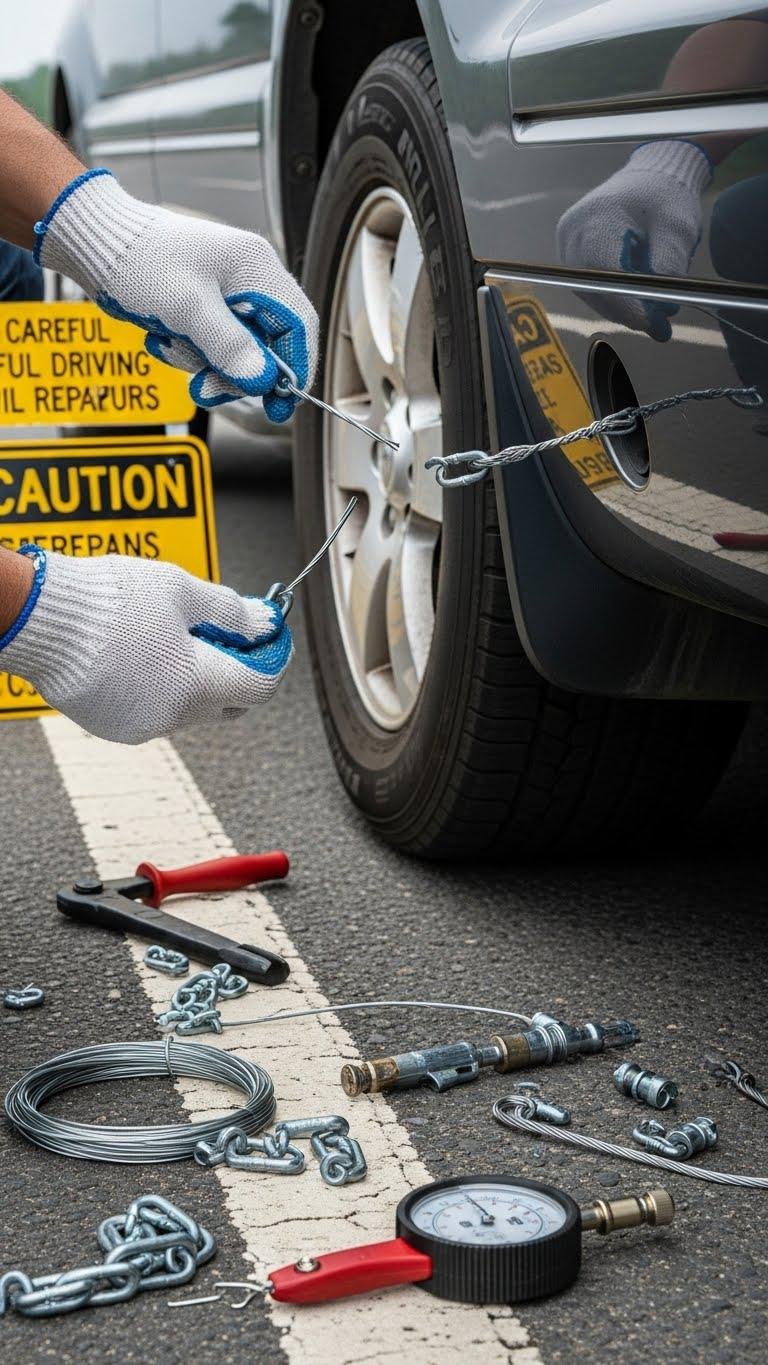
Act quickly but safely if a link or connector breaks while you’re on the road—secure the vehicle, put on gloves, and assess the damage before you do anything else.
You can make temporary repairs using spare links, wire, or improvised connectors to restore integrity. Tighten and test tension slowly, drive cautiously to reach a proper repair, and avoid high speeds until chains are permanently fixed.
Proper Cleaning and Drying After Use
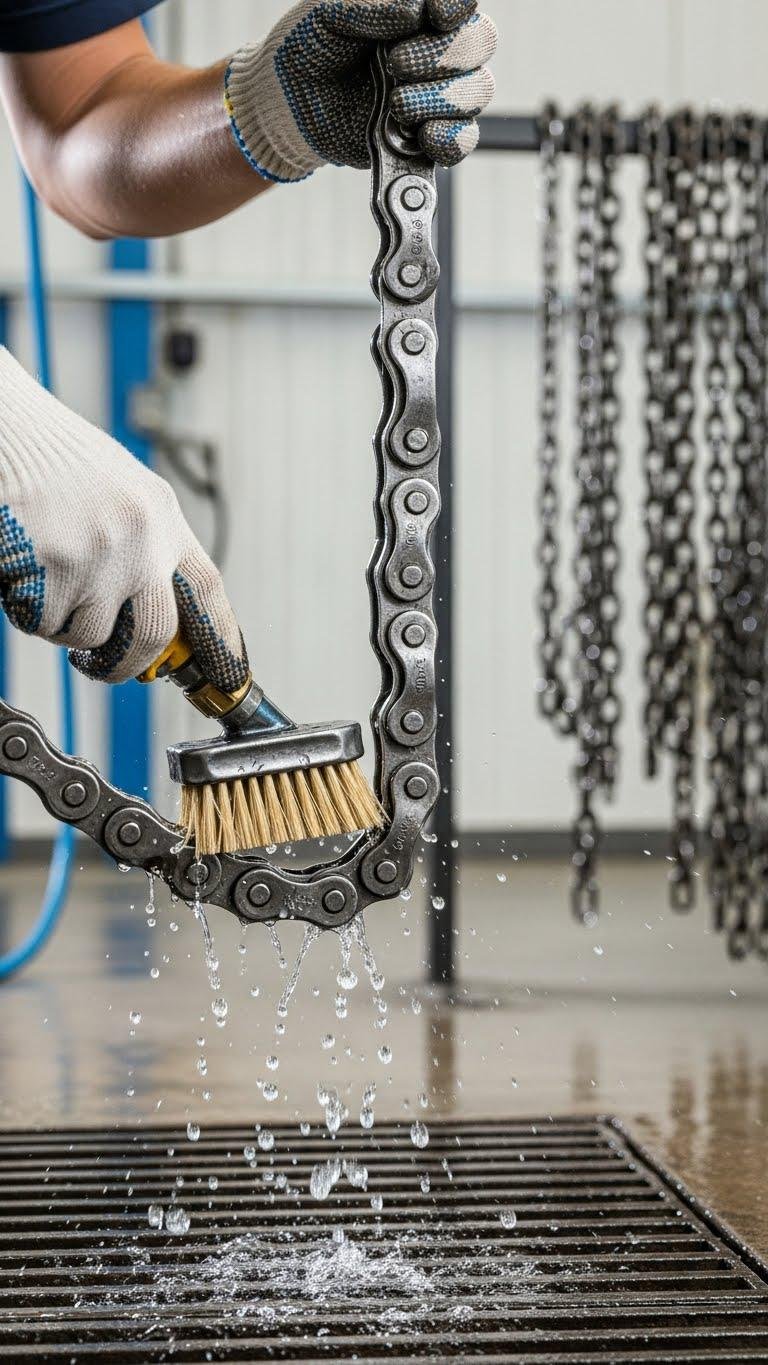
After you take the chains off your vehicle, clean them promptly to remove salt, grit, and road debris that can cause corrosion and wear; use a stiff brush and a hose or bucket of water to scrub each link, paying special attention to joints and tensioning hardware.
Do a post use inspection, rinse thoroughly, guarantee complete moisture removal, and let links dry in open air before packing.
Storing Chains and Keeping Spare Parts Accessible

When you’re done cleaning and drying your chains, store them in a cool, dry place away from direct sunlight and chemicals to prevent rust and rubber degradation; coil them loosely or place them in their original bag or a padded container so links and tensioners aren’t crushed or tangled.
Label containers for Winter storage, keep a small kit with spare links, gloves, and tools for Spare organization so you’re ready to move.
When to Replace Chains and Recognize End of Life
Although you can often repair minor damage, you should retire chains once wear, broken links, stretched components, or severely corroded metal compromise their fit or strength; using compromised chains risks failure and damage to your vehicle.
Inspect regularly for chain lifespan limits, missing links, uneven wear, excessive elongation, or rust.
Those replacement indicators tell you to replace chains to stay safe and free on winter roads.