
When winter hits, you’ll want a clear, safe path without wrecking your driveway or plants, so start with smart timing, the right deicer, and simple tools that cut effort and damage. I’ll show practical steps—from making a brine to choosing calcium or gentler options, using handheld spreaders, adding traction, and protecting pets and concrete—so you can pick what fits your yard and climate and avoid costly mistakes, plus a few pro tricks that most people miss.
Pre-Treat With Homemade Brine Before a Storm
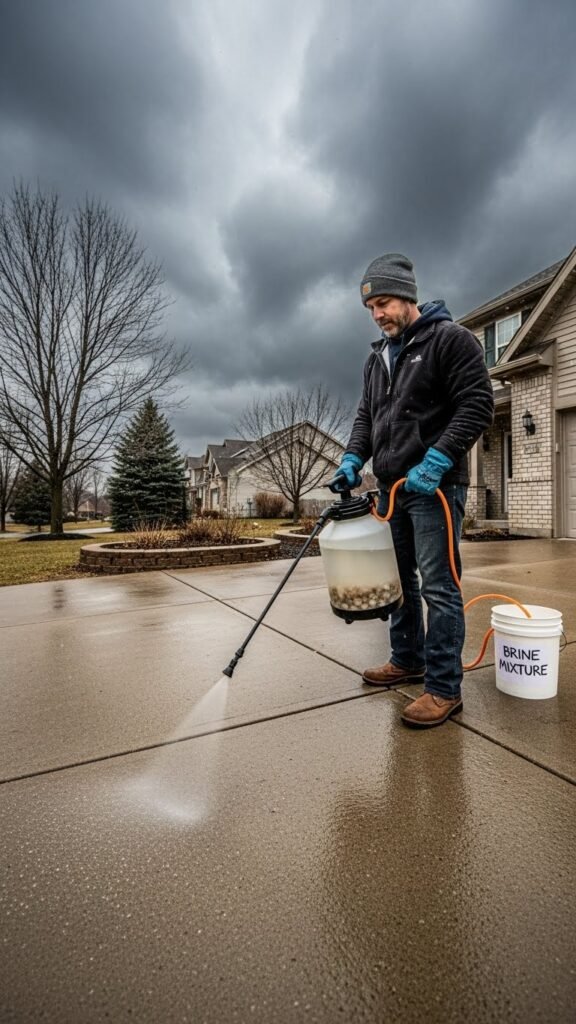
If you know a storm’s coming, pre-treating your driveway with a homemade brine can keep ice from bonding to the pavement so shoveling and salting afterward are much easier.
You’ll mix water and salt, respecting brine chemistry ratios, apply evenly, and note temperature limits for storm readiness.
You’ll save effort, preserve freedom to move, and reduce repeat treatments with timely, careful prep.
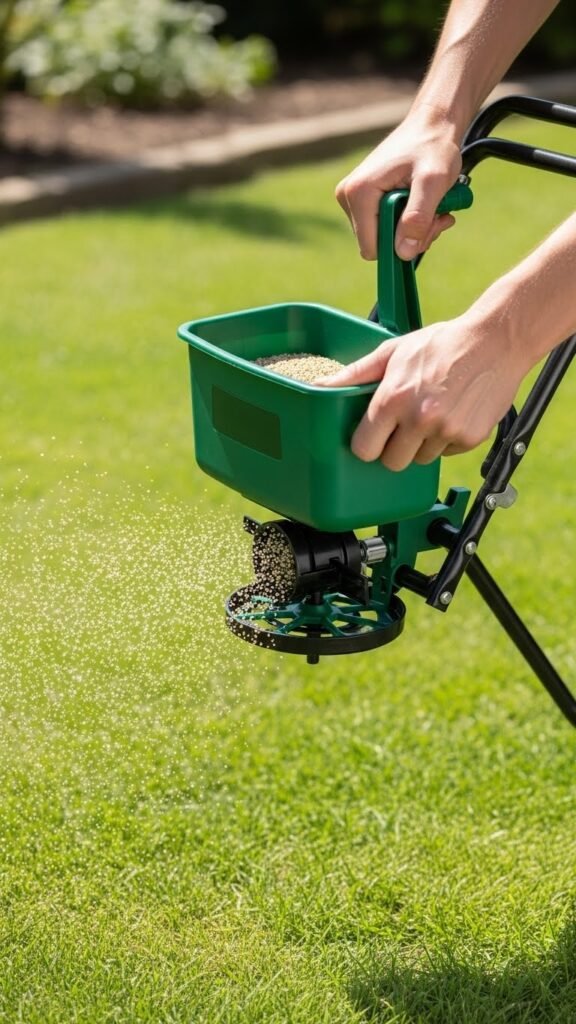
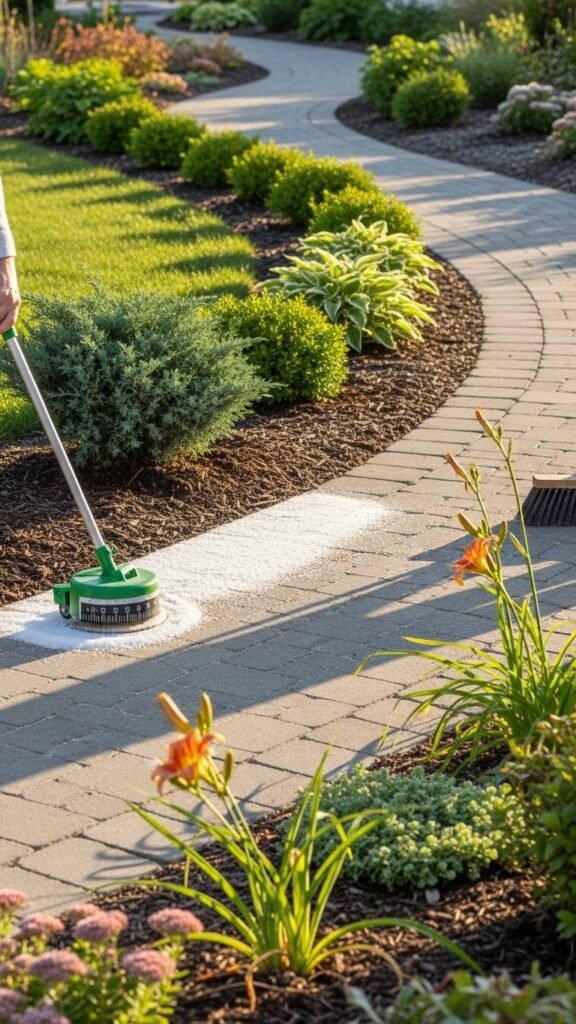
Use a Handheld Spreader for Even Coverage
Choose Calcium Chloride for Extreme Cold

Often you’ll find calcium chloride outperforms other deicers when temperatures plunge, because it works at much lower temps and melts ice faster with less product.
You’ll appreciate its superior cold tolerance for remote or long winters, letting you clear paths with fewer applications. Use it sparingly, monitor for chloride toxicity near plants and concrete, and balance safety with freedom to move.
Mix Sand With Salt for Better Traction
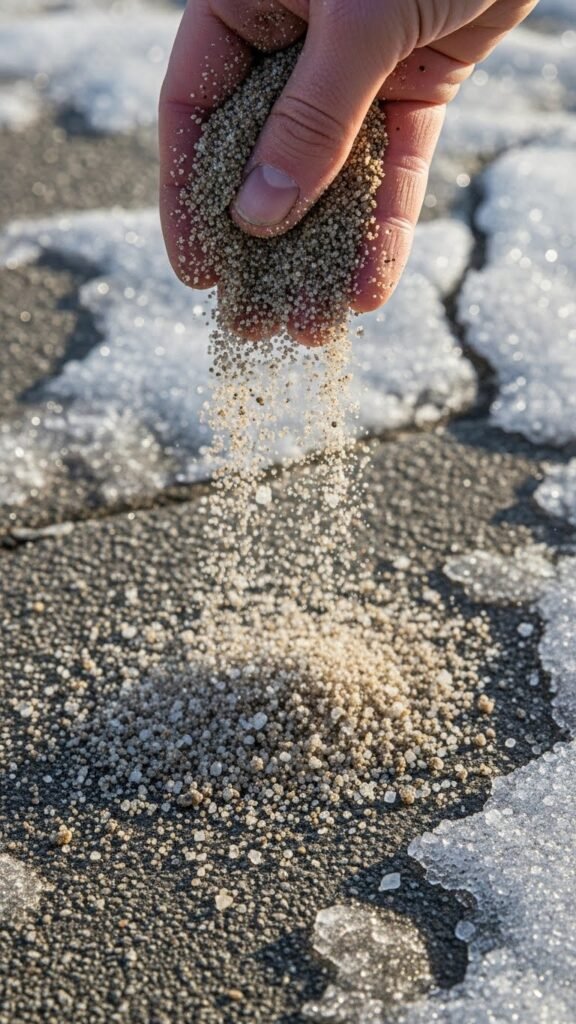
A handful of sand mixed with salt gives you traction where melting alone can’t help, and you’ll notice safer footing on slopes and entryways right away.
You can control traction enhancement by adjusting sand ratios — try one part sand to two parts salt for icy spots, more sand where melting is minimal.
Carry a scoop, spread evenly, and reclaim confident, independent movement.
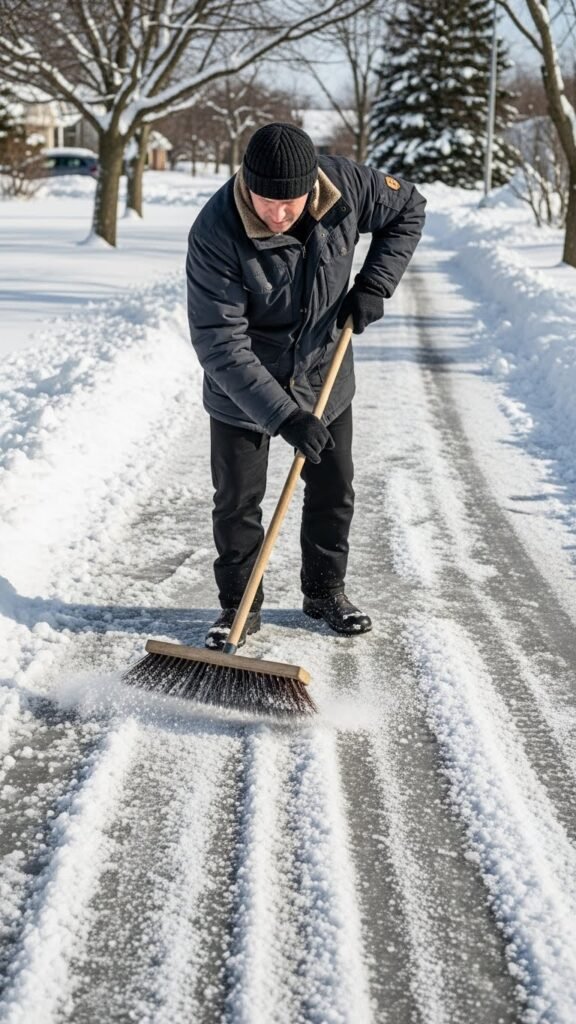
Apply Salt After Shoveling, Not Before
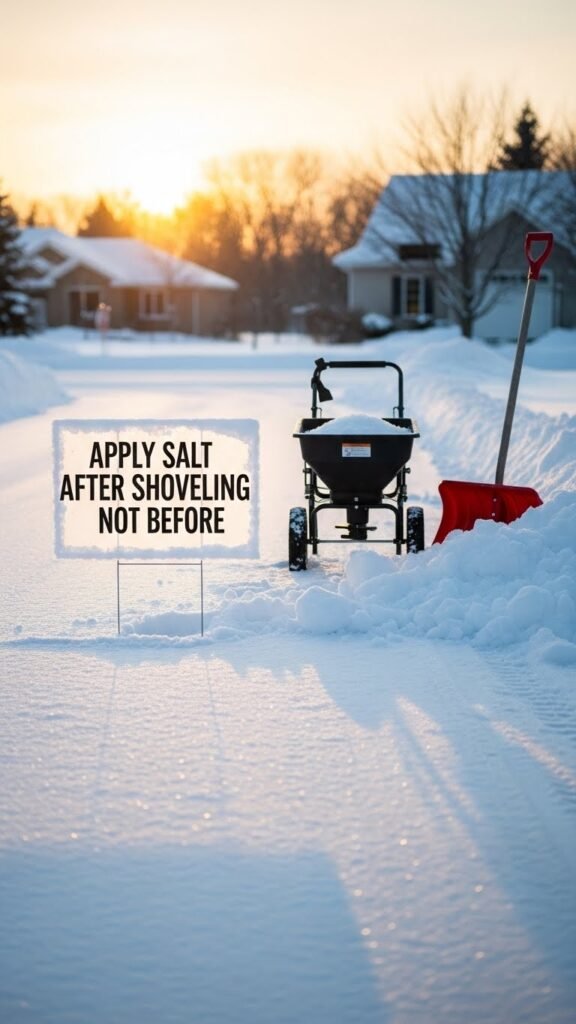
Because salt works best when it can contact the ice, you should shovel first and only spread salt once most loose snow and slush are cleared; doing it the other way wastes product, slows melting, and creates a refreeze hazard.
After clearing, focus on post shovel timing and surface temperature monitoring so you apply just enough salt, conserve resources, and maintain safe, free movement.
Rinse Metal Spreaders to Prevent Corrosion
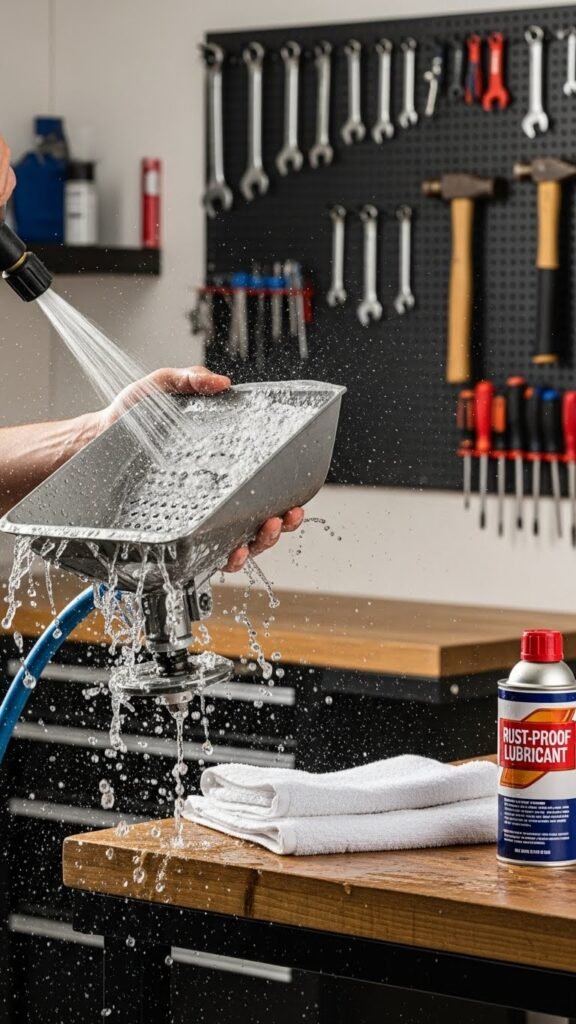
After you finish spreading, rinse metal spreaders with clean water to remove salt residue and grit that speed corrosion; doing this right away saves you time and prevents pitted parts and seized mechanisms later.
Wipe dry, open moving parts, and spray a light lubricant for rust prevention. Regular tool maintenance keeps your gear reliable so you’re free to move safely without equipment failures.
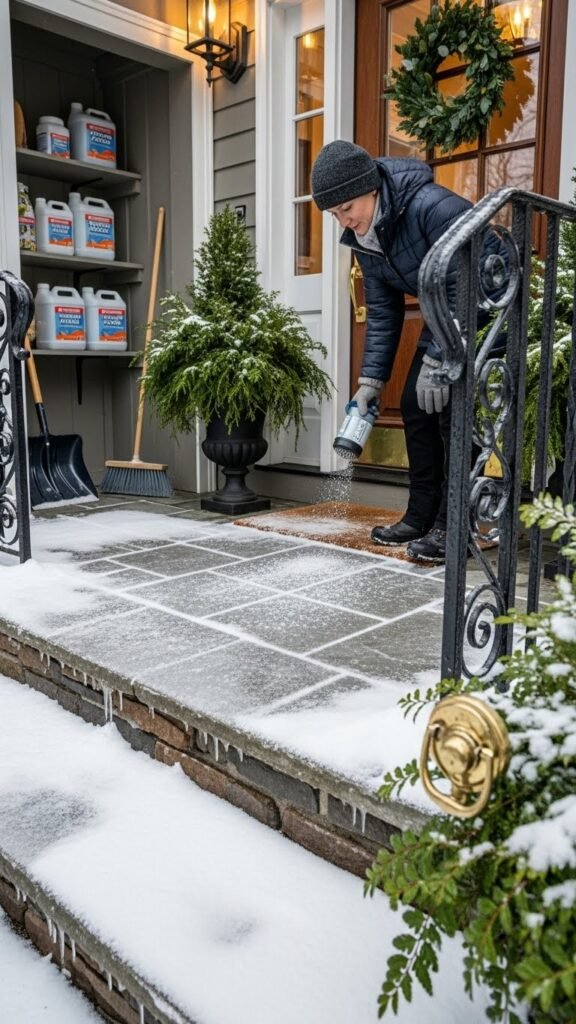
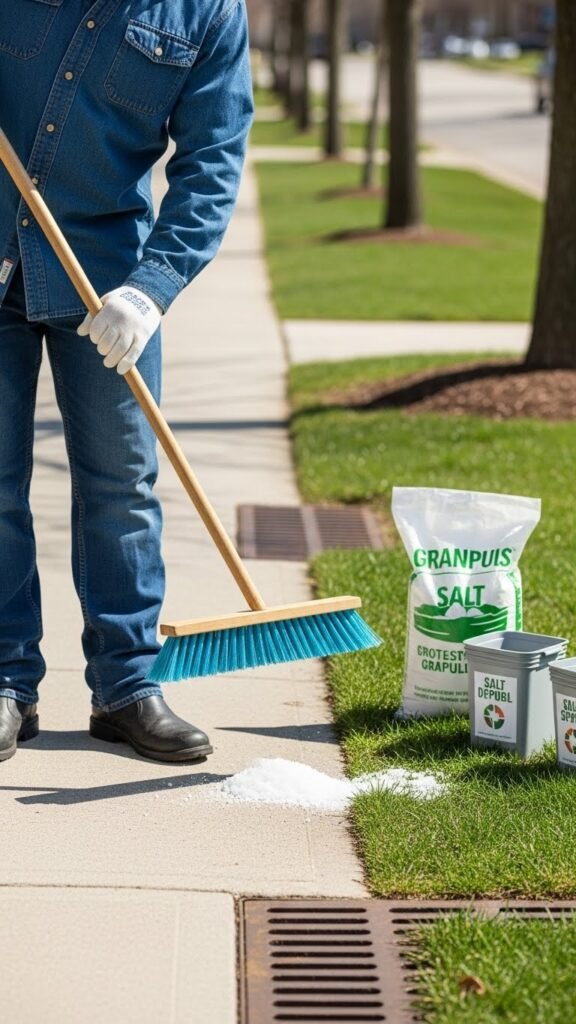
Create a Salt Storage Station Near the Garage
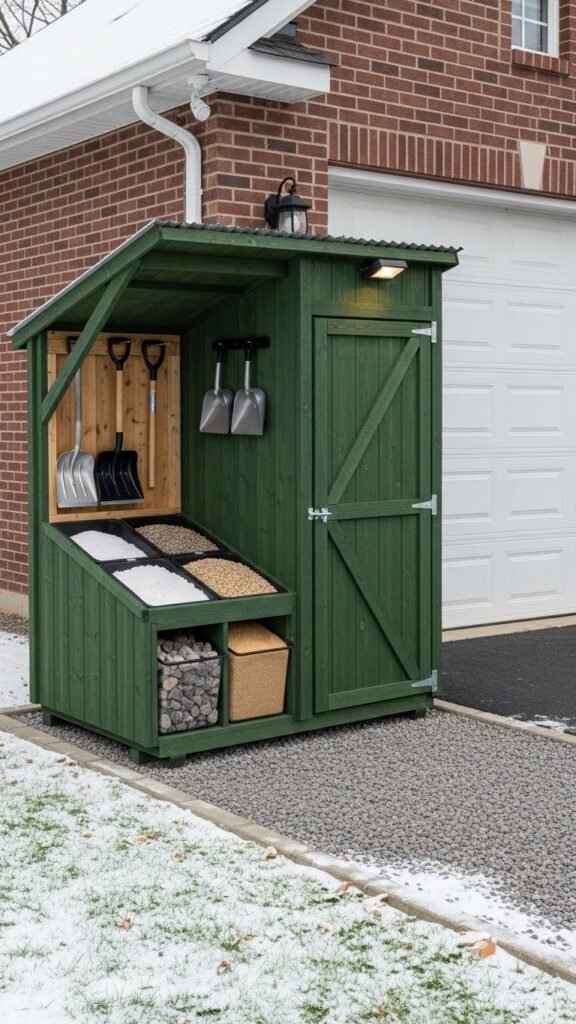
For quick, safe access on icy mornings, set up a dedicated salt storage station just inside or beside your garage so you’re not lugging heavy bags through the snow. Keep bags in a weatherproof container on an elevated pallet to prevent moisture and pests. Label contents, store a scoop and gloves, and position the station for easy grab-and-go access so you stay independent and prepared.
Use Magnesium Chloride to Protect Concrete
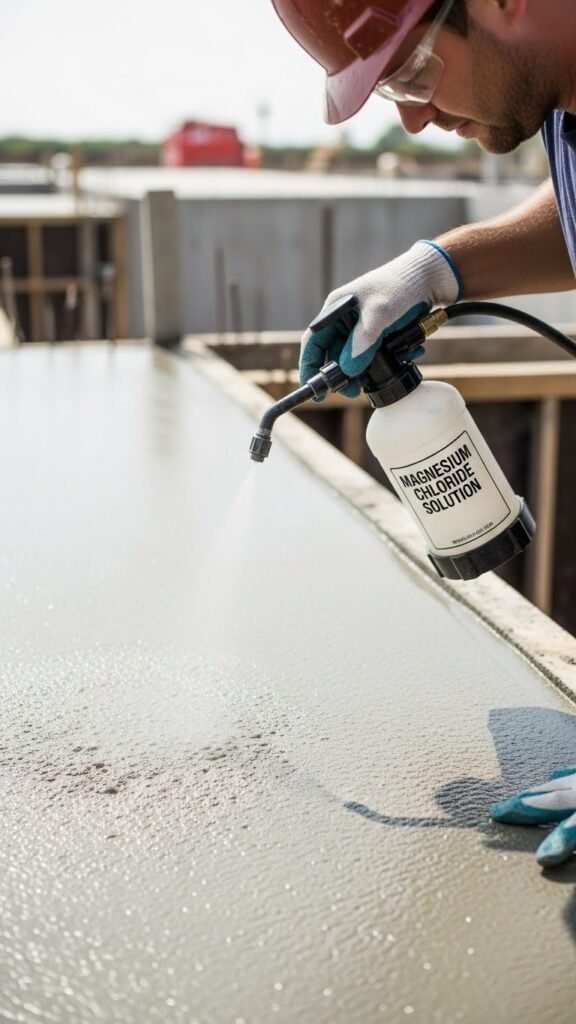
Keeping your salt station stocked is smart, but choosing the right de-icer will protect your driveway long-term.
You’ll prefer magnesium chloride for concrete protection: it melts at lower temps, boosts freeze resistance, and’s gentler than rock salt.
Apply per label, avoid puddling, and consider light surface sealing before winter to reduce penetration.
You’ll keep freedom to move safely without sacrificing your slab’s lifespan.
Pre-Treat Driveway Transitions and Garage Aprons
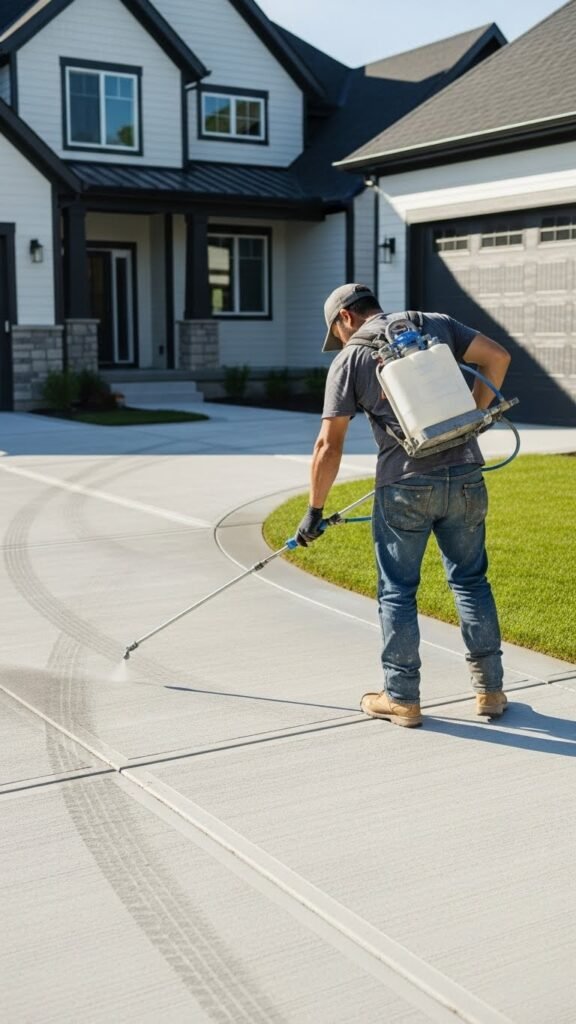
When you know the choke points where your driveway meets sidewalks, curbs, and the garage apron, pre-treat those junctions to prevent ice buildup and reduce tracking into the garage; these spots freeze faster and thaw slower than the center of the drive.
Apply a measured layer of ice melt at the garage threshold and corners before storms, keep a small spreader nearby, and check hourly.
Scoop Salt Instead of Hand-Sprinkling
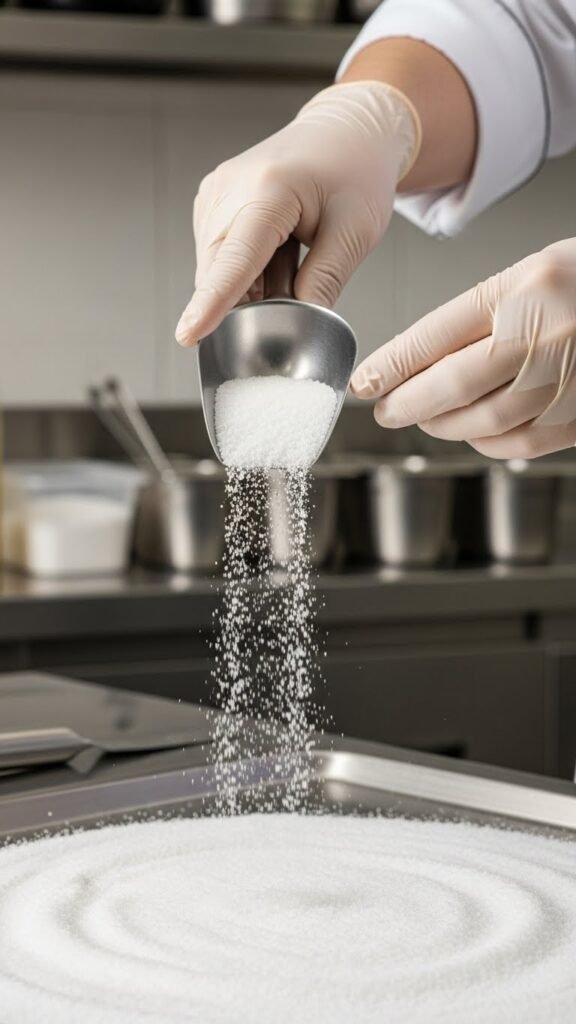
Grab a small scoop or cup instead of trying to sprinkle salt with your hand—it’s faster, keeps your gloves clean, and gives you consistent coverage so you don’t waste product or leave bare spots.
Use a simple scoop technique, working in smooth passes, and choose tools with ergonomic handles. You’ll move freely, save salt, reduce strain, and finish faster with predictable results.
Use Potassium Acetate in Sensitive Areas
Because potassium acetate is much gentler on concrete, plants, and metal than rock salt, use it in doorways, porches, and near landscaping where corrosion or vegetation damage is a concern.
You’ll protect plant beds and hardware while still melting ice efficiently. Apply sparingly, focus on high-traffic paths, and store product dry. This choice addresses corrosion concerns without sacrificing safe, independent mobility.
Sweep Up Excess Salt After Thawing
Once the snow has melted and you’ve rechecked high-traffic spots, take a few minutes to sweep up the leftover salt before it can wash into lawns and storm drains. You’ll protect turf and waterways, control post thaw residue, and choose proper environmental disposal — bagging granules for trash or returning unused product to labeled containers.
You’ll feel responsible and free.
Treat Stairs and Ramps With Extra Care
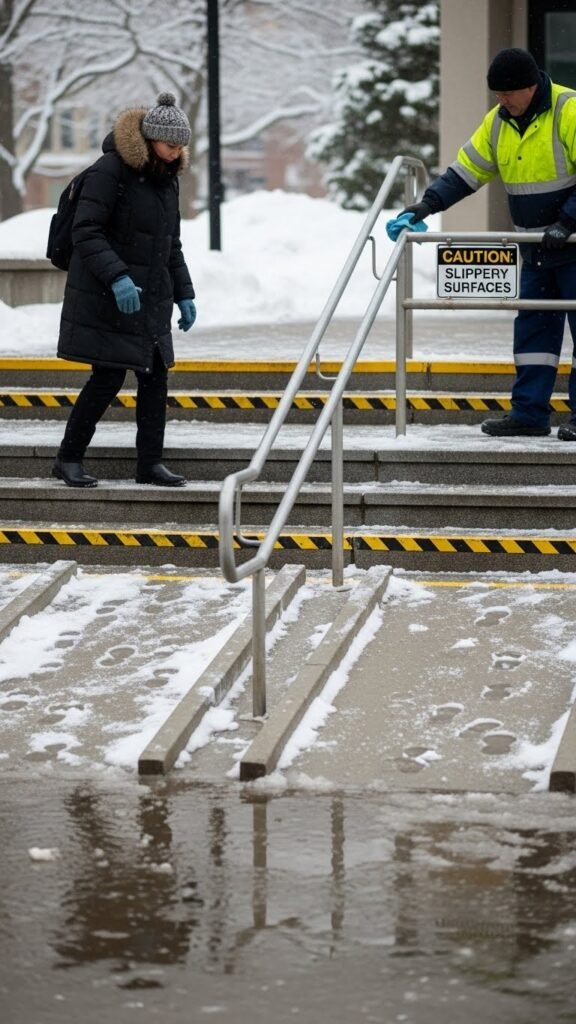
When you’re tackling stairs and ramps, slow down and treat each step as its own zone—check for ice edges, worn spots, and areas where runoff pools, then apply a light, even layer of deicer aimed at the tread rather than the riser to avoid waste and slipping hazards.
Inspect handrail maintenance needs, add stair edge marking for visibility, clear drip paths, and keep salt minimal.
Avoid Overusing Salt on Vegetation Edges
Paragraphs
Although keeping walkways clear is important, don’t blanket the edges of lawns and garden beds with salt — it quickly builds up in soil, burns roots, and stunts growth.
You can protect plants by creating vegetation buffers, applying salt sparingly, and choosing salt resistant plants along borders.
Measure application, sweep excess off paved areas, and prioritize targeted treatment to preserve landscape health and your freedom to garden.
Combine Small Salt Amounts With Kitty Litter

Mix a pinch of ice-melt with a generous scatter of kitty litter to get better traction without over-salting your driveway.
You’ll use a measured salt combo to melt thin ice while kitty litter adds grit.
Follow pet safe tips: choose non-toxic litter, sweep excess to prevent clumping prevention, and refresh only where needed so you stay safe and free to move.
Install Heated Driveway Systems to Eliminate Salt
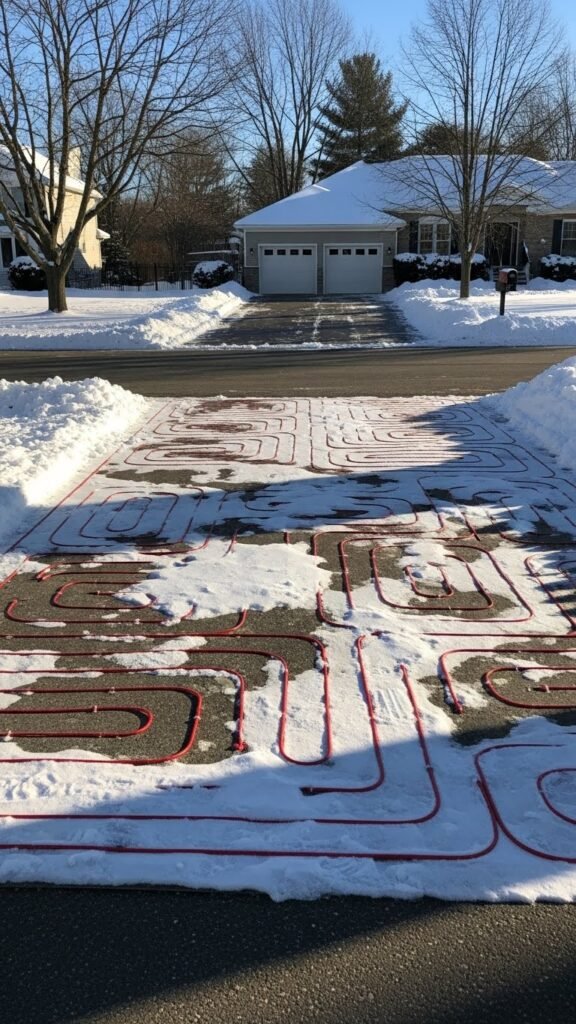
If you want to eliminate salt altogether, consider installing a heated driveway system that melts snow and ice on contact so you don’t have to rely on kitty litter or chemical melts.
You’ll choose electric mats or hydronic loops embedded under pavement, like in floor heating.
Expect upfront cost, clear zoning, and routine checks.
This gives you freedom, safety, and low maintenance.
Avoid Applying Salt Below Its Working Temperature
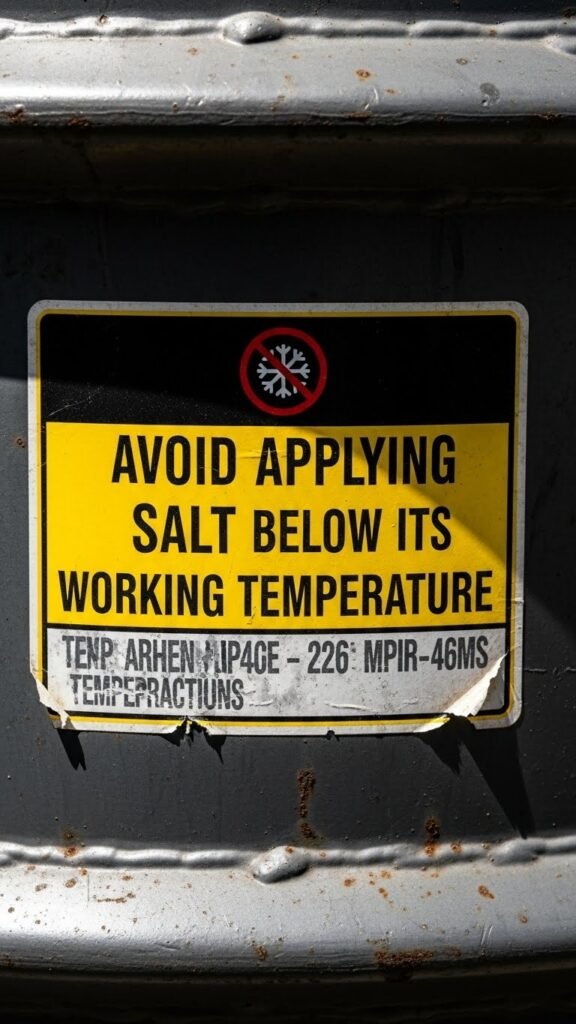
Though it might seem efficient to spread salt as soon as snow starts falling, don’t apply a product below its listed working temperature — it won’t melt effectively and you’ll waste material and time.
You should check labels for thermal activation points, avoid salt crystalization from moisture cycling, and wait for conditions where the de-icer works.
That saves money and keeps your paths reliably safe.
Protect New Concrete With Less-Abrasive De-Icers
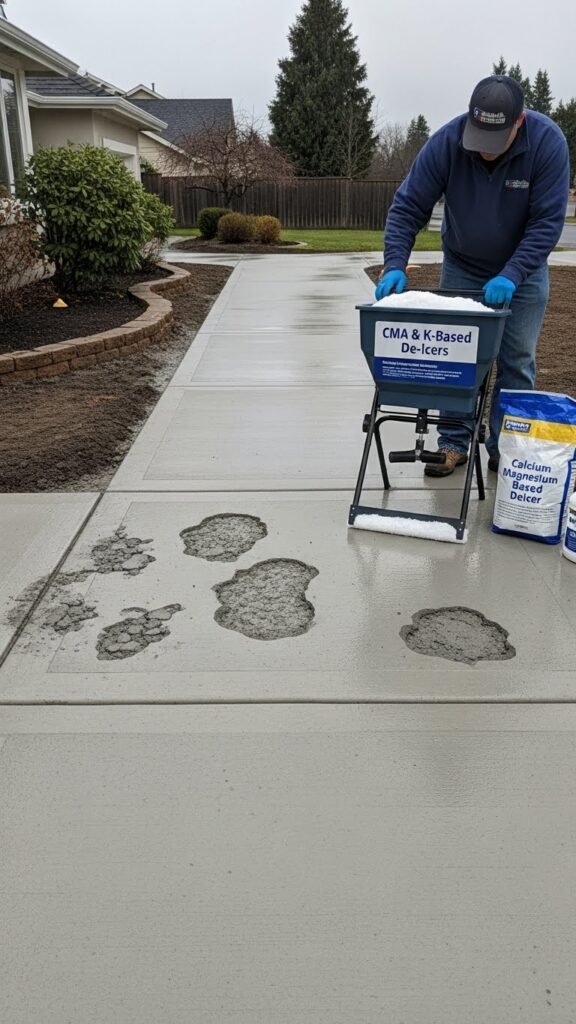
After you’ve waited for the right conditions to apply salt, remember that fresh concrete needs gentler treatment—harsh rock salts and heavy abrasives can pockmark new surfaces and shorten their lifespan.
You’ll want to heed curing concerns and choose milder chemical alternatives like calcium magnesium acetate or potassium-based deicers. Apply sparingly, monitor finish, and prioritize prevention so you keep freedom to use your walkways safely without damage.
Use a Broom to Redistribute Clumped Salt
Grab a stiff broom and sweep to break up and spread any clumped salt so it melts ice more evenly without adding extra product.
You’ll use a simple broom technique to loosen aggregates, then push granules into thin, uniform layers for consistent contact.
This salt redistribution saves material, speeds melting, and keeps your path safer — giving you control and freedom to manage winter surfaces efficiently.
Store Salt Off the Ground to Prevent Contamination
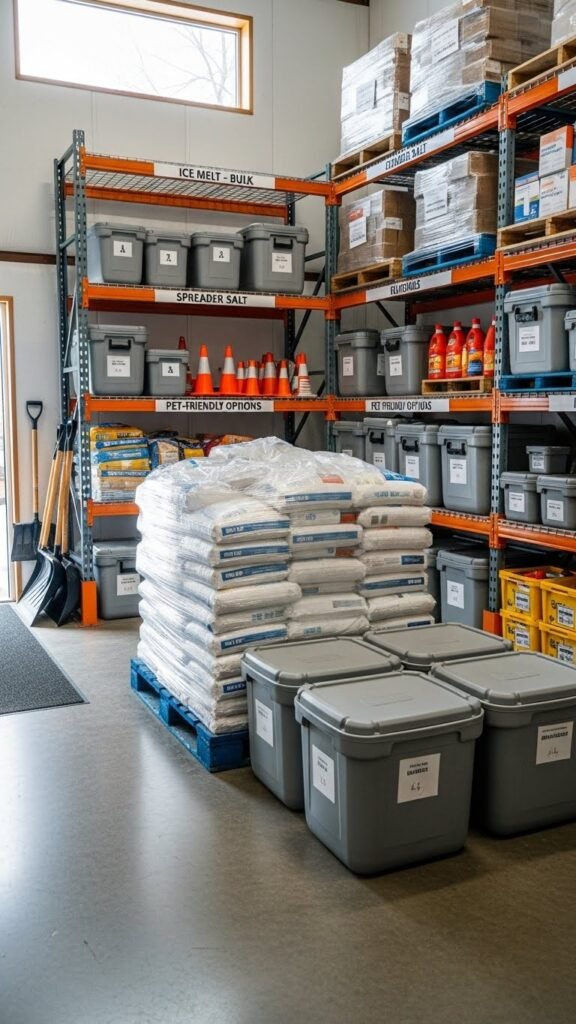
To keep your ice melt clean and effective, store bags off the ground on a pallet or shelving so moisture, dirt, and oils won’t contaminate the salt. You should choose elevated shelving and sturdy waterproof containers, labeling contents and stacking securely.
That way you’ll protect supply quality, cut waste, and stay ready to treat walkways without fuss, retaining control and freedom over winter tasks.
Add Molasses to Brine for Better Surface Adhesion
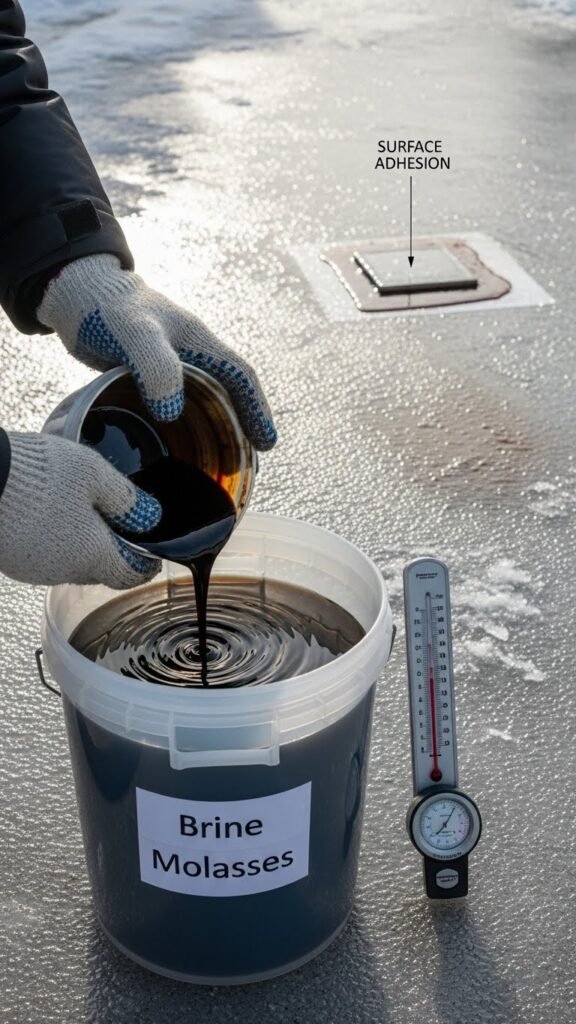
Keeping your ice melt dry and uncontaminated makes every application more effective, but sometimes you also need the product to stick where you put it.
You can add molasses to brine to improve Molasses adhesion and adjust Brine viscosity, letting solution cling to pavement. Measure carefully, mix uniformly, and test a small area so you maintain control, safety, and freedom to choose what works.
Seal Asphalt Regularly to Reduce Salt Damage
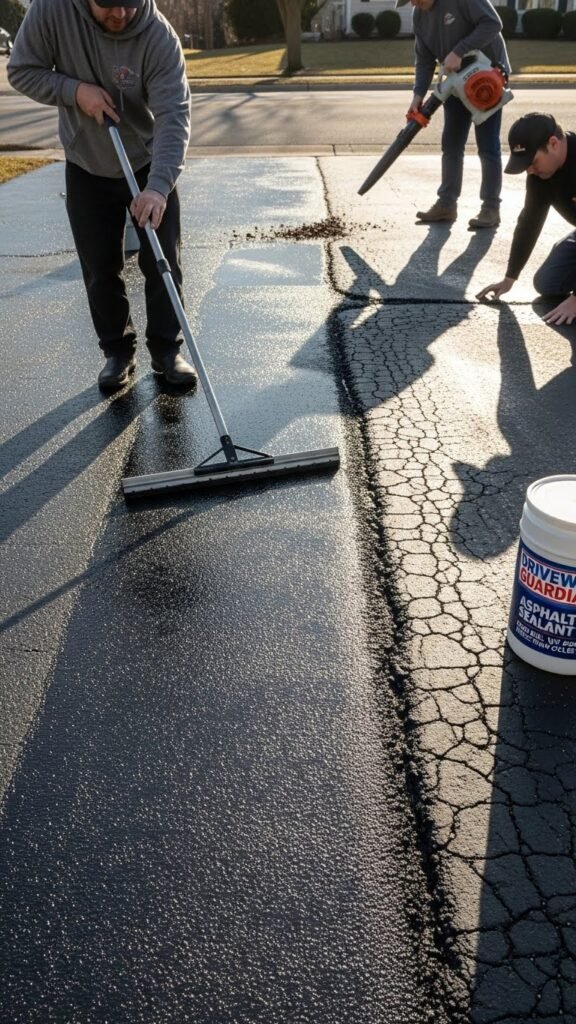
Seal your asphalt every few years to protect it from the corrosive effects of road salt and extend its lifespan. You’ll inspect for cracks, clean debris, and apply a quality asphalt preservative to seal maintenance gaps.
Regular treatment keeps surfaces smooth, prevents moisture intrusion, and reduces costly repairs. You’ll feel confident maintaining safe, free-flowing driveways without surrendering time or autonomy to deterioration.
Choose Traction Materials When Melting Isn’t an Option
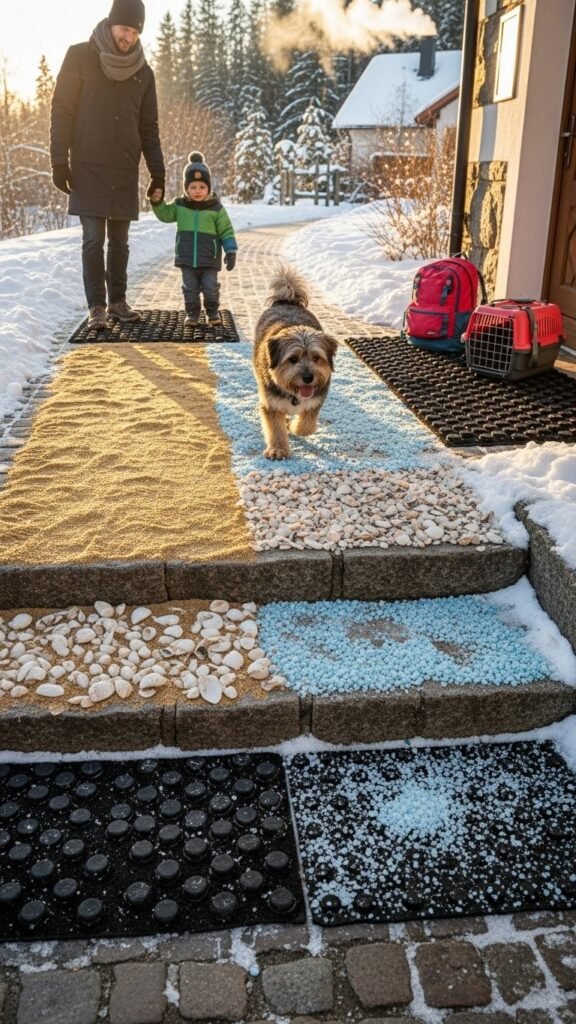
Often you’ll face icy spots where melting isn’t practical or safe, so choose traction materials that give immediate grip without harming surfaces or pets.
You can scatter sand, crushed shells, or eco-friendly ice grip additives for quick traction. For stairs and entrances, lay down textured mats secured with non-slip anchors.
These options preserve freedom of movement while protecting belongings and animals.