
You’ll want a mantel that looks cozy and actually works for gift storage, so start by thinking fabric, hooks, and spacing. Pick durable stockings you can reuse as gift pouches, pair them with coordinated holders or damage‑free strips, and layer garlands and lights to anchor the display. I’ll show practical fixes for renters, ways to stagger heights for balance, and simple labeling and hidden compartments to keep small gifts organized — and a few quick styling tricks to finish.
Choose the Right Stocking Material for Function and Style
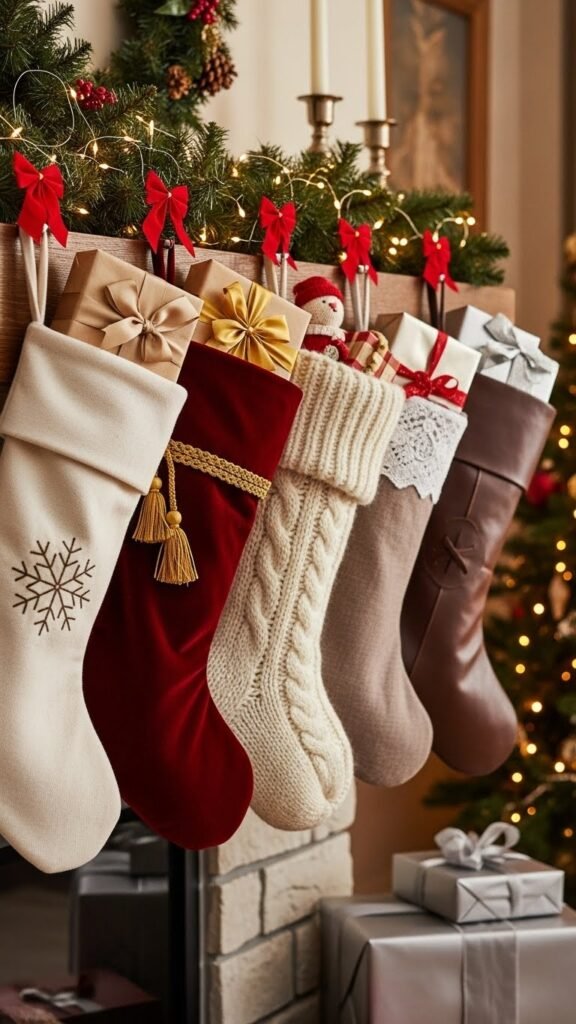
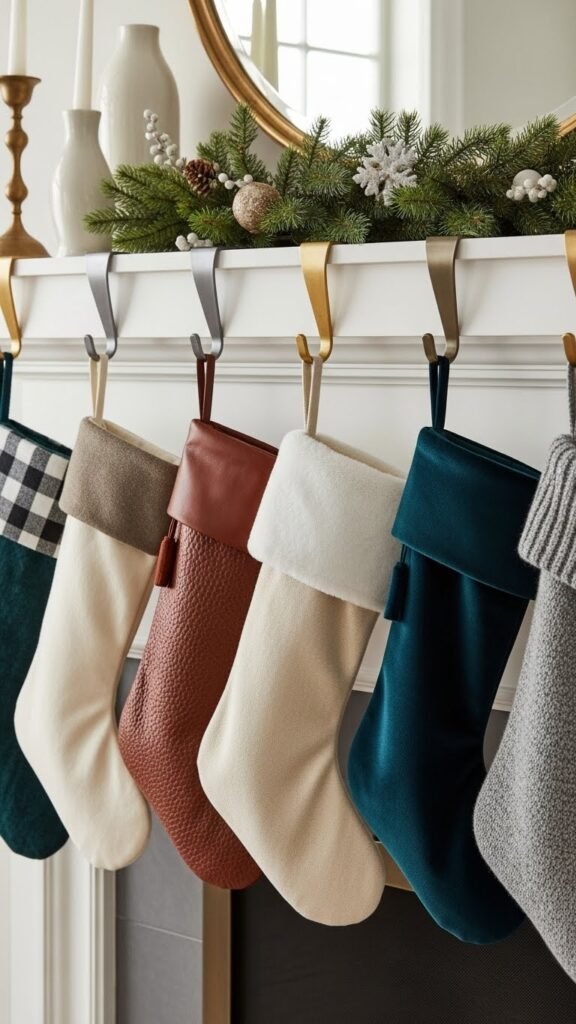
When you pick stocking material, think about how they’ll be used and how they’ll look from across the room: durable cotton or canvas holds heavy gifts and washes easily, velvet or wool adds plush texture and rich color but needs gentler care, and leather or faux leather gives a sleek, modern silhouette that resists snags.
You’ll favor durable wool for warmth, breathable linen for airy displays, and practical trim.
Match Stockings With Coordinated Holders
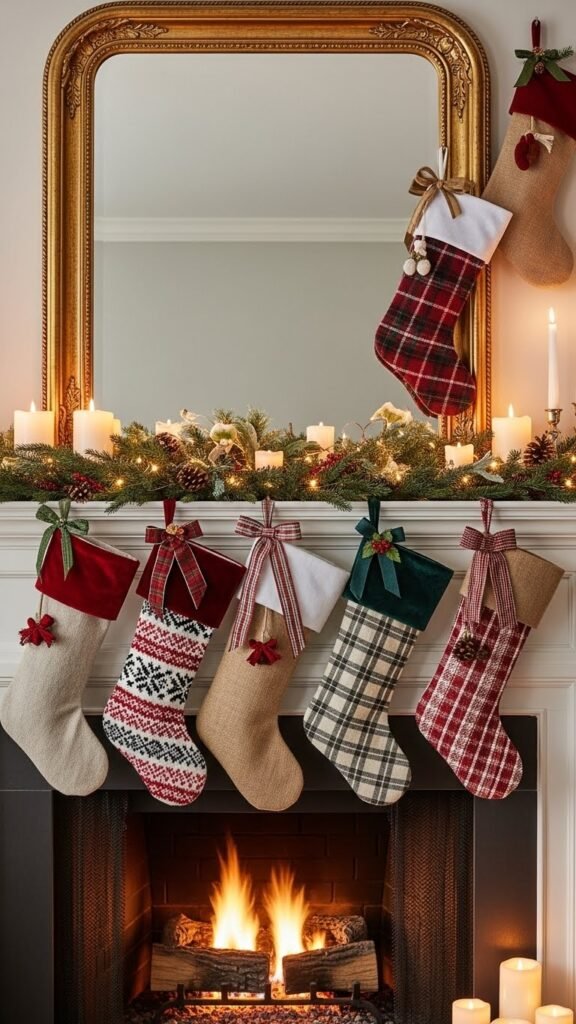
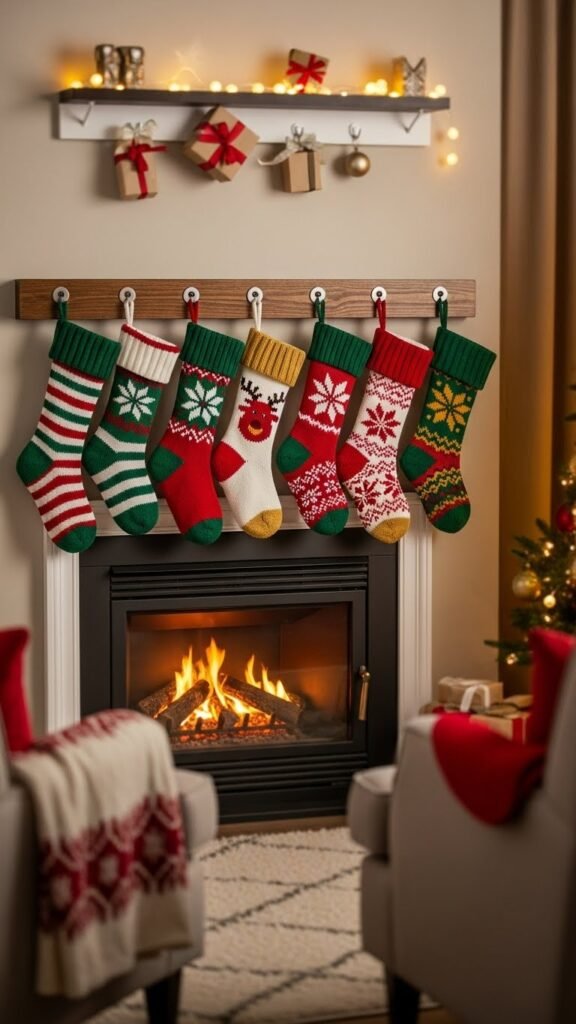
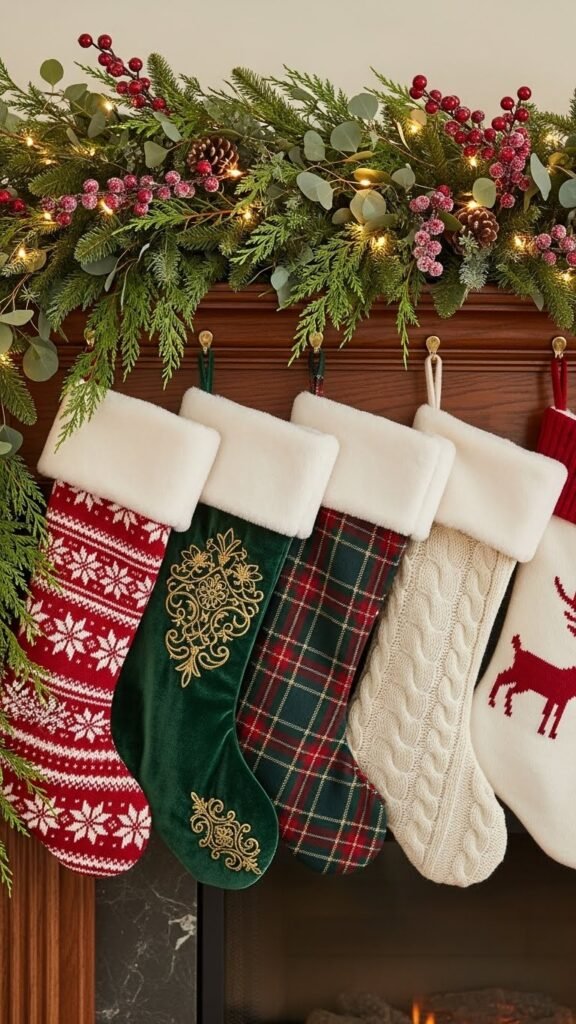
Use Garlands and Lights to Anchor Stocking Displays
You’ve got your stockings hung on coordinated holders, now use garlands and lights to visually anchor the display and make it feel intentional.
Drape a textured garland along the mantel, securing at regular points with discreet garland anchors. Weave warm twinkle anchoring lights through greenery, tucking cords behind molding.
You’ll create a grounded, effortless focal line that frees you to style gifts and décor.
Cluster Stockings Asymmetrically for Visual Interest
Mount Stockings on a Credenza or Sideboard
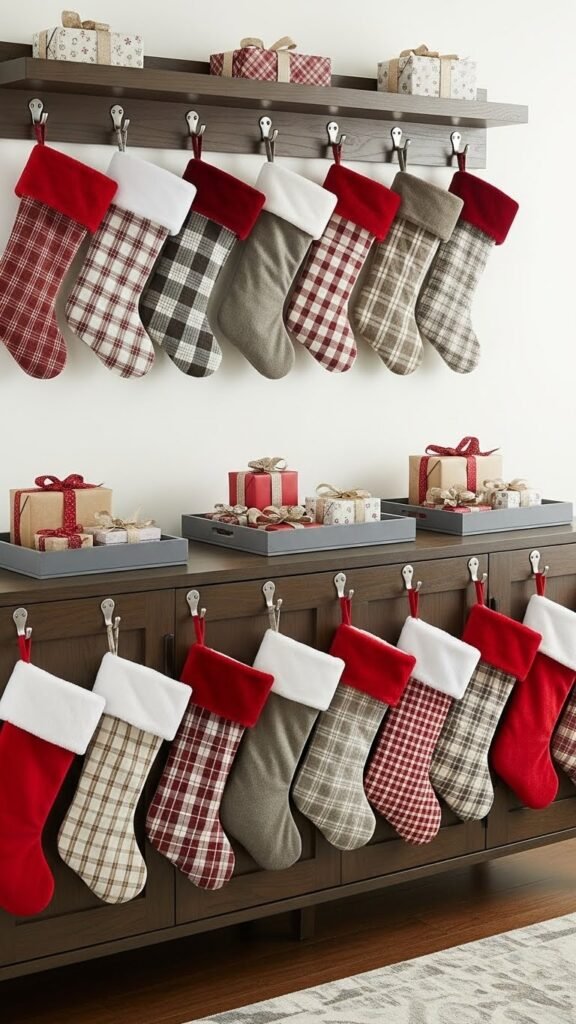
When you mount stockings on a credenza or sideboard, think low and layered to keep the display accessible and architecturally balanced.
Anchor hooks evenly for artful symmetry, vary heights slightly, and leave clear surface pathways.
Use slim clips and hidden compartments beneath trays to stash small gifts.
Choose durable hardware and breathable fabrics so your arrangement stays tidy and free-form.
Create a Faux Present Mountain Base for Holders
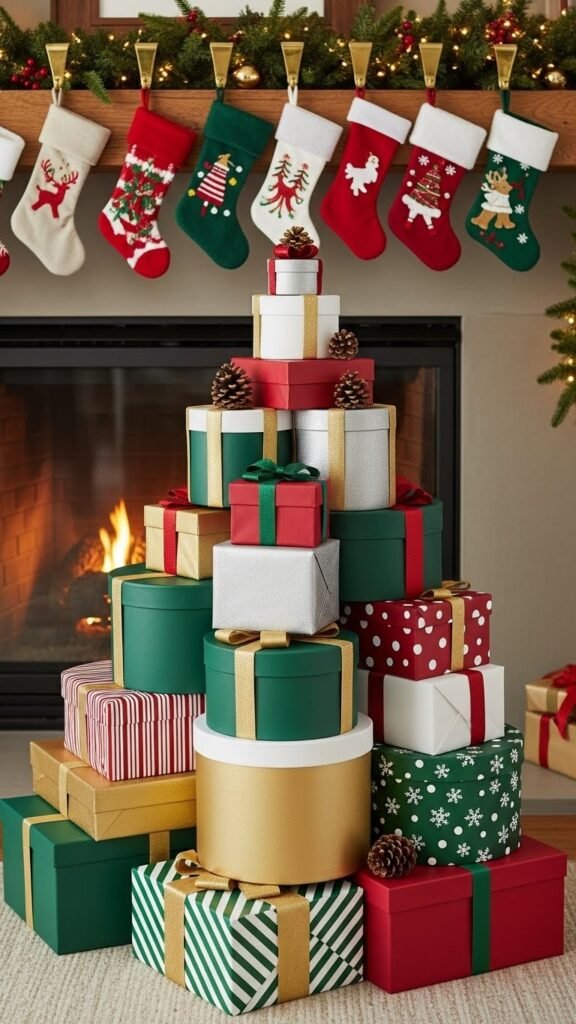
Although it looks elaborate, building a faux present mountain base is simple and lets you elevate stocking holders with style and stability. You’ll use faux present sculpting to stack lightweight boxes, contour with foam wrapping technique, and secure layers with hot glue. Paint or wrap each “gift” for cohesion, then place holders atop the peak so your mantel looks curated and free-spirited.
Install Adhesive Hooks on Shallow or Mantel-less Fireplaces
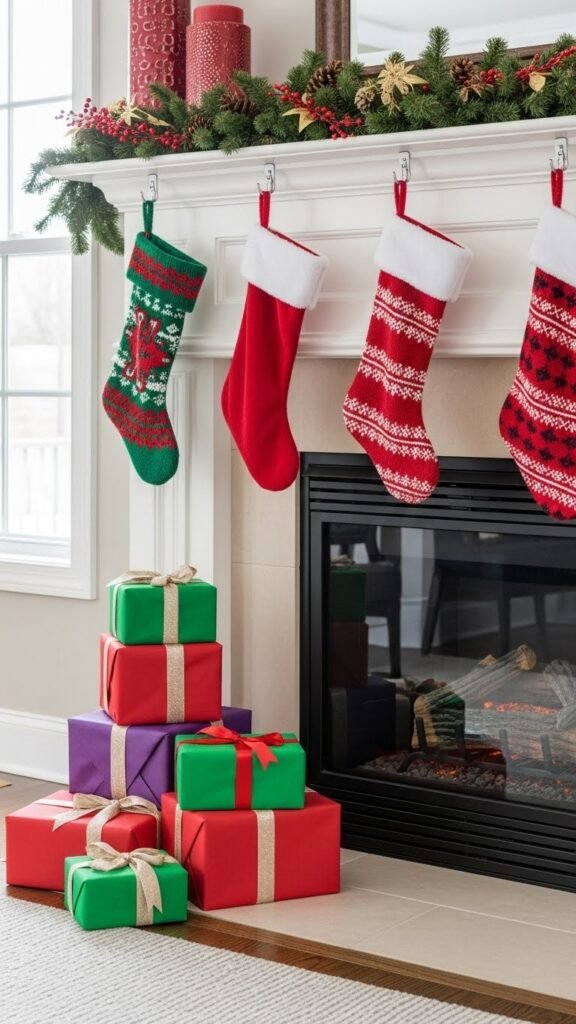
You’ve got a styled mantel with a faux present mountain, but not every fireplace gives you that ledge to hang stockings from — and that’s where adhesive hooks come in.
You’ll pick high‑strength, removable strips, map spacing, and clean surfaces.
Use clear adhesive mount techniques for weight limits, stagger hook heights for visual flow, and enjoy a clutter‑free, liberated holiday with easy faux mantel solutions.
Hang Stockings From a Decorative Wall Rack or Wooden Mount
Think about mounting a decorative wall rack or a simple wooden board above your fireplace or along a stair wall to create an instant, sturdy spot for stockings. You can choose a rustic pegboard or a sleek wooden mount with floating shelfhooks, spacing pegs evenly for balanced weight.
Drill into studs, use anchors if needed, and hang stockings by reinforced loops for secure, tidy display.
Repurpose Over-the-Door Hooks and Chair Backs
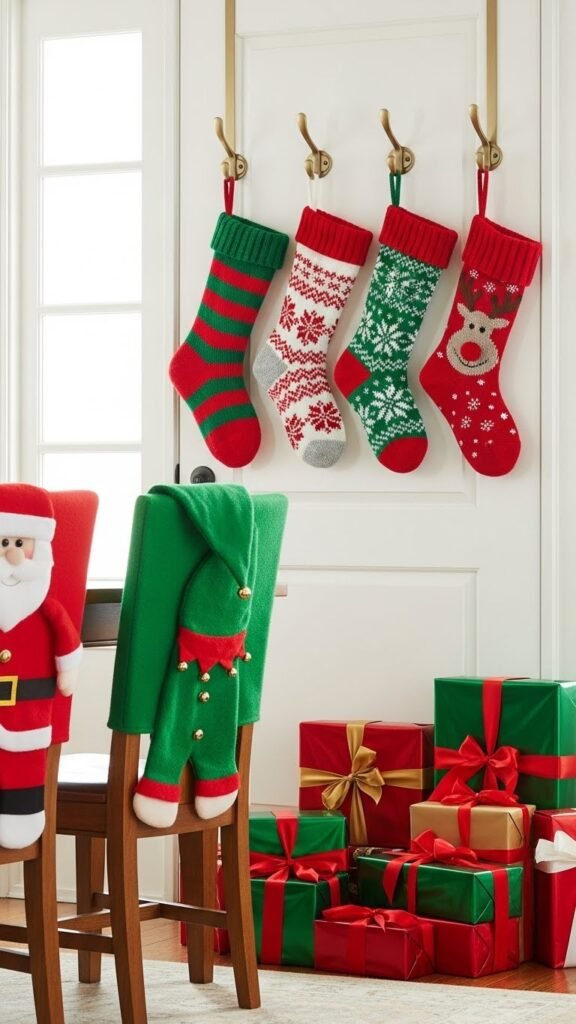
Give ordinary over-the-door hooks and spare dining chairs a new life by turning them into quick, no-drill stocking stations you can set up in minutes.
You’ll clip hook extensions for extra reach, drape stockings over chair backs, and secure fabric chair toppers to protect finishes. This portable solution keeps gifts accessible, looks intentional, and frees you from permanent fixtures while staying tidy and festive.
Select Sturdy Metal or Wooden Stocking Holders

If you prefer a more polished look than chairs and hooks provide, pick sturdy metal or wooden stocking holders that sit on the mantel and won’t tip when loaded. You’ll check weight capacity, choose balanced designs with wide bases, and favor finishes like antique patina for character.
Position them evenly, leave space for garlands, and test stability before filling to keep freedom and form intact.
Use Non-Slip Bases and Clamps for Thick or Uneven Mantels
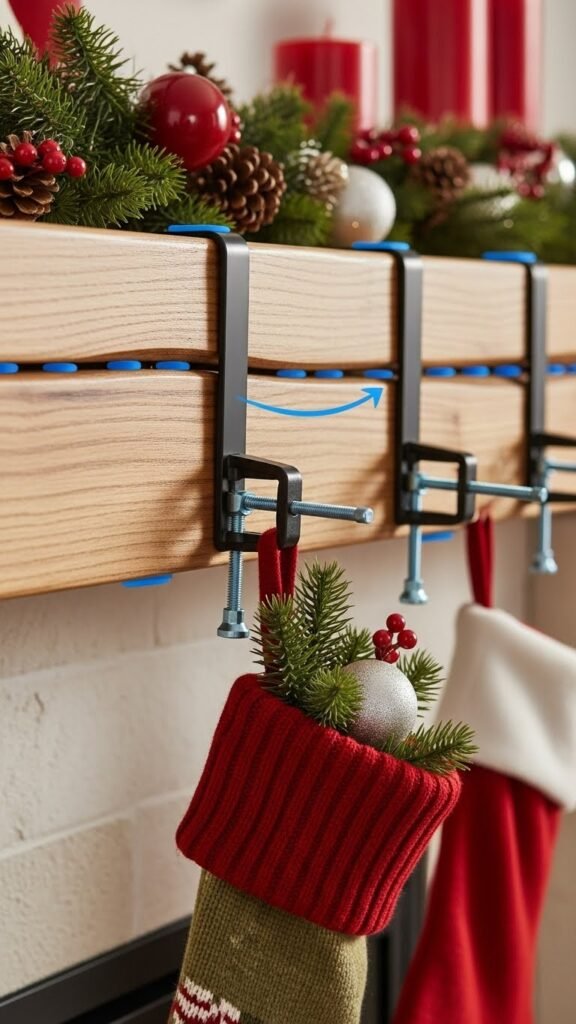
When mantels are thick, uneven, or finished with slick paint, secure non-slip bases and adjustable clamps to keep holders from sliding or wobbling; you’ll want rubberized pads or silicone feet that grip the surface and C-clamps or screw-style brackets that tighten without damaging wood.
Place non slip pads under feet, align mantel clamps at stress points, then test hold with a loaded stocking to confirm stability.
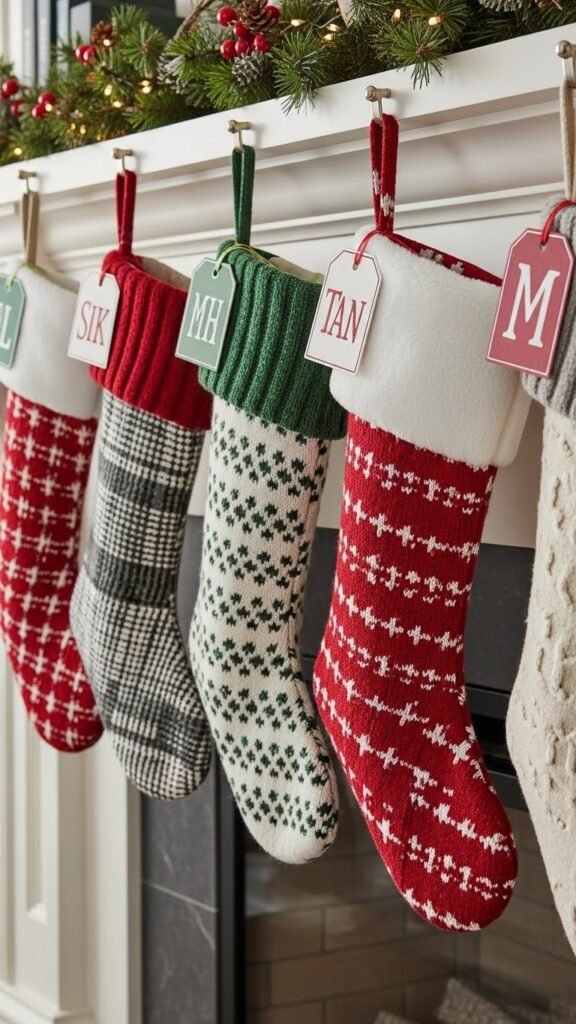
Make DIY Monogrammed Clips or Ribbon Tie Attachments
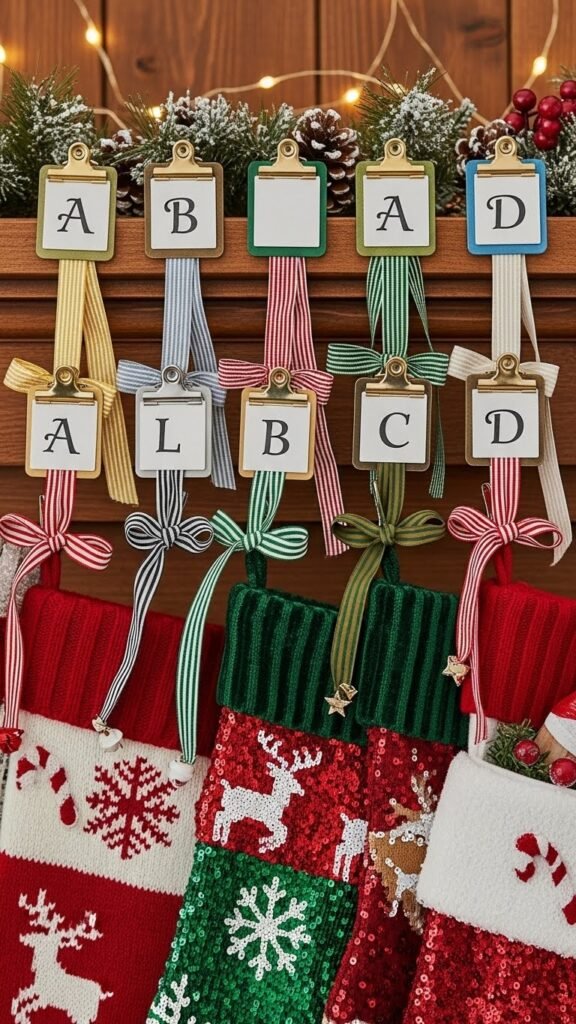
With holders secured, personalize your display by making monogrammed clips or ribbon tie attachments that both look polished and hold stockings fast.
You’ll attach a small monogrammed clipboard tag to each clip for ID, then use ribbon loopers to tie through stocking loops. Choose sturdy clips, crisp fonts, and color-coded ribbons so each stocking reads cleanly and hangs reliably.
Turn Stockings Into Reusable Gift Bags
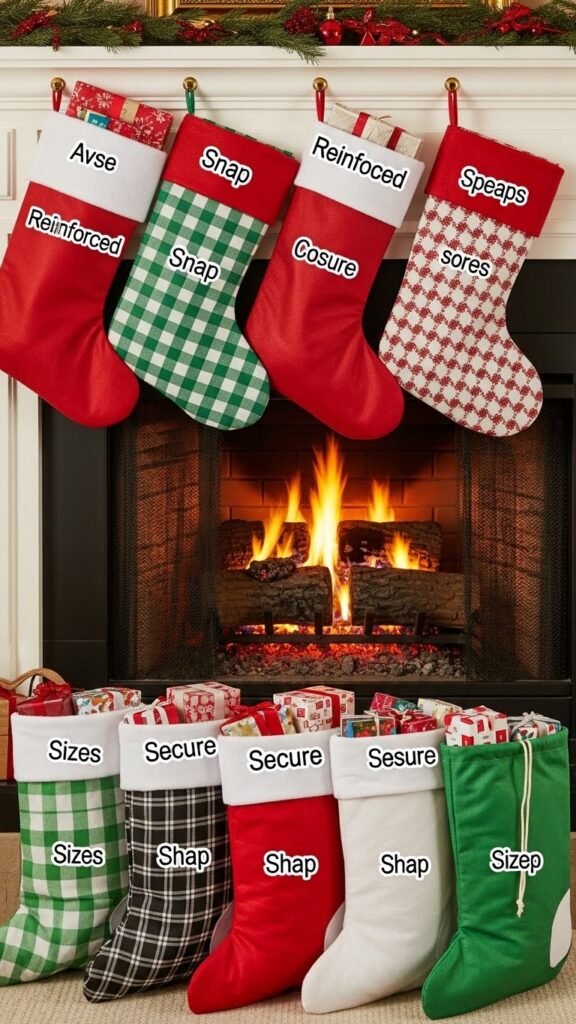
Turn your mantel stockings into tidy, reusable gift bags by reinforcing their openings, adding secure closures, and standardizing sizes so they stack and carry easily. You’ll sew with emphasis on stitch durability at stress points, add a convertible closure—snap or drawstring—to adapt to contents, and attach discreet handles. You’ll label sizes and keep a compact, portable system that supports repeated, free-form gifting.
Fill Stockings With Greenery and Pinecones for Dual-Purpose Décor

After you’ve reinforced and labeled your stocking-bags for gifting, repurpose a few as evergreen accents by filling them with greenery and pinecones to serve as both mantel decor and quick bouquet holders.
You’ll arrange compact evergreen bundles, tuck in scented sachets for subtle aroma, and secure stems with twine.
Hang at varying heights for a layered, free-spirited look that’s tidy and intentional.
Use Smaller Stockings to Organize Table Utensils or Small Items
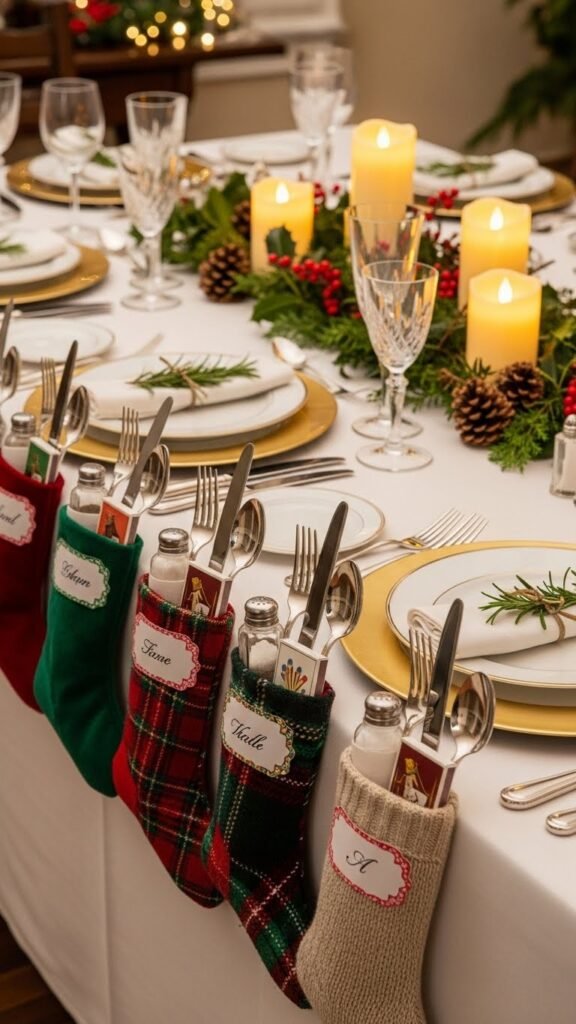
Tuck a few smaller stockings into place along your table edge to corral utensils, napkins, and little extras—each one acting like a tidy pocket that keeps things within reach. You’ll create clear cutlery curation with labeled stockings, mix napkin nests with place cards, and stash salt, matches, or favors. It’s practical, visual, and frees you to host without clutter.
Display Stockings on Staircases, Bookshelves, and Console Tables
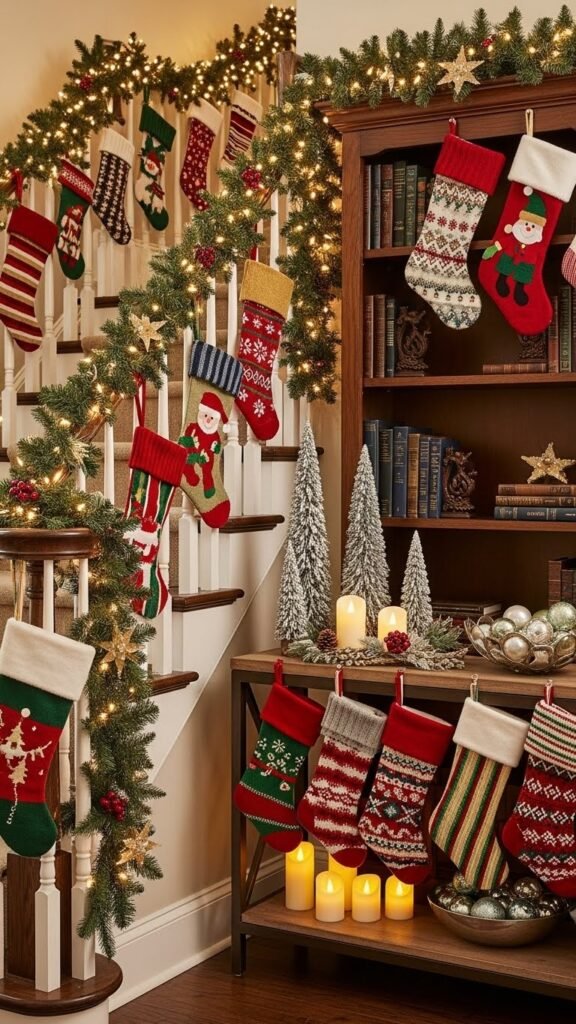
Along staircases, bookshelves, or console tables, stocking displays can add vertical interest and seasonal function while staying tidy—you’ll want a plan for spacing, attachment, and scale before you start.
Place staircase stockings evenly along spindles or rail, using removable hooks; stagger heights.
For bookshelf stockings, clip small loops to shelf edges or anchor with museum-putty.
Keep proportions balanced and accessible.
Layer Stockings Under Garlands to Hide Hardware
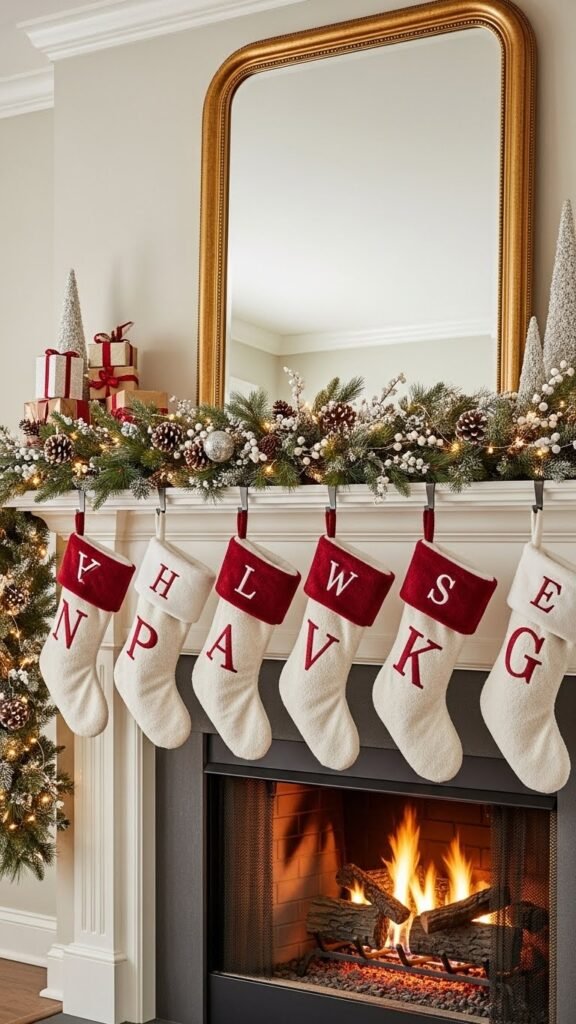
Add Name Tags or Initials for Personalized Organization
Incorporate Light Elements Behind Stocking Displays
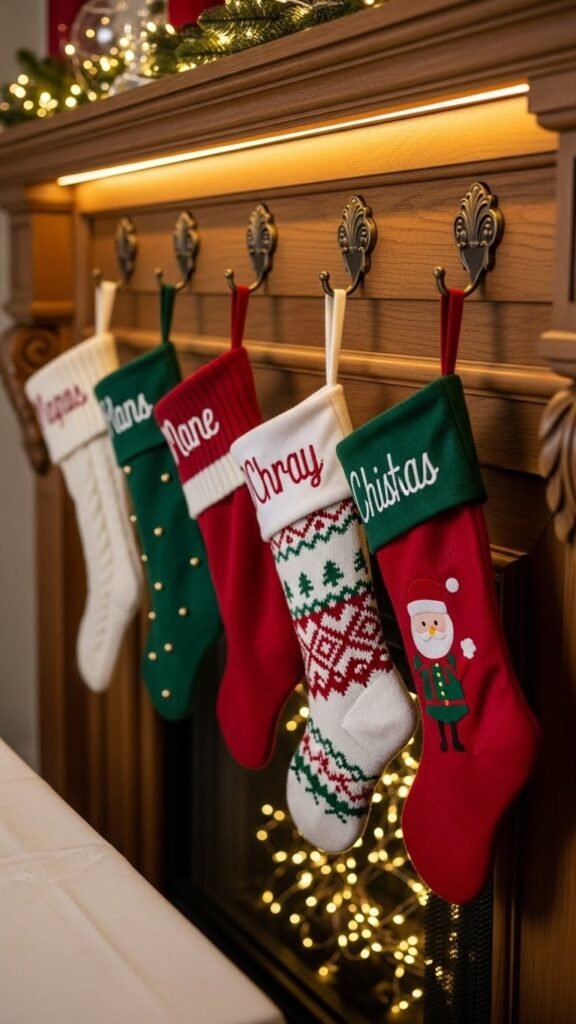
Personalized tags give each stocking personality, but adding light behind them instantly elevates the whole display and makes those details pop. Position an ambient LED strip along the mantel edge, hidden behind a trim, to cast soft backlight.
For drama, hang a twinkle curtain slightly behind stockings, dimmable for mood. You’ll control glow, highlight textures, and free up tabletop space.
Mix Small Tabletop Trees and Village Houses Around Stockings
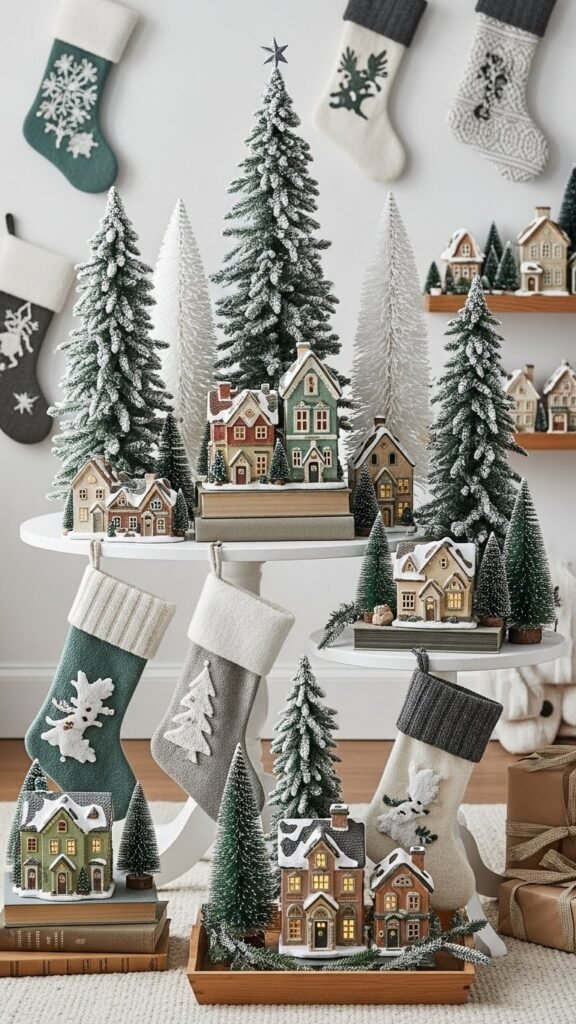
Layer small tabletop trees and miniature village houses around your stockings to create depth and a cozy, curated vignette. Place a miniature pine trio at varying heights, anchor houses on books or trays, and stagger distances for perspective. Use a snowy village palette—white, muted greens, warm wood—to keep the scene airy. Keep pathways clear so gifts remain accessible and the display feels liberating.