
You can cut your wrapping time in half by setting up a compact station, precutting paper and ribbon, and using a few one-handed tricks that look polished but take seconds. I’ll show practical shortcuts — like a roll corral, a weighted tape dispenser, and tidy pre-tied bows — that make wrapping less of a scramble and more of a quick, repeatable routine. Keep going and you’ll finish the pile faster than you expect.
Create a Compact Wrapping Station
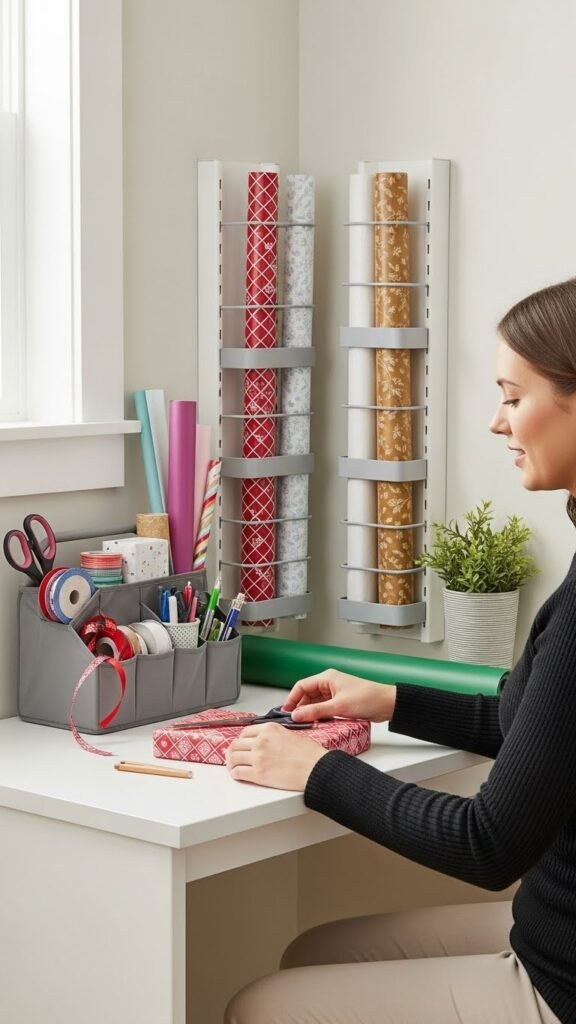
Clear a small corner of a table or an empty cabinet shelf and outfit it with a few smart tools so you can wrap efficiently without taking over the room.
Stash paper, ribbon, scissors in a portable caddy and mount spare rolls on vertical shelving to save space.
You’ll grab what you need, work standing or seated, and reclaim hours with a tidy, mobile station.
Keep a Roll of Clear Tape Ready
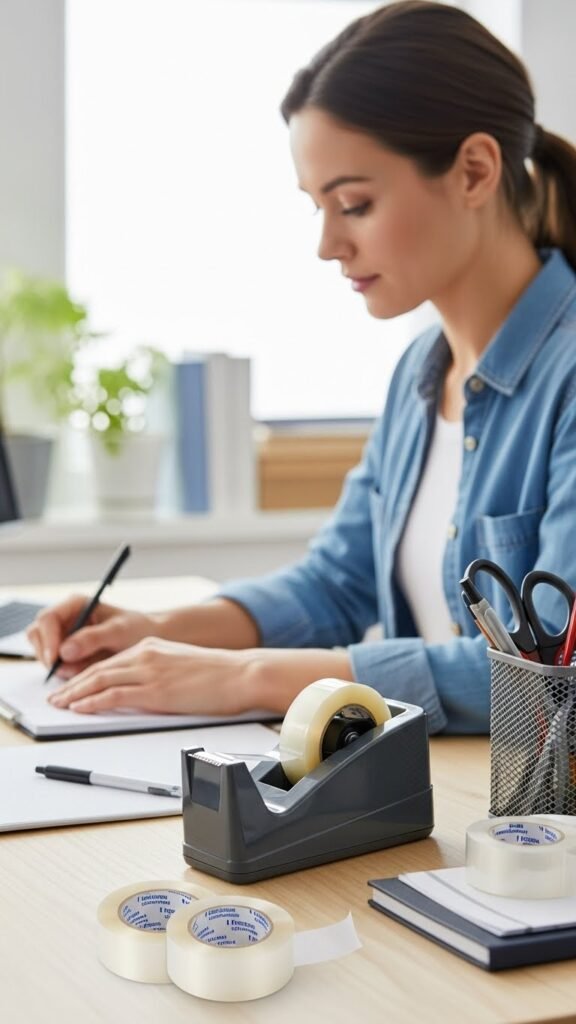
Always keep a roll of clear tape within arm’s reach so you don’t interrupt your flow hunting for adhesive.
Place a clear dispenser at your station for one-handed access; stash tape refills nearby so you won’t stall.
You’ll move faster, stay focused, and keep momentum. This small habit gives you freedom to wrap confidently without chasing supplies or breaking rhythm.
Use a Wrapping Buddy Clamp
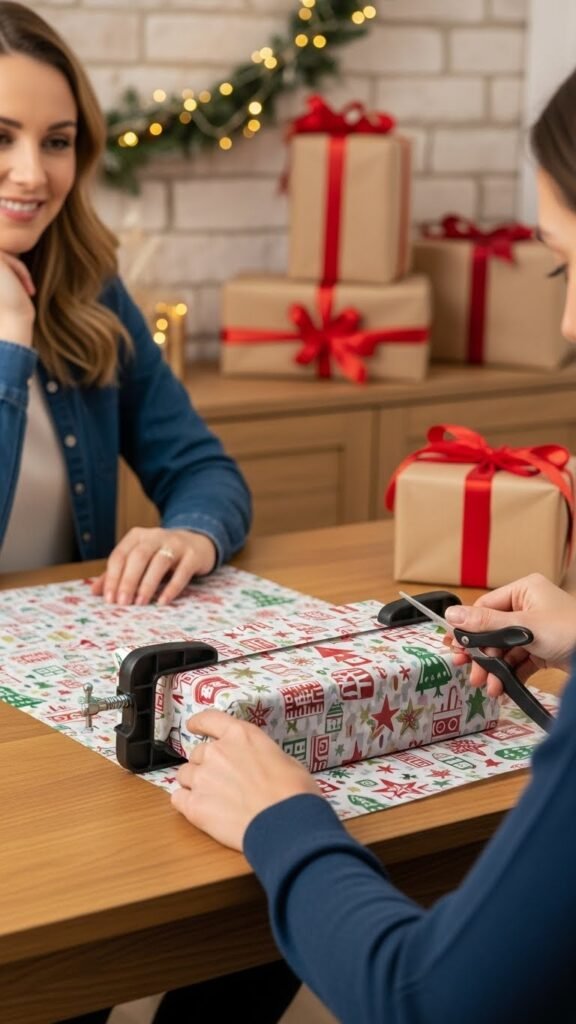
A wrapping buddy clamp makes one-person gift wrapping simple: clip the clamp to your table and it holds the paper or ribbon taut so you can cut and secure ends without juggling the package.
You’ll set clamp placement for comfort, adjust pressure control to avoid creases, and work faster.
You keep both hands free, stay precise, and finish wraps with effortless freedom.
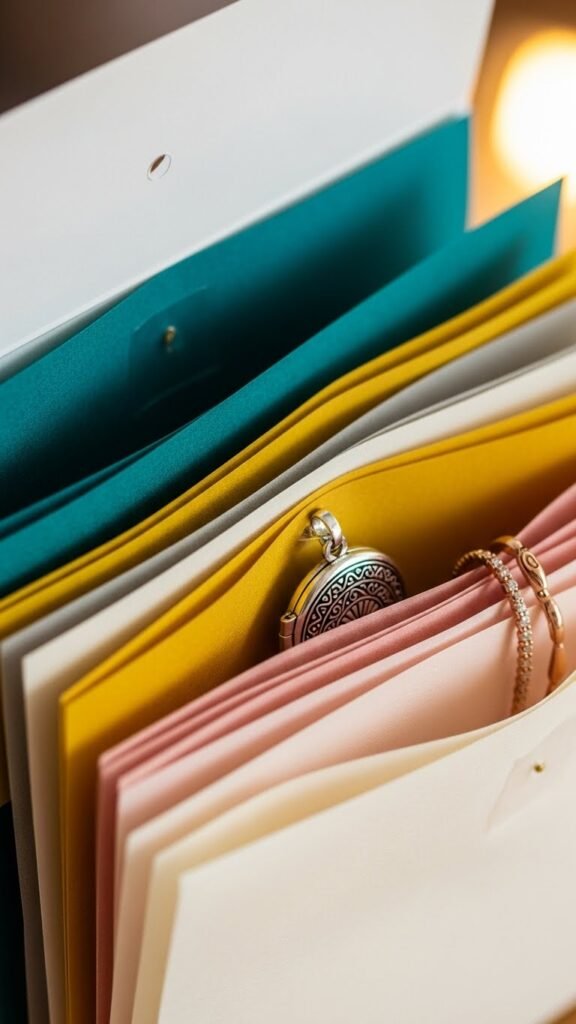
Precut Standard Paper Sizes
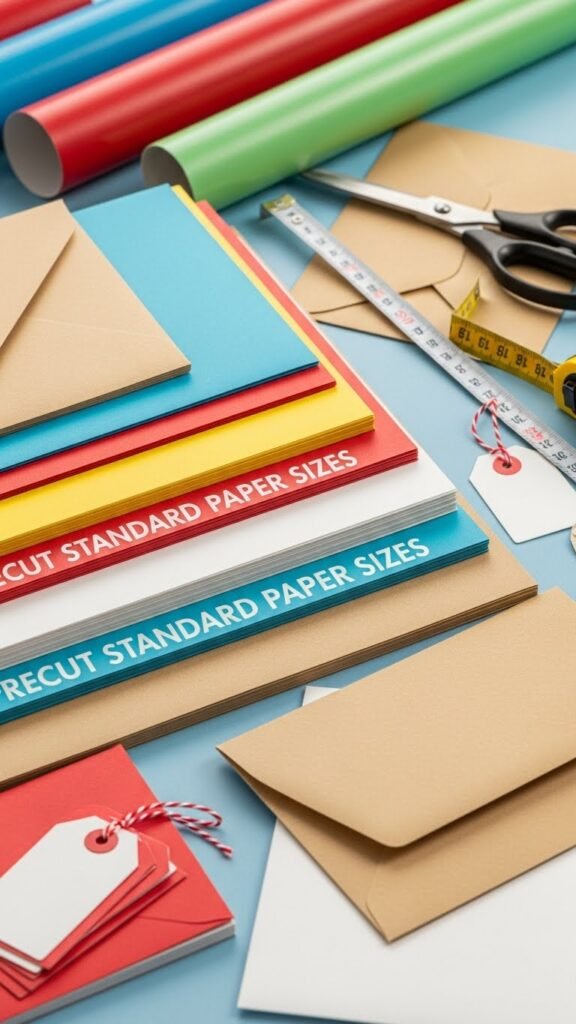
Precut standard paper sizes save you time and waste by giving you sheets that fit common box dimensions and typical ribbon lengths. You’ll grab ready sheets, avoid measuring, and cut down on paper remnants.
Keep a stash of precut envelopes and matching tags so wrapping stays swift and tidy. This approach frees you to focus on gifting, not prep.
Fold Pleats Uniformly by Touch
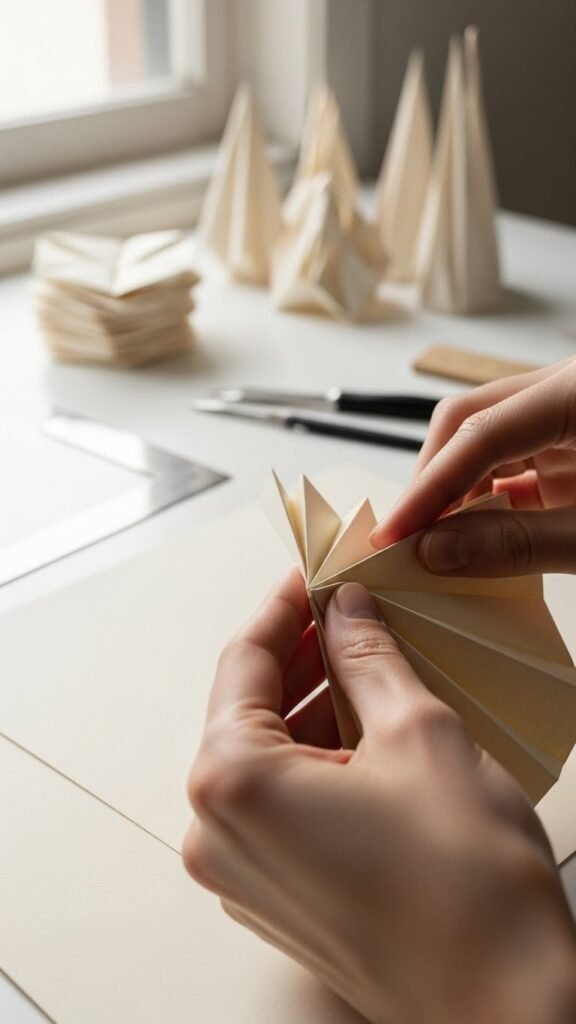
When you press with your fingertips along the paper, you can feel and align each pleat so they sit evenly without measuring instruments. Trust tactile alignment: let fingertip spacing guide consistent folds, pinch and smooth each pleat, adjust by feel until edges match. You’ll work faster, stay precise, and keep the wrap clean-looking while enjoying the freedom of hands-on control.
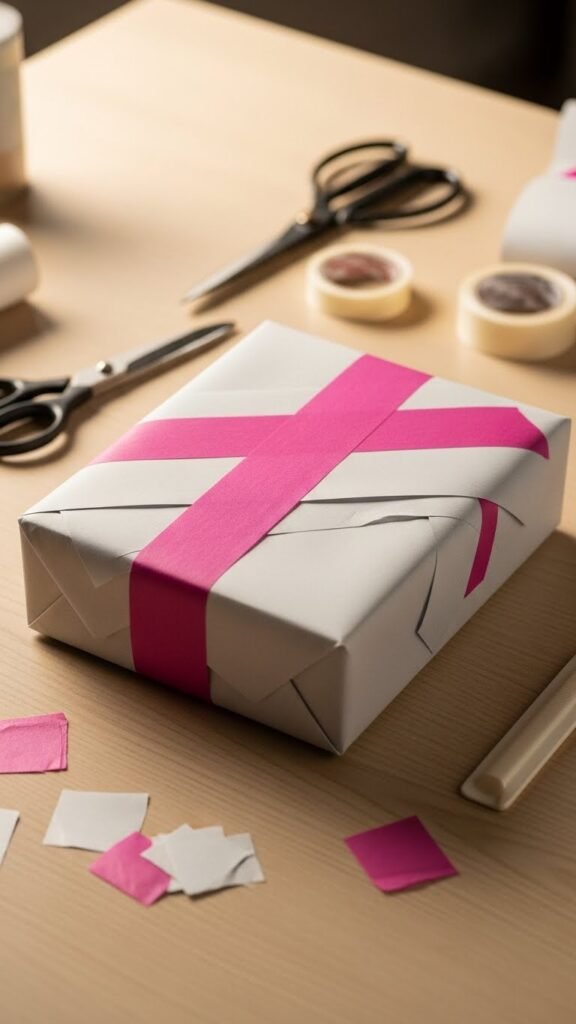
Use Double-Sided Tape for Clean Seams
You’ve got the pleats even by feel; now switch to double-sided tape to lock that neatness in place.
Press narrow strips along edges for seamless corners, then fold and press firmly.
The invisible fastening holds without bulky overlaps, so your package looks crisp and effortless.
You’ll finish faster, keep control, and enjoy gifts that feel intentionally simple and free.
Layer Tissue Paper for Quick Elegance
Often a simple layer of tissue transforms a plain package into something polished; layer two or three sheets in contrasting or complementary colors to add depth and protect delicate items.
You’ll use tissue layering to create instant polish with minimal fuss. Choose bold color contrast or subtle mixes, align edges neatly, and secure with a discreet dot of tape.
It’s fast, freeing, and refined.
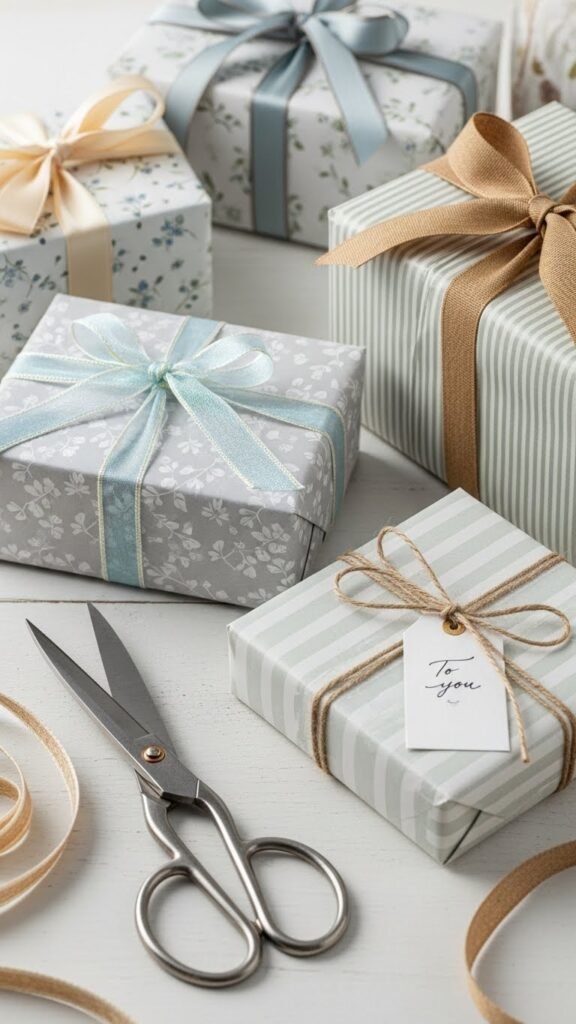
Make Simple Twine Bow Accents
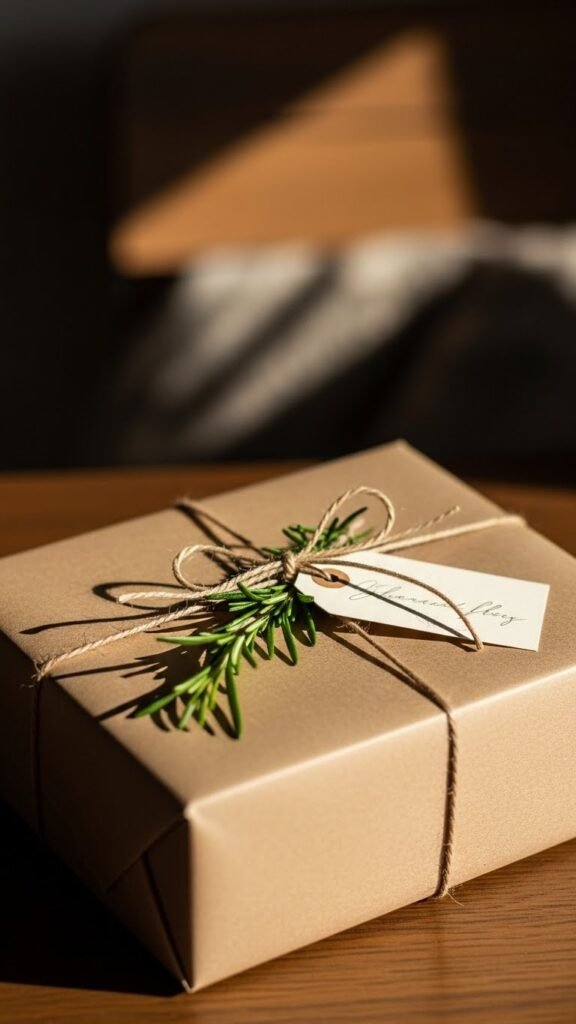
Give your package a rustic, polished finish by tying a simple twine bow—it’s quick, low-cost, and works on any size box. You can create tidy rustic knots with linen twine, wrapping twice for balance, cinching firmly, and finishing with a neat bow. Add a tiny tag or sprig for personality. You’ll save time and keep gifts looking intentional without fuss.
Make Small Bow Loops to Save Time
Speed up your wrapping by making small bow loops that look tidy without taking extra time; they sit flat, resist squashing, and suit any box size.
You’ll fold narrow ribbon into neat mini loops, secure with a quick knot or dab of glue, then trim tails.
These ribbon shortcuts free you to wrap more gifts fast, maintain a polished look, and enjoy the season.
Overlap Too-Small Paper With Tissue
If your wrapping paper falls short, don’t scrap the sheet — overlap the gap with a strip of tissue. You’ll add insurance against tears and reveal intentional design by choosing a color contrast that complements the main paper.
Smooth and secure the seam with double-sided tape, trim edges cleanly, and you’ll keep momentum, stay creative, and finish gifts faster without sacrificing a polished look.
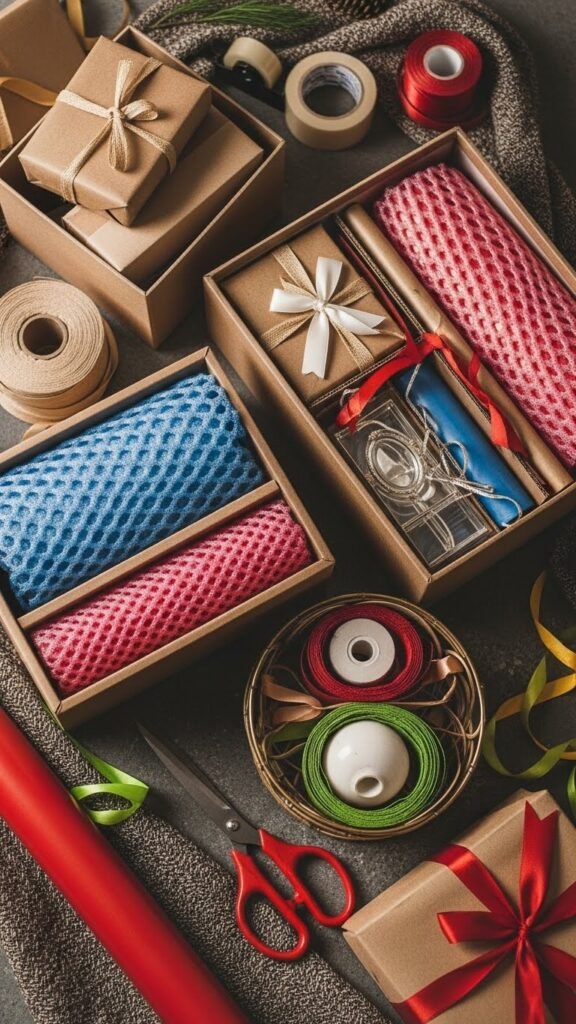
Use Gift Kits With Matching Ribbons
Pick a coordinated gift kit when you want a fast, polished finish without hunting down matching supplies. You’ll grab paper and ribbons unified in coordinated colorways, so choices are effortless. Mix ribbon textures within the set for contrast, tie once, and you’re done. These kits free you to wrap quickly, keep results tidy, and enjoy a refined look without extra decision-making.
Use Elastic Bands to Hold Paper in Place
Slip a few elastic bands around your partially wrapped gift to keep the paper taut and hands-free while you finish tucking corners or adding tape.
You’ll use elastic bands as paper anchors, choosing size for grip and avoiding creases. Placement tips: cross bands at opposite corners, or loop vertically for edges.
These tension tricks free your hands, speed wrapping, and keep folds crisp.
Keep a Scissors and Blade Station Nearby
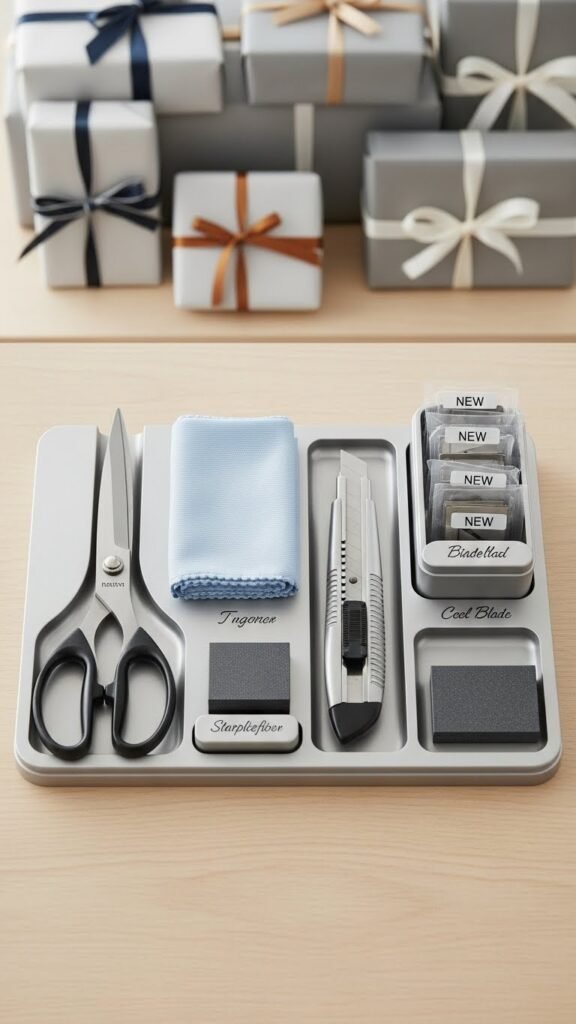
Keep a dedicated scissors-and-blade station within arm’s reach so you can grab the right tool without interrupting your flow. Stock sharp scissors, a utility knife, spare blades, and a small sharpening stone. Label compartments, practice blade maintenance, and keep a cloth for scissor sterilization.
You’ll move faster, avoid nicks, and stay liberated from search interruptions while wrapping presents neatly and confidently.
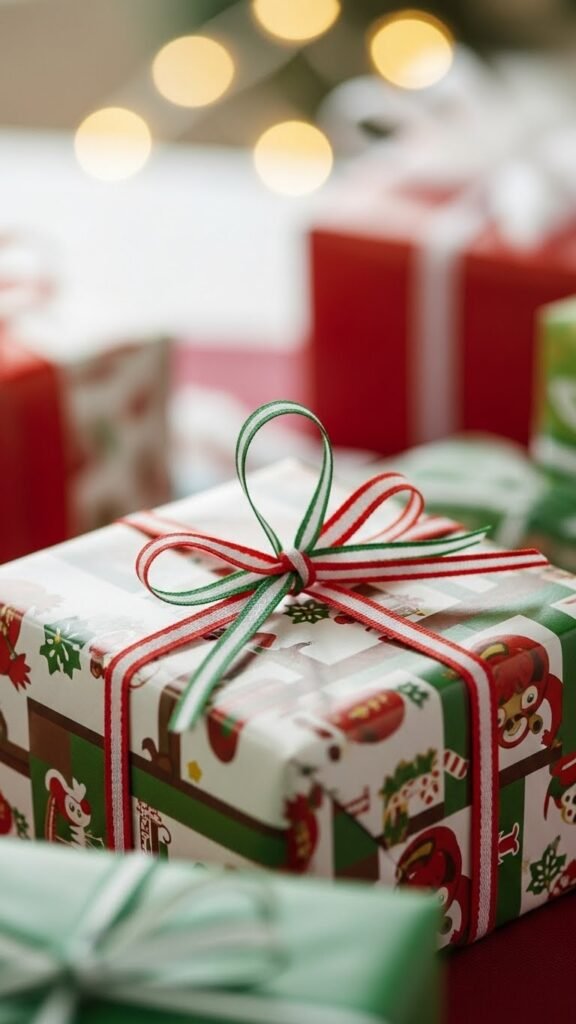
Use Pre-Tied Bows for Instant Finish
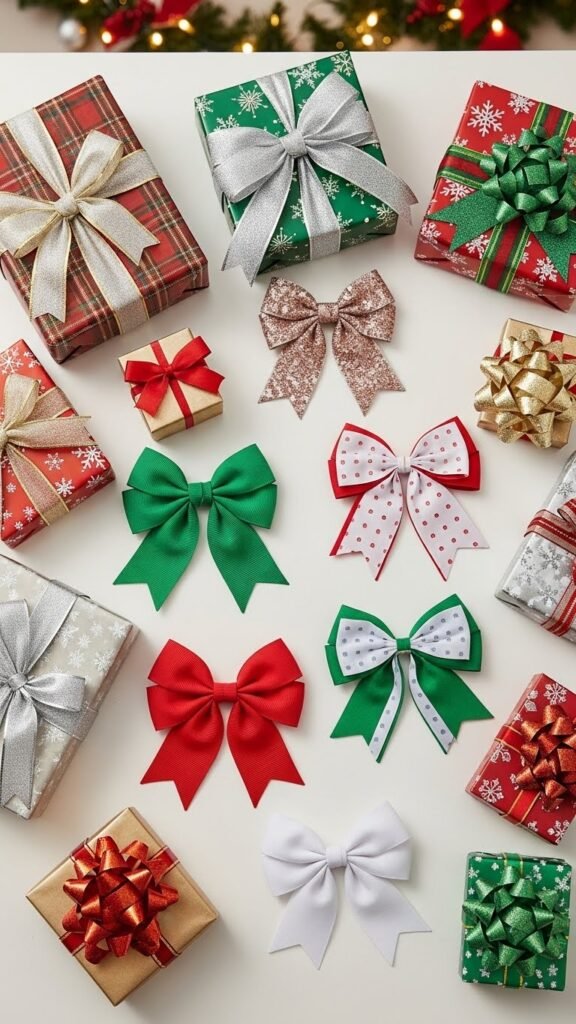
Save time and polish your gifts by using pre-tied bows—just peel and stick or loop them onto ribbon for an instant finish. You’ll achieve instant elegance with minimal effort; choose durable adhesive or tie-on styles to suit surfaces.
They let you wrap faster, stay neat during transit, and require quick upkeep. Keep a stash in varied sizes and colors to match any mood.
Use Sticky Dots for Lightweight Decorations
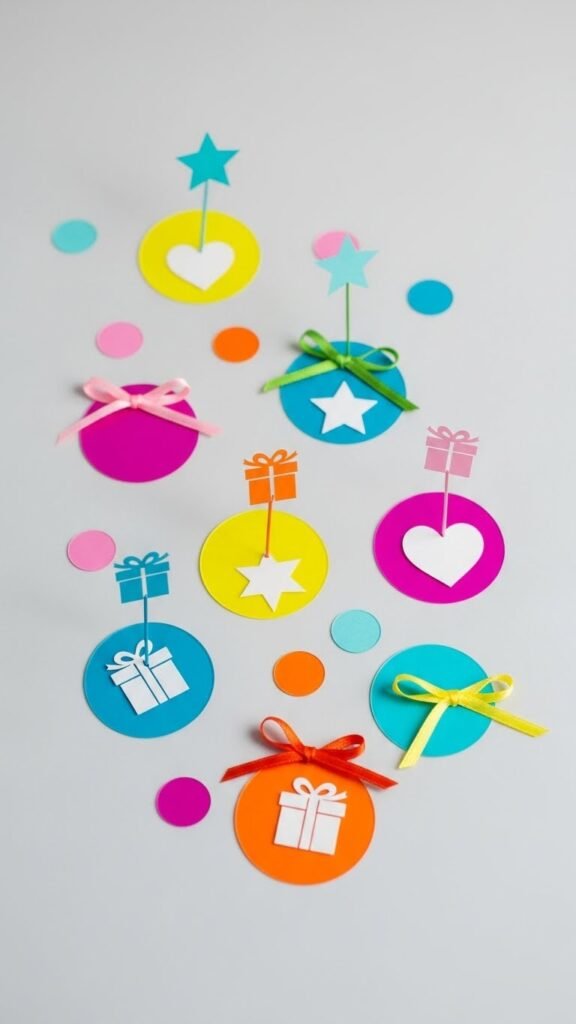
Reach for sticky dots when you want to add lightweight decorations quickly and cleanly; they let you attach ornaments, paper cutouts, and ribbon accents without tape showing or fiddly knots.
You’ll choose dots for adhesive compatibility with surfaces, test discreetly, then place items for balanced decorative placement.
They free you to customize looks fast, remove residues easily, and keep wrapping minimalist and tidy.
Label Gifts Before Wrapping

Before you wrap, label each gift so you won’t fumble with names or mix up sizes later. Pre wrap tagging saves time: jot recipient and brief note on durable name stickers or a temporary tag. You’ll sort piles quickly, avoid rewrapping, and keep momentum. Choose small color codes for recipients or size, and stash extras for last-minute finds to maintain freedom and flow.
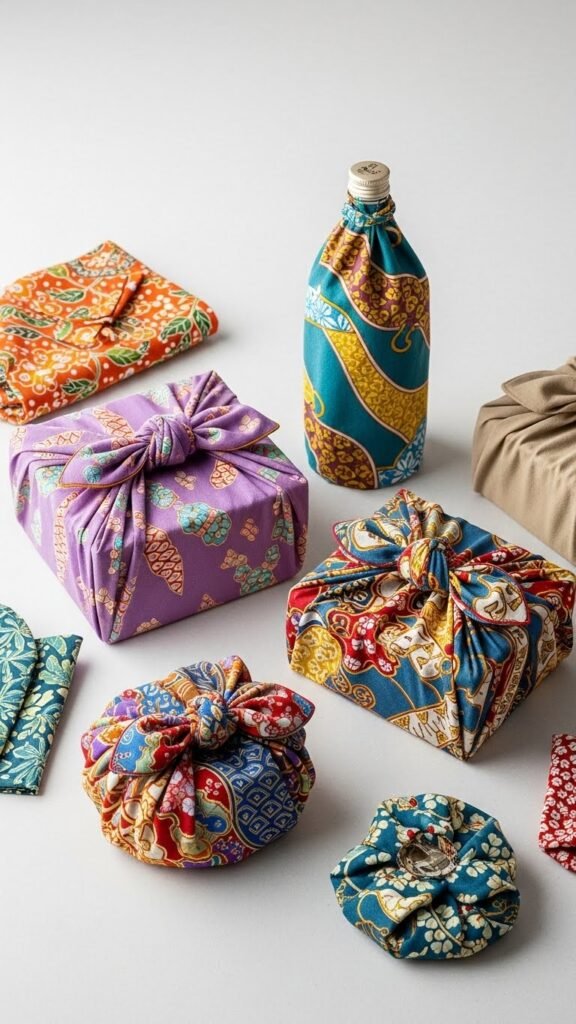
Use Fabric Wraps for Reusable Presentation
Wrap gifts in fabric to create a polished, reusable presentation that’s both eco-friendly and elegant. You’ll learn reversible furoshiki folds that adapt to boxes, bottles, and odd shapes, letting you skip tape.
Use patterned scraps for accents or linings, knot confidently, and stash wraps for next year. This method saves time, reduces waste, and gives recipients a usable, stylish package.
Bundle Multiple Small Gifts Together
[Image Prompt: A beautifully arranged gift package featuring small items such as spa essentials (like bath bombs and scented candles), tasty snacks (like gourmet chocolates and nuts), and handy tools (like a mini screwdriver set or a measuring tape). The items are neatly grouped in a stylish box with dividers, wrapped with a colorful ribbon and accompanied by a small note. The overall presentation looks curated, abundant, and inviting.]
Group small items together to make a single striking package that feels thoughtful and abundant. You’ll select a themed grouping—spa, snacks, or tools—then arrange items in stacked compartments or a single box with dividers. Wrap once, secure with ribbon or a simple band, and add a concise note. This saves time, looks curated, and gives the recipient freedom to explore.
Repurpose Holiday Cards as Gift Tags
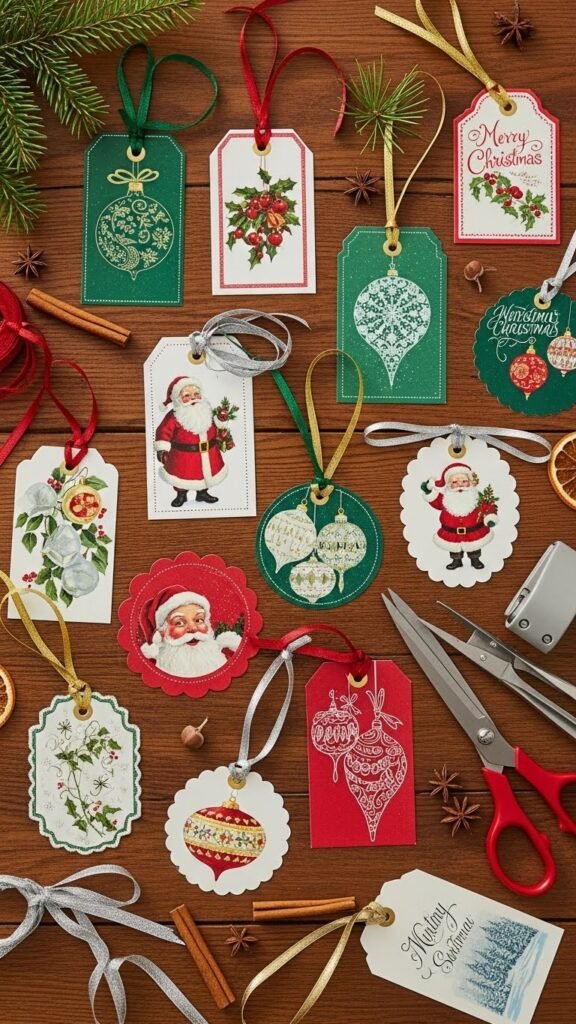
Turn last year’s holiday cards into charming gift tags that add personality without extra cost. Cut favorite images or messages into neat rectangles, punch a hole, and thread ribbon. Keep handwritten sentiments for warmth; trim embossed designs or festive embossing to catch light. You’ll personalize quickly, reduce waste, and reclaim creative control — a simple, liberating way to finish wrapping fast.
Store Rolls Vertically for Faster Access
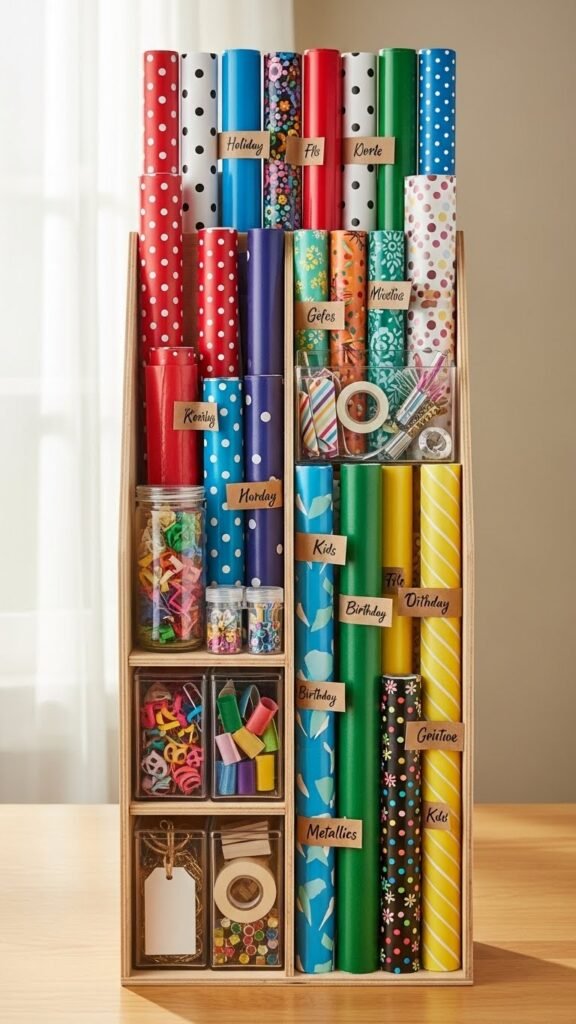
Usually, you’ll find what you need faster when you store wrapping-paper rolls upright in a tall bin or magazine holder.
You’ll create a neat roll corral that saves time and space. Use a vertical organizer to separate patterns, labels, and odds-and-ends.
This setup keeps supplies visible and reachable, so you’ll grab what fits your mood and move on—simple, efficient, freeing.
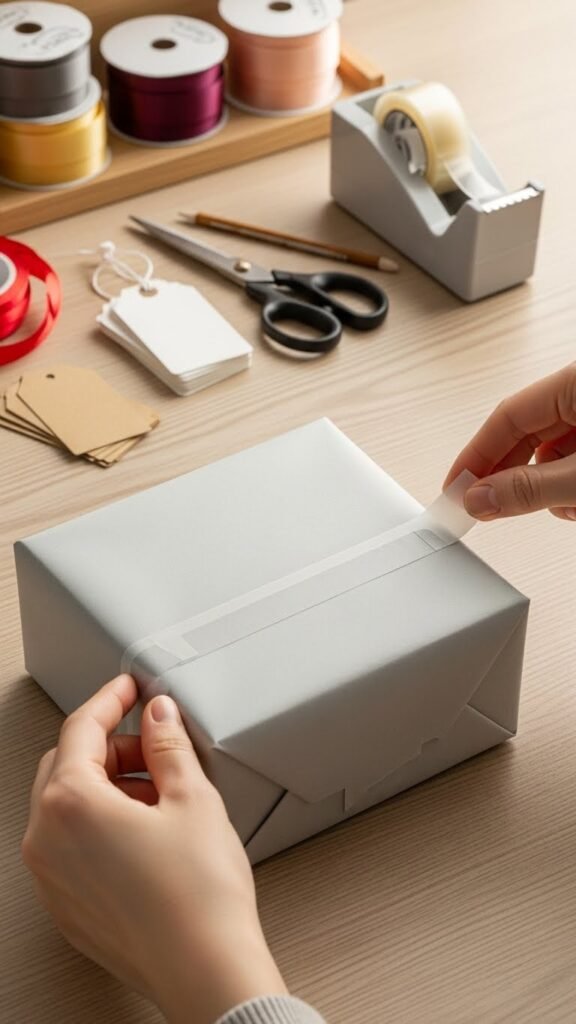
Use a Tape Dispenser for One-Handed Wrapping
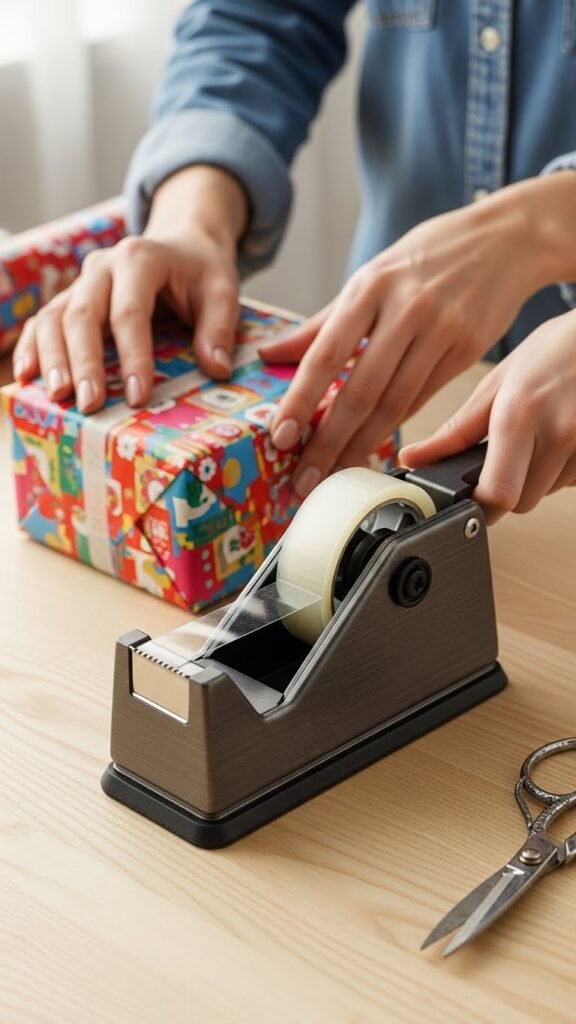
A sturdy tape dispenser makes one-handed wrapping quick and precise, so you can hold the paper taut with one hand and cut tape with the other without awkward fumbling.
Choose a weighted model that supports one handed dexterity, position it within reach, and practice smooth motions.
Keep blades sharp and clear with simple dispenser maintenance so wrapping stays fast, clean, and liberating.
Use Contrasting Ribbon for Simple Impact
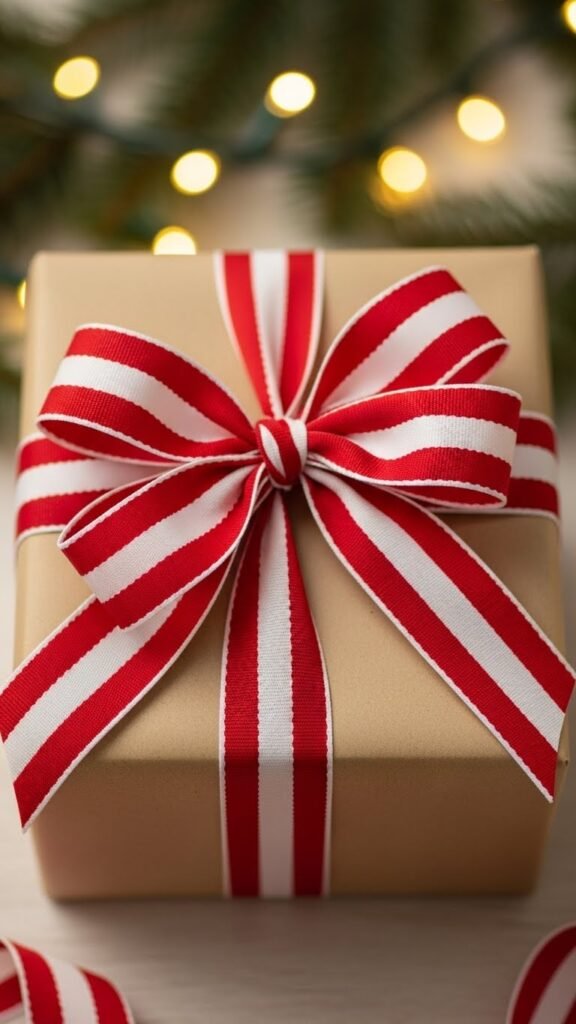
Pairing a bold, contrasting ribbon with plain or patterned wrap immediately lifts the whole look, so you get maximum visual impact with minimal effort.
Choose ribbons that create strong color contrast and varied ribbon texture to draw the eye. You’ll tie a simple bow or knot fast, and the contrast reads polished and intentional—freeing you to wrap more gifts quickly without fuss.
Wrap Odd Shapes in a Box First
When you’ve got a lopsided or fragile item, box it first to create straight edges that make wrapping quick and neat. Slide it into a snug box, add crate padding for protection, and tape securely.
You’ll transform awkward pieces and odd shelfark finds into tidy parcels that’re easy to wrap, stack, and transport — freeing you to enjoy the season.
Practice a One-Minute Wrap Technique
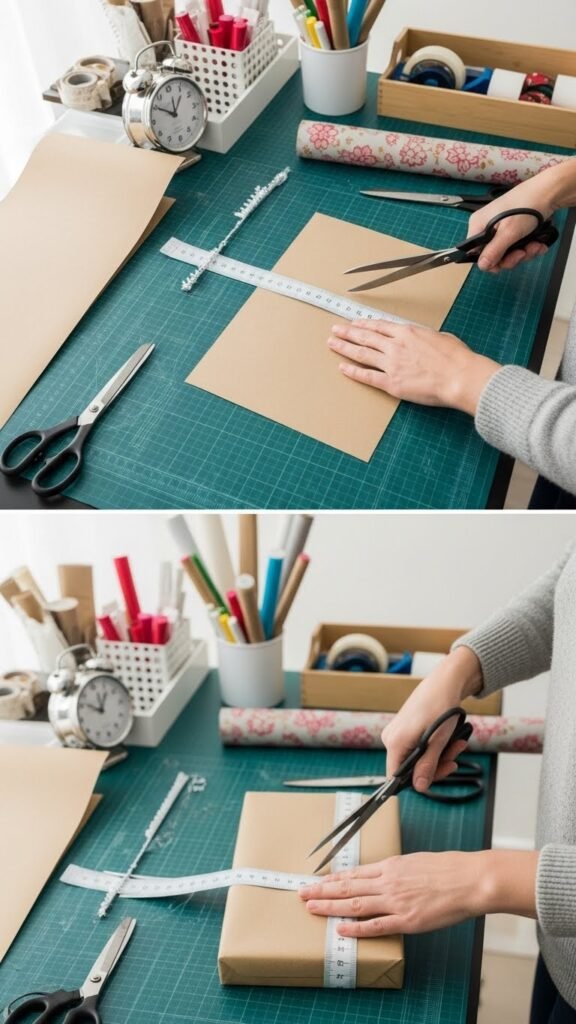
Master the one-minute wrap by prepping your station, measuring paper with confident cuts, and using simple folds that lock without extra tape. You’ll run speed drills to build rhythm, refine wrist technique for neat corners, and time yourself to shave seconds. Practice keeps movements economical, frees your time, and makes wrapping feel deliberate, fast, and satisfying.