
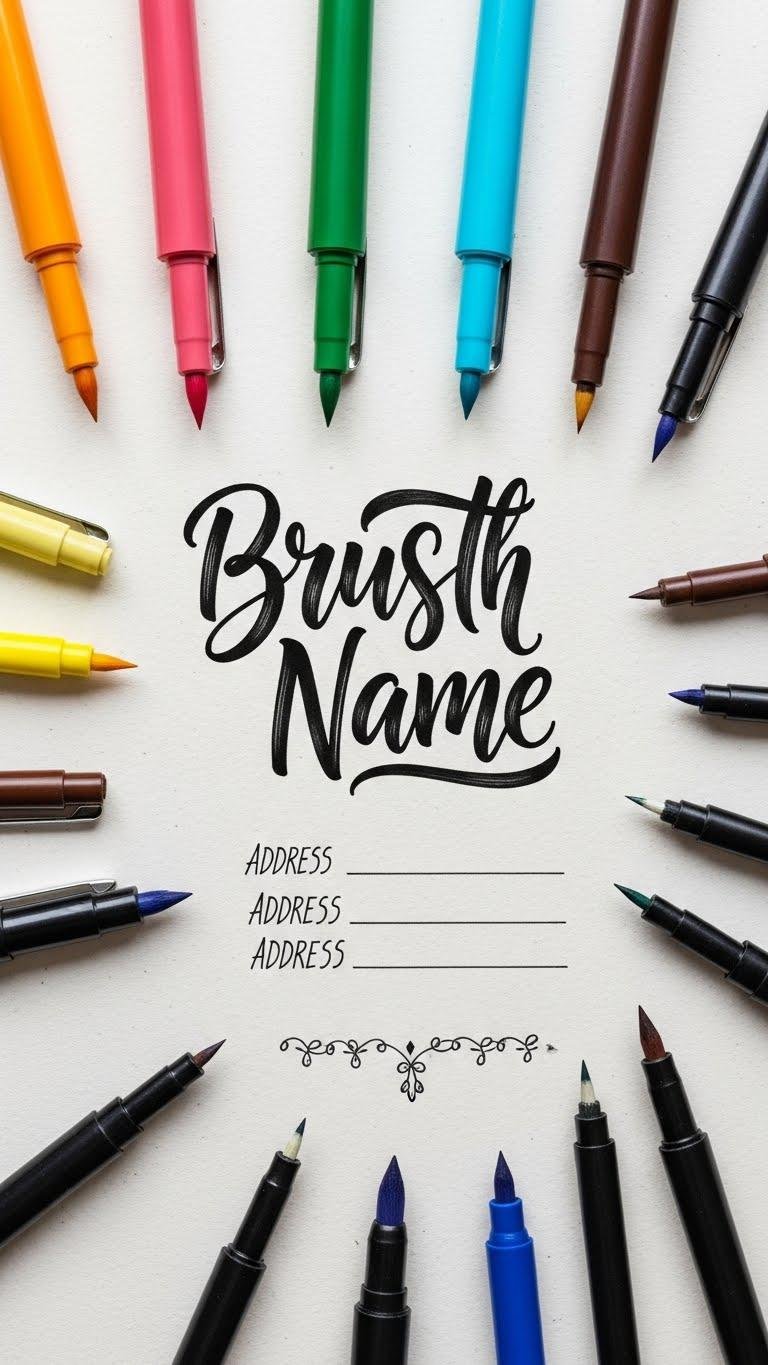
You’ll bring a cozy, hand-lettered touch to every piece of mail with simple hacks that keep addresses neat and festive; you’ll learn how to center like a pro, pair flowing names with bold blocks for legibility, mark safe stamp zones, and batch your workflow so things stay consistent—plus tiny doodles and metallic accents for personality—so pick up a pencil and a ruler and keep going to see which tricks fit your style.
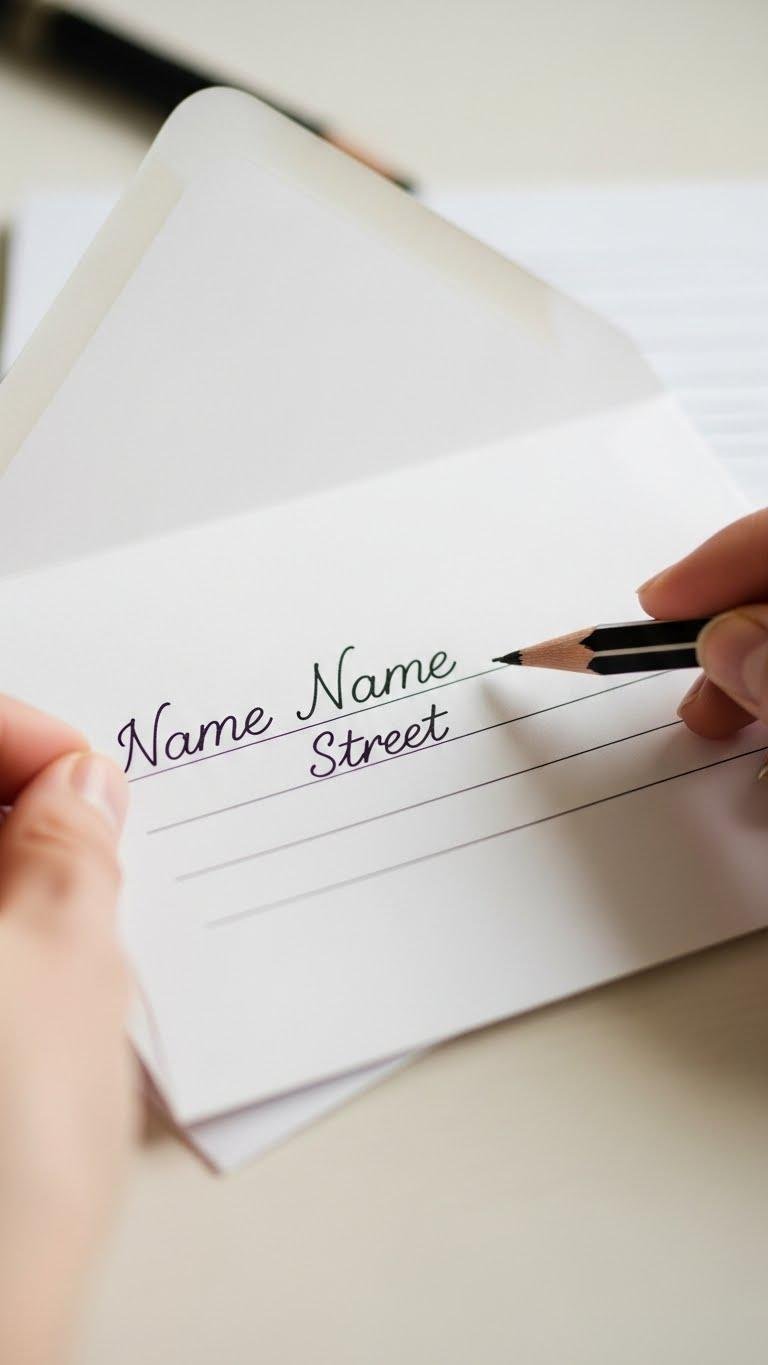
Centering Made Simple: Quick Guidelines for Perfectly Balanced Addresses
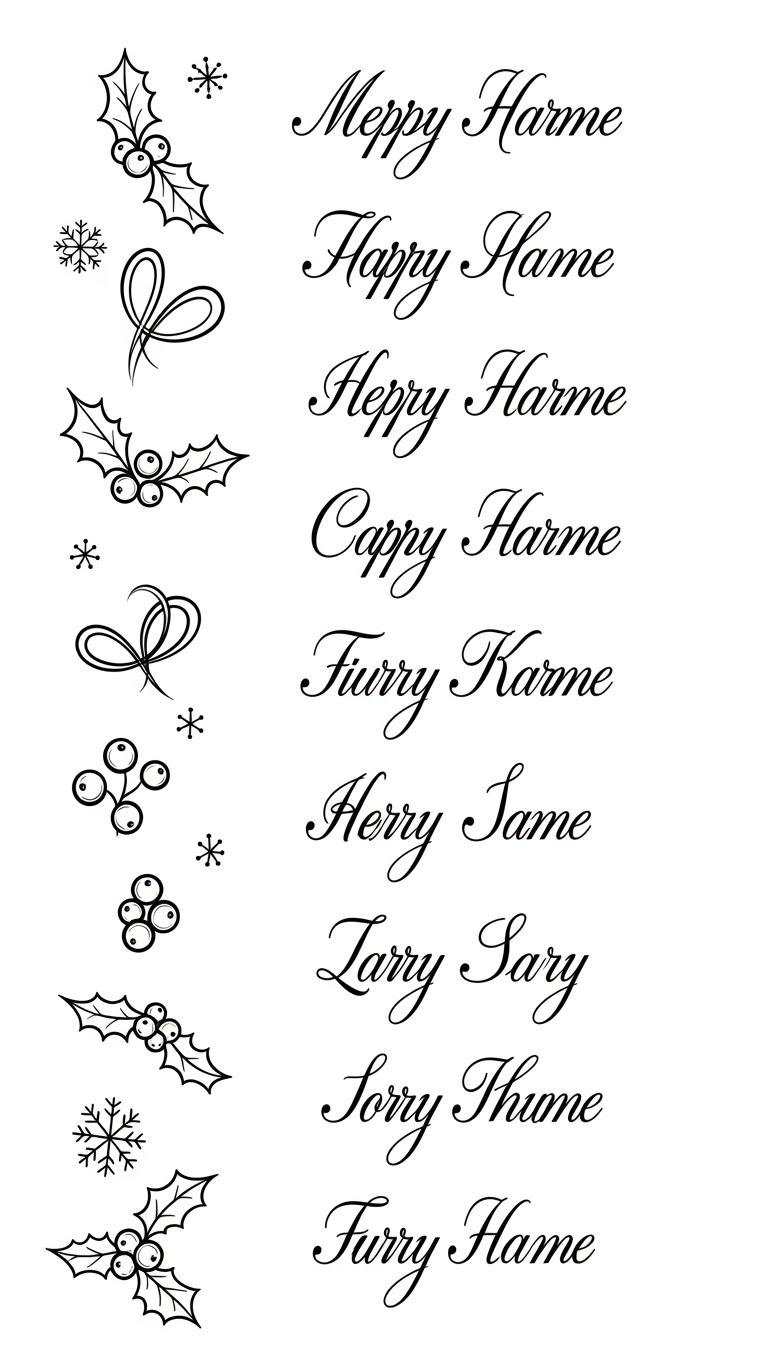
Left‑Justified Layouts With Small Graphics for Festive Flair

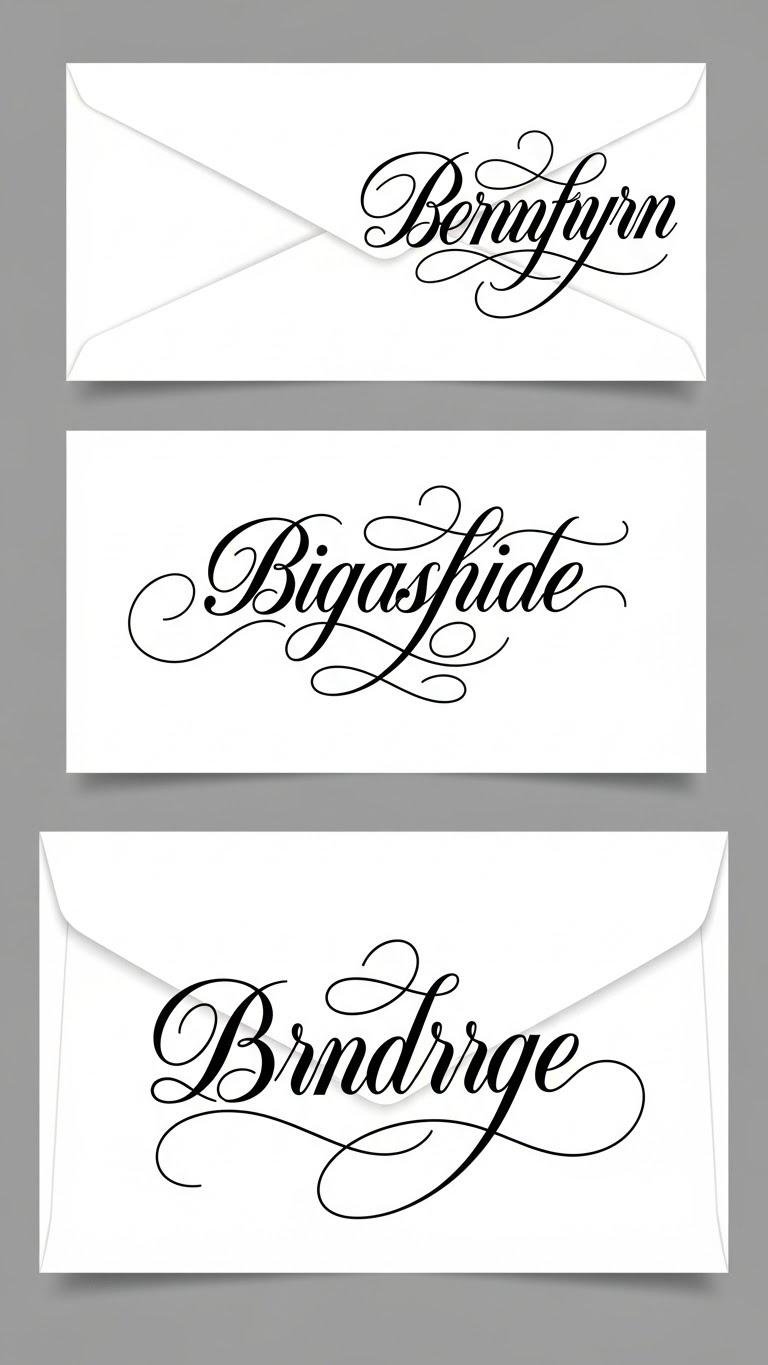
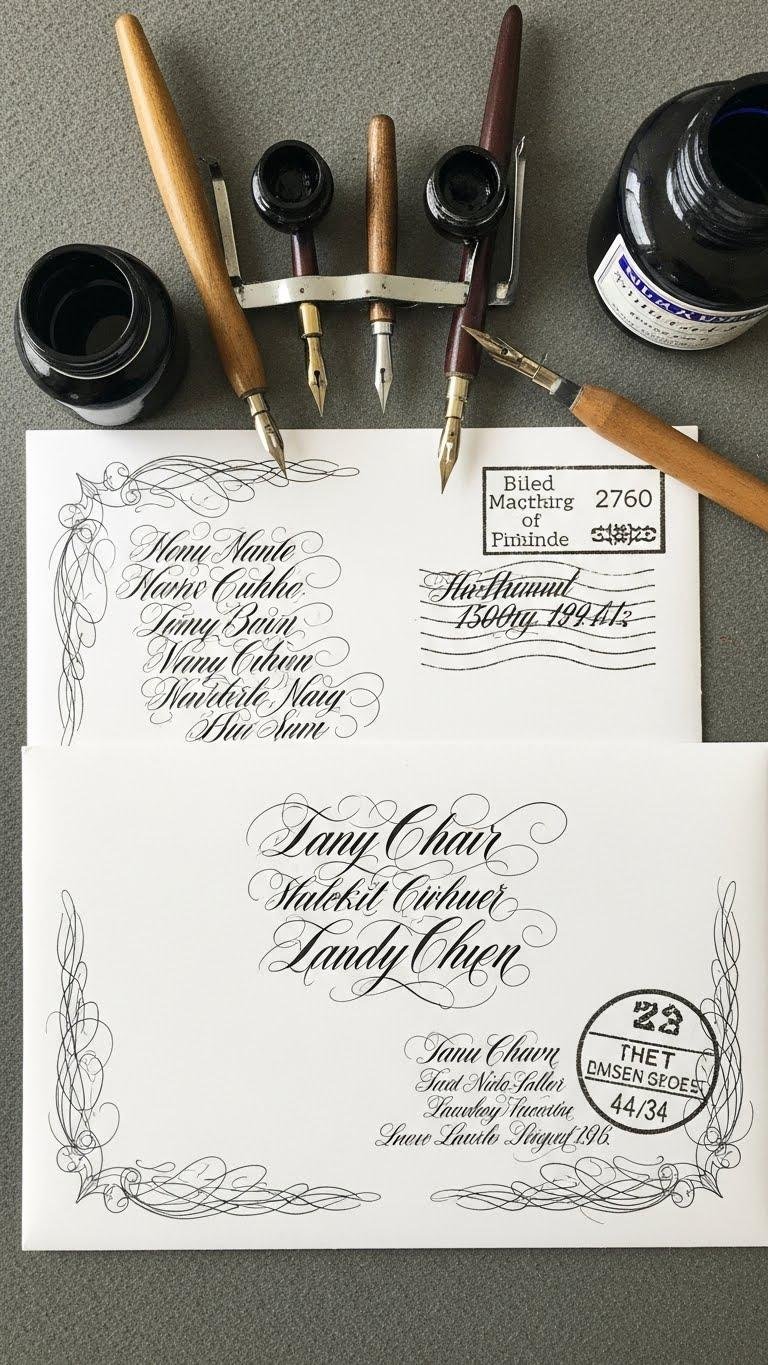
Mix Calligraphy for Names With Block Letters for Readability
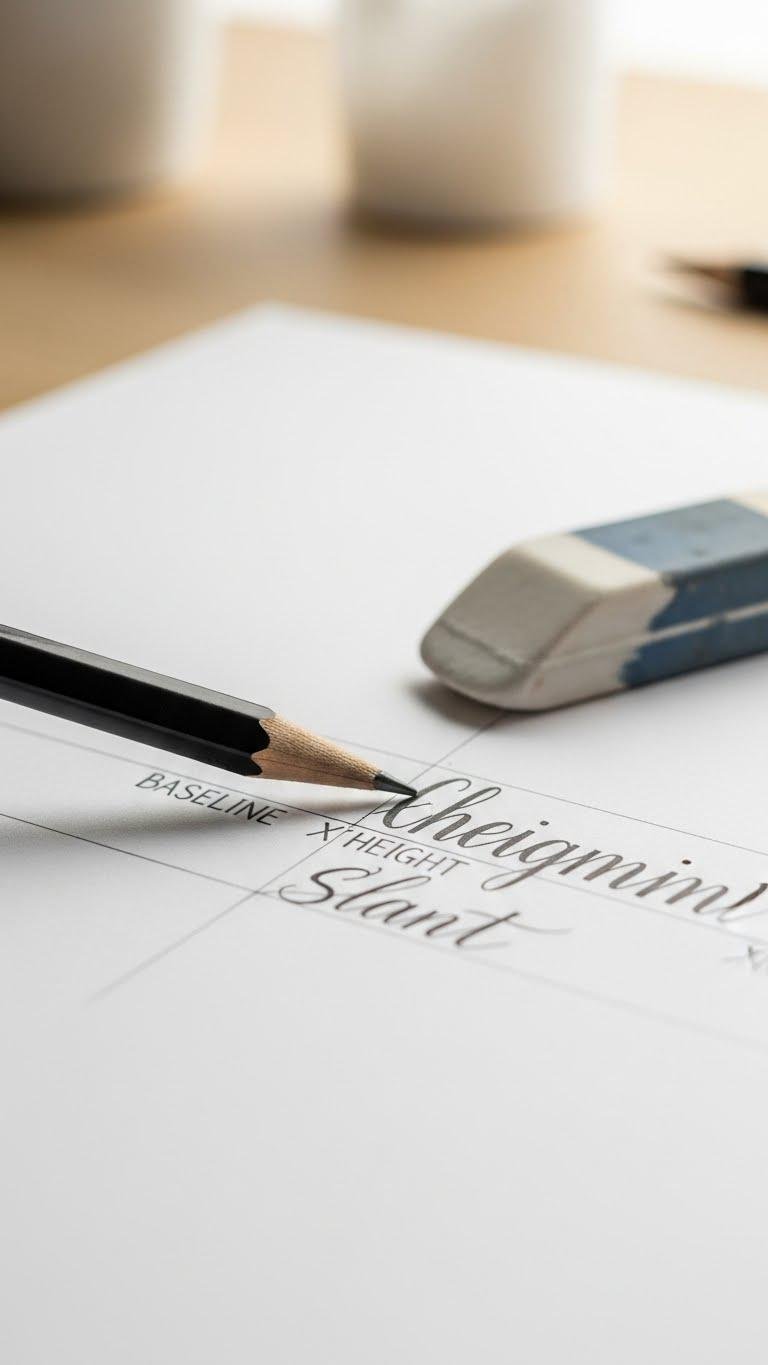
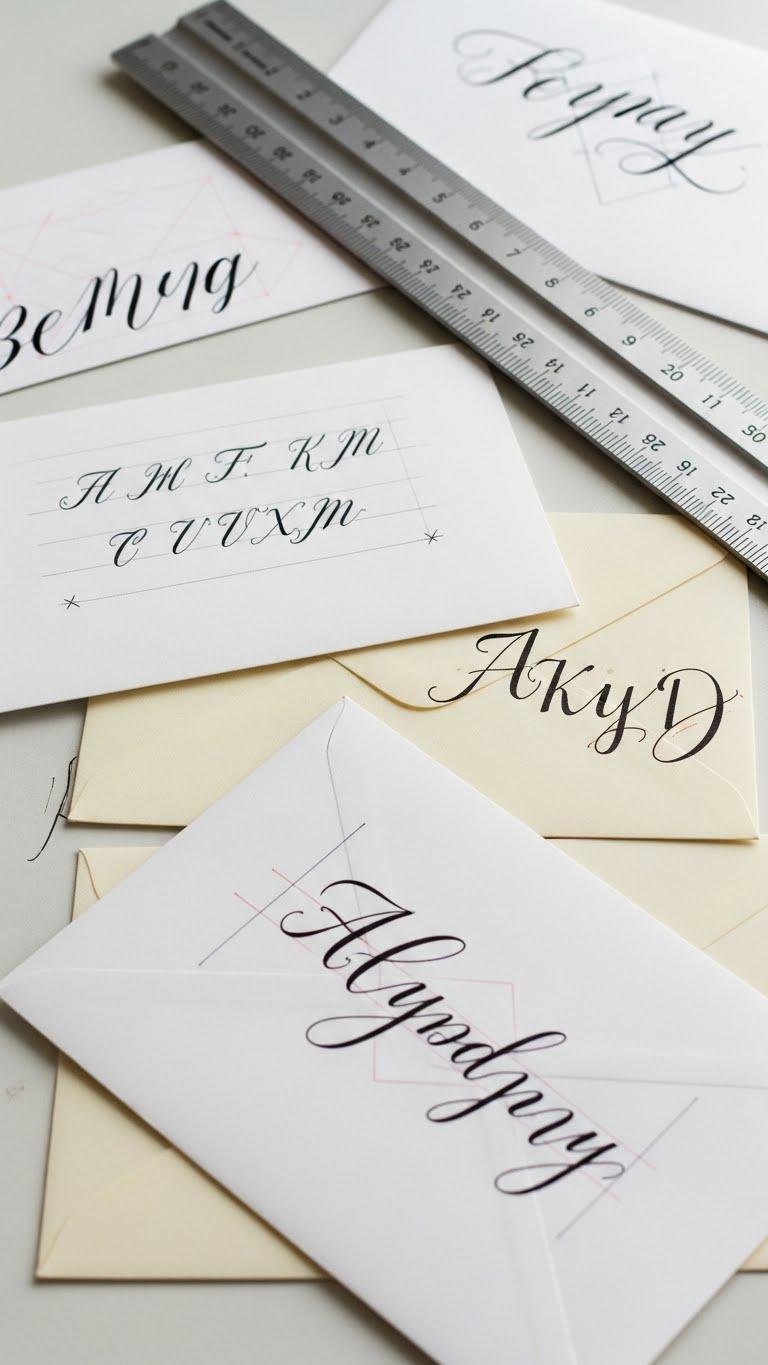
Choosing the Right X‑Height for A7 and RSVP Envelopes
Pencil Guidelines and Eraser Tricks for Clean Results
Using Rulers and Straightedges to Keep Lines True
Sturdy Cardstock Templates and How to Reuse Them
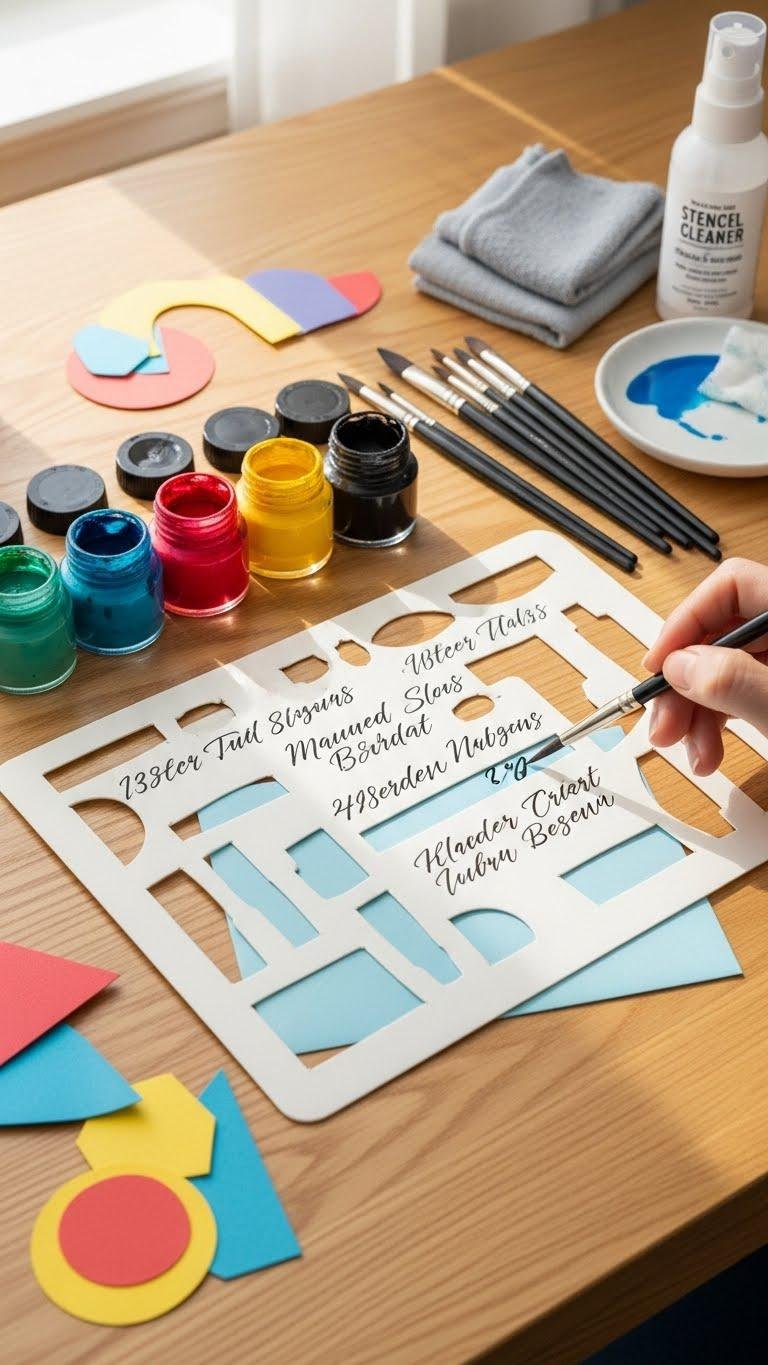
When you cut a template from thick cardstock, it becomes a reliable guide that speeds up addressing and keeps spacing consistent across every envelope.
You’ll love a durable template that endures practice, paired with simple storage hacks to organize shapes. Rinse brushes, use washable ink for trials, and follow gentle stencil care so your guides stay crisp, ready for playful, free-flowing mail.
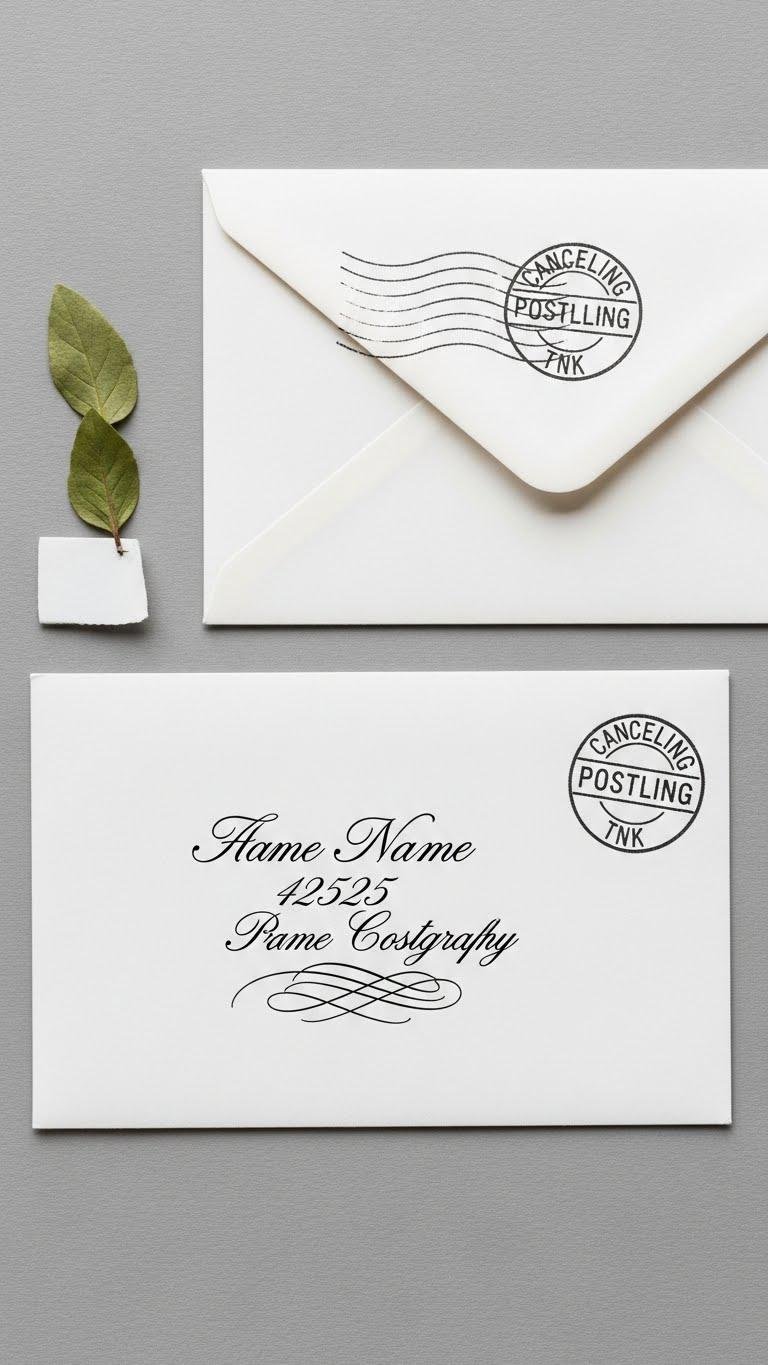
Positioning Addresses to Avoid Stamp Cancellation Interference
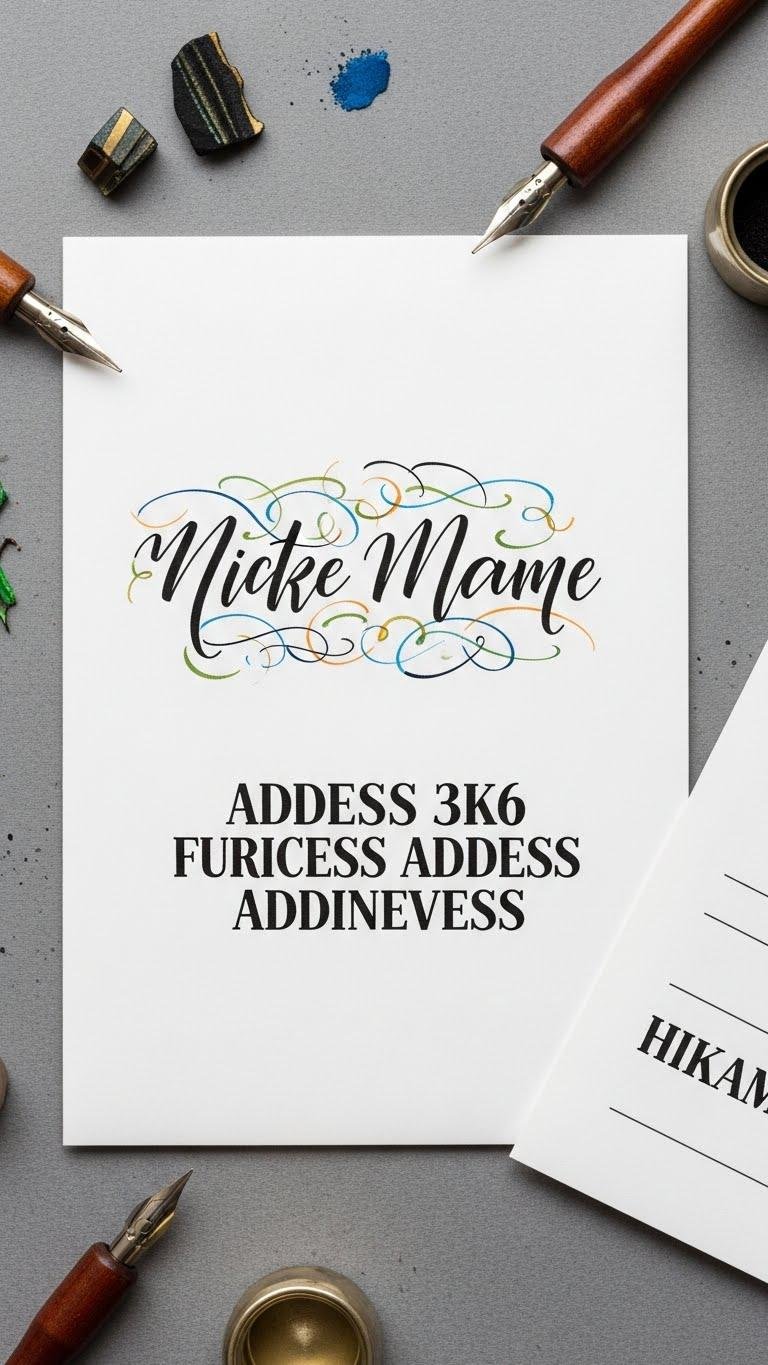
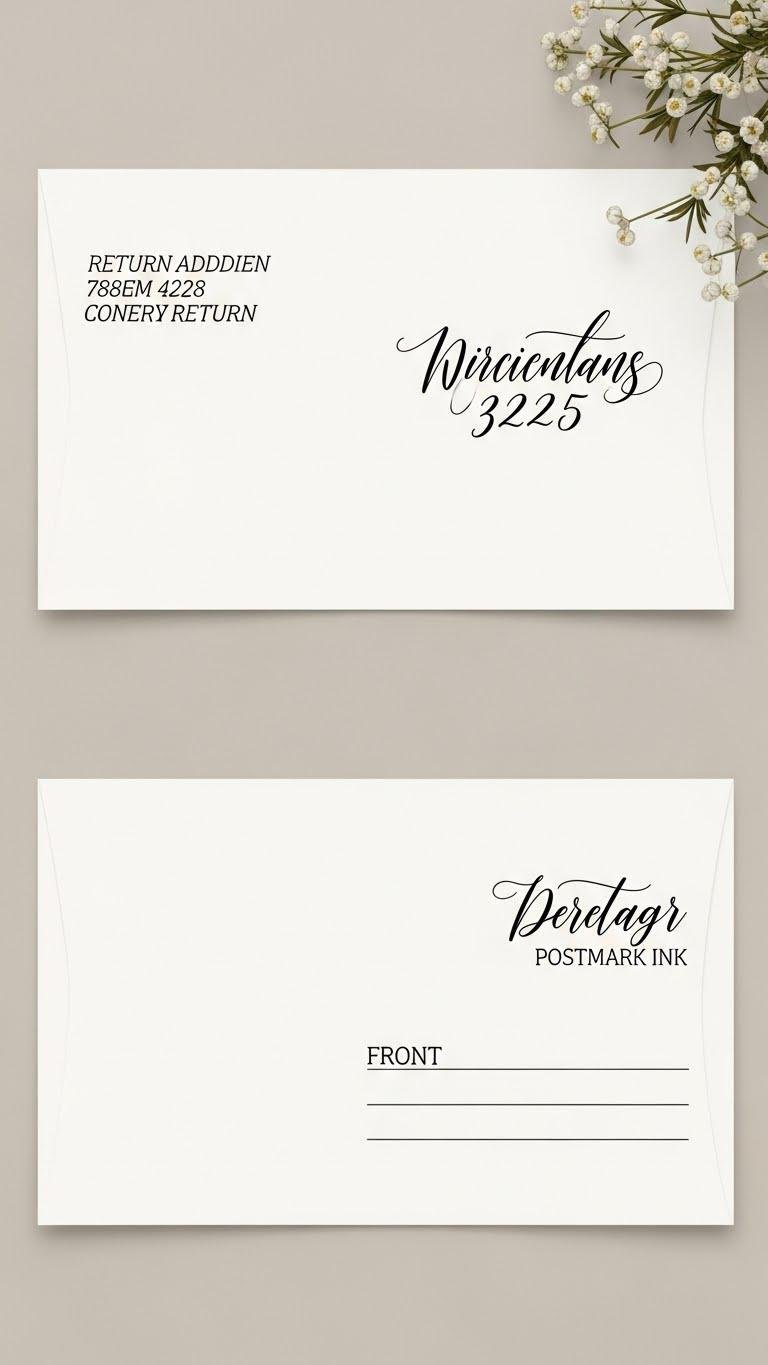
Return Address Placement That Looks Professional
Space‑Saving Letterforms When You Need to Shrink Addresses
Metallic and Colored Inks for Holiday Elegance
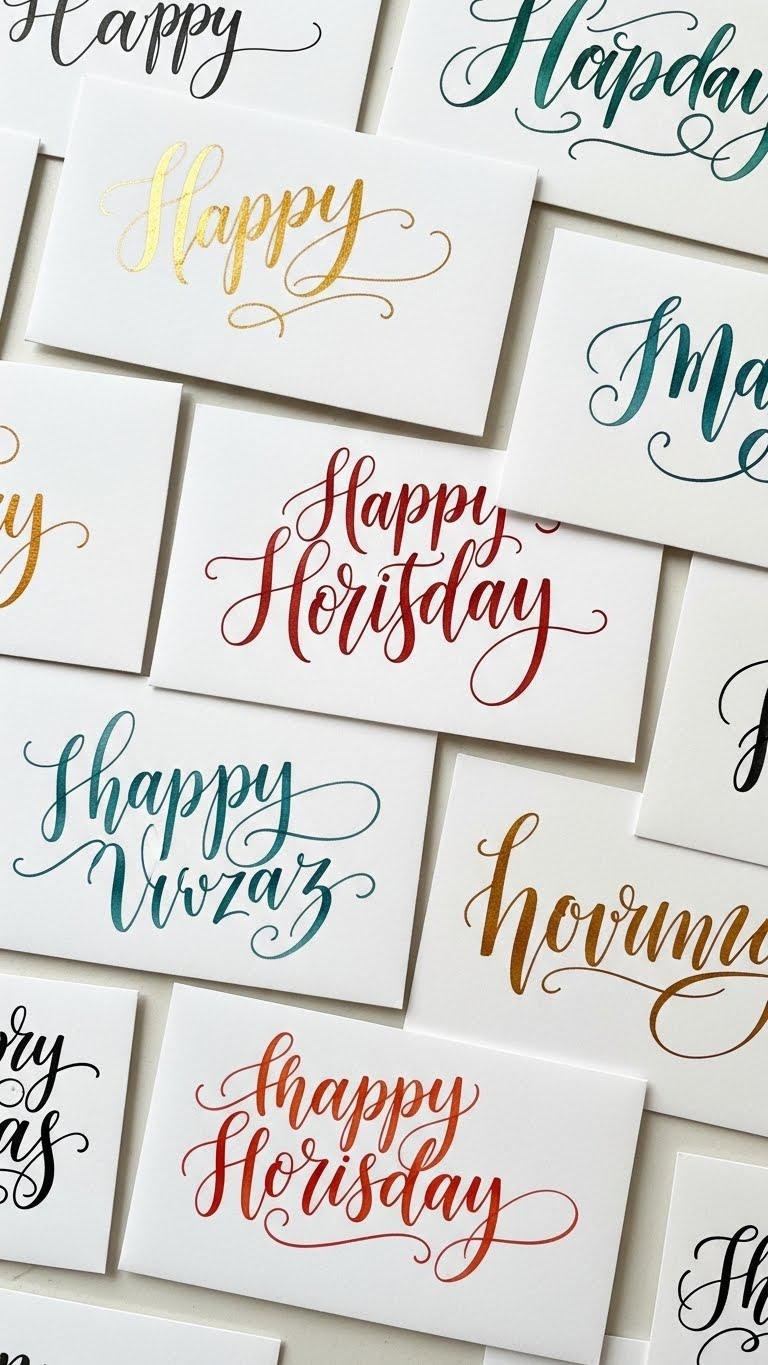
You’ve learned how to compress letterforms without losing legibility, and now you can make those compact lines sing with metallic and colored inks. You’ll layer metallic watercolors for soft sheen, then add highlights with pearlescent gelpens. Keep strokes fluid, playful flourishes restrained, and spacing consistent. Choose colors that free your mood — bold, subtle, or both — and let each envelope breathe.
Small Seasonal Motifs to Complement Left‑Justified Addresses
Mixing Modern and Whimsical Styles for Personalized Mail
Blend sleek, modern lettering with a sprinkle of whimsical curls to give each envelope a personality that feels both polished and playful. You’ll pair crisp sans strokes with hints of vintage cursive and playful ligatures, keeping consistent spacing and fluid strokes. Let freedom guide your hand: mix minimal structure with unexpected loops, balancing legibility and charm so every recipient feels seen and delighted.
Ink Choices: Brush Pens for Names, Fineliners for Details
Laminated Guides and Templates for Repeated Use
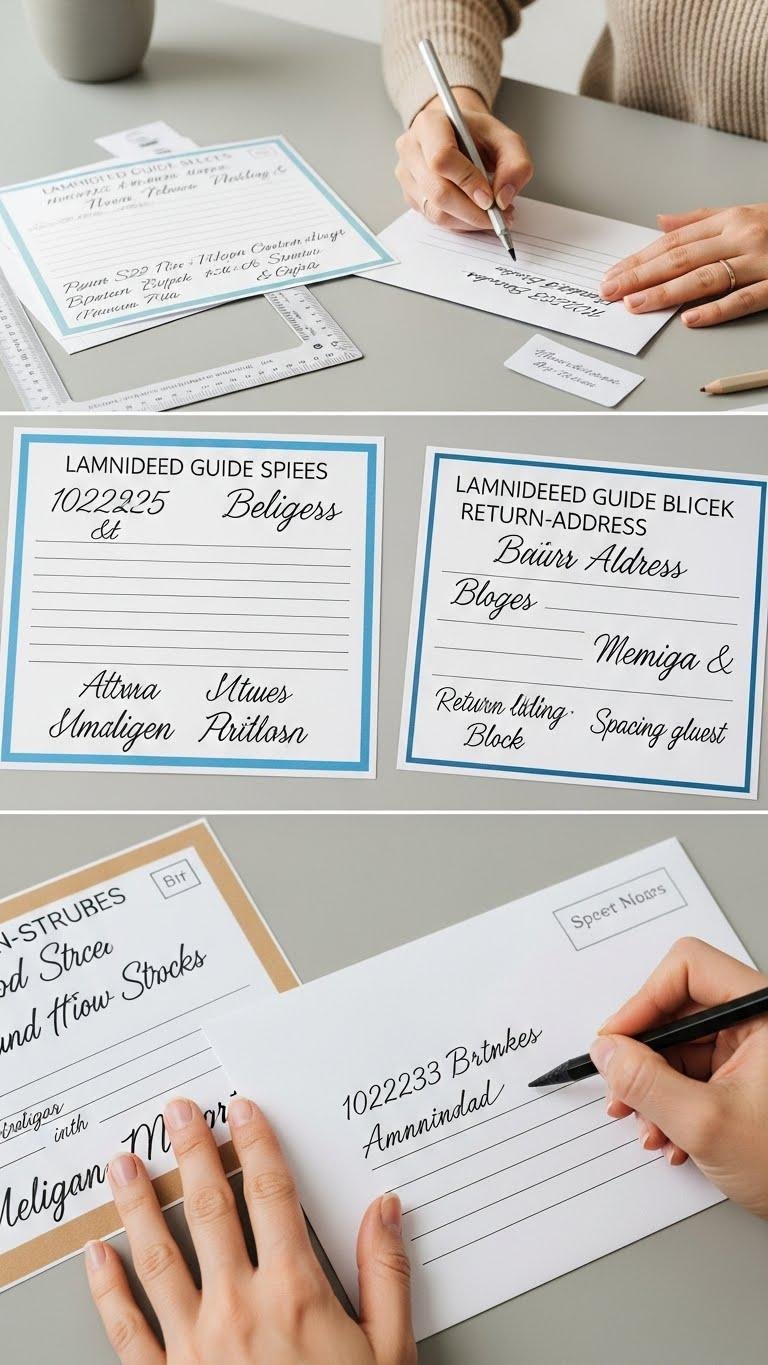
If you want speed and consistency, laminate a few guide sheets—address lines, return-address blocks, and spacing rulers—so you can trace or align envelopes without remeasuring each time.
You’ll love laminated stencils and reusable trims that slip over edges, keeping spacing steady while you flow. They save time, let you experiment freely, and keep your strokes confident and joyful over every envelope batch.
Balancing Flourishes So They Don’t Obscure Important Details
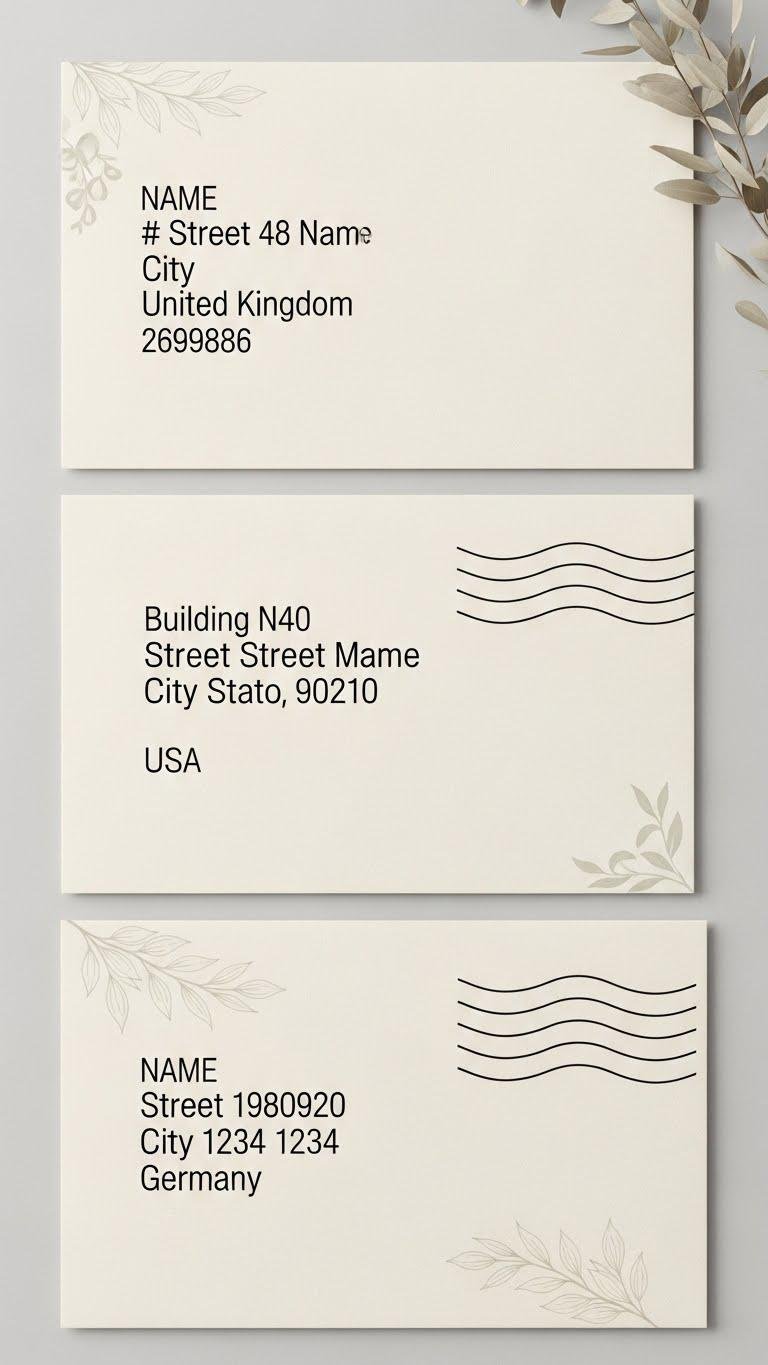
Adapting Layouts for International Addresses and Postal Rules
Planning Stamp Placement and Margin Safety Before Writing
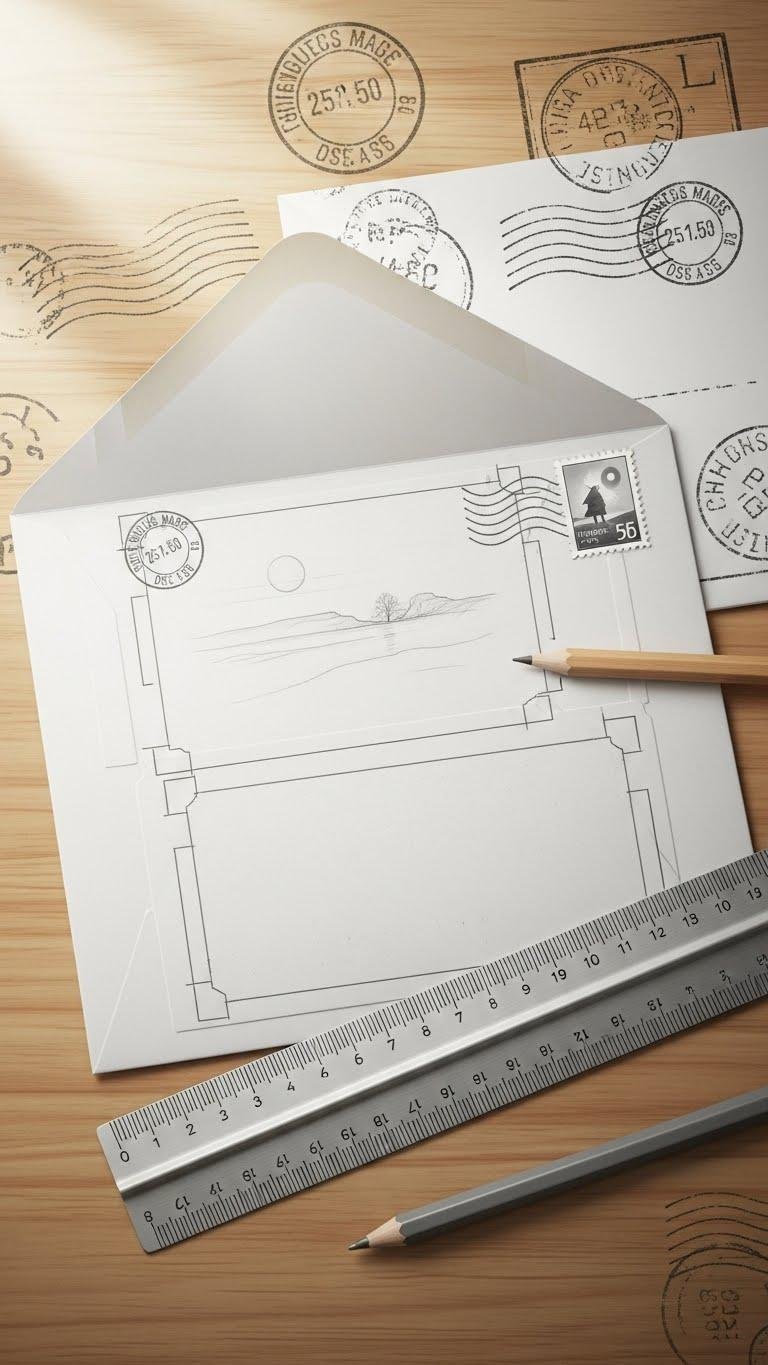
When you map out where the stamp will sit before you dip your pen, you protect your design’s balance and keep important flourishes clear of postal markings.
You’ll use margin templates to mark safe zones, note potential stamp bleed, and sketch a light guide.
Trust your hand, leave space for postal stamps, and enjoy playful, free layouts that stay crisp through the mail.
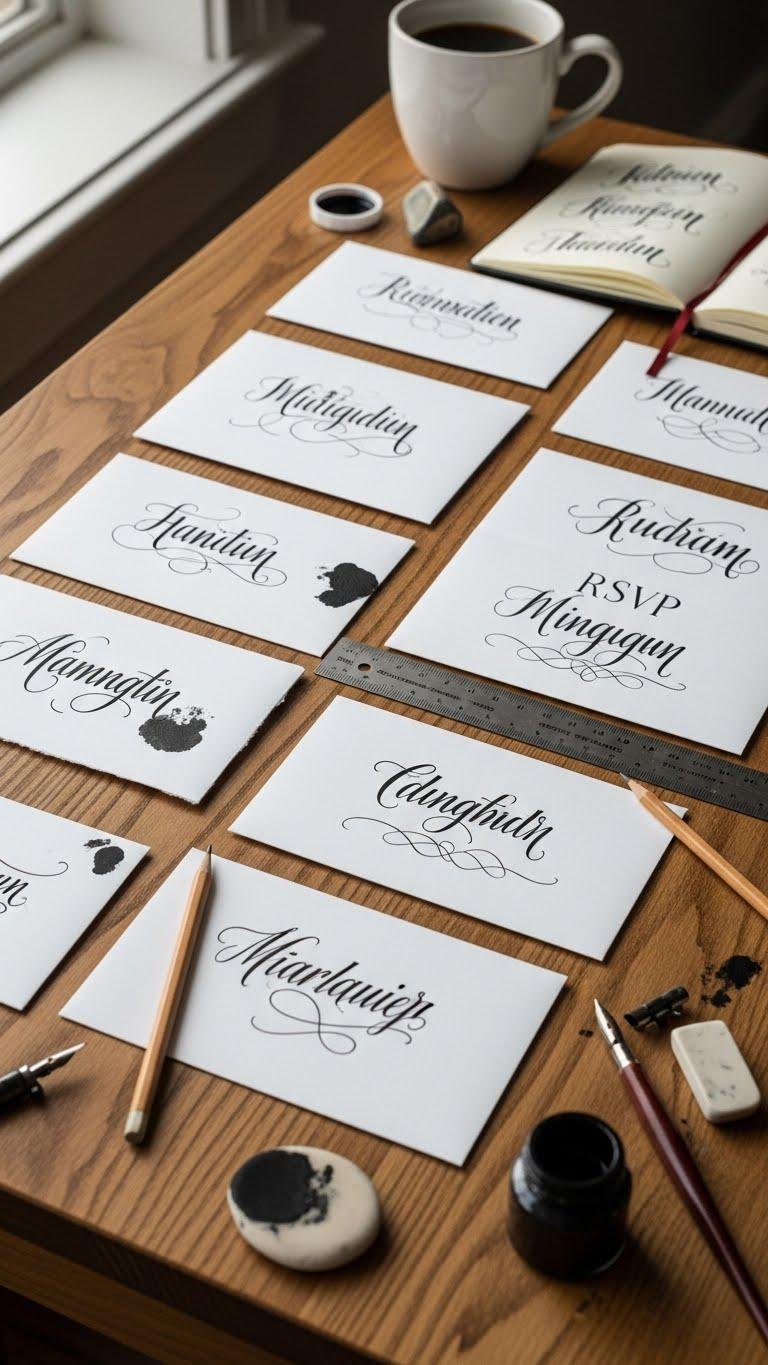
Grouping Envelopes by Style to Save Time and Stay Consistent
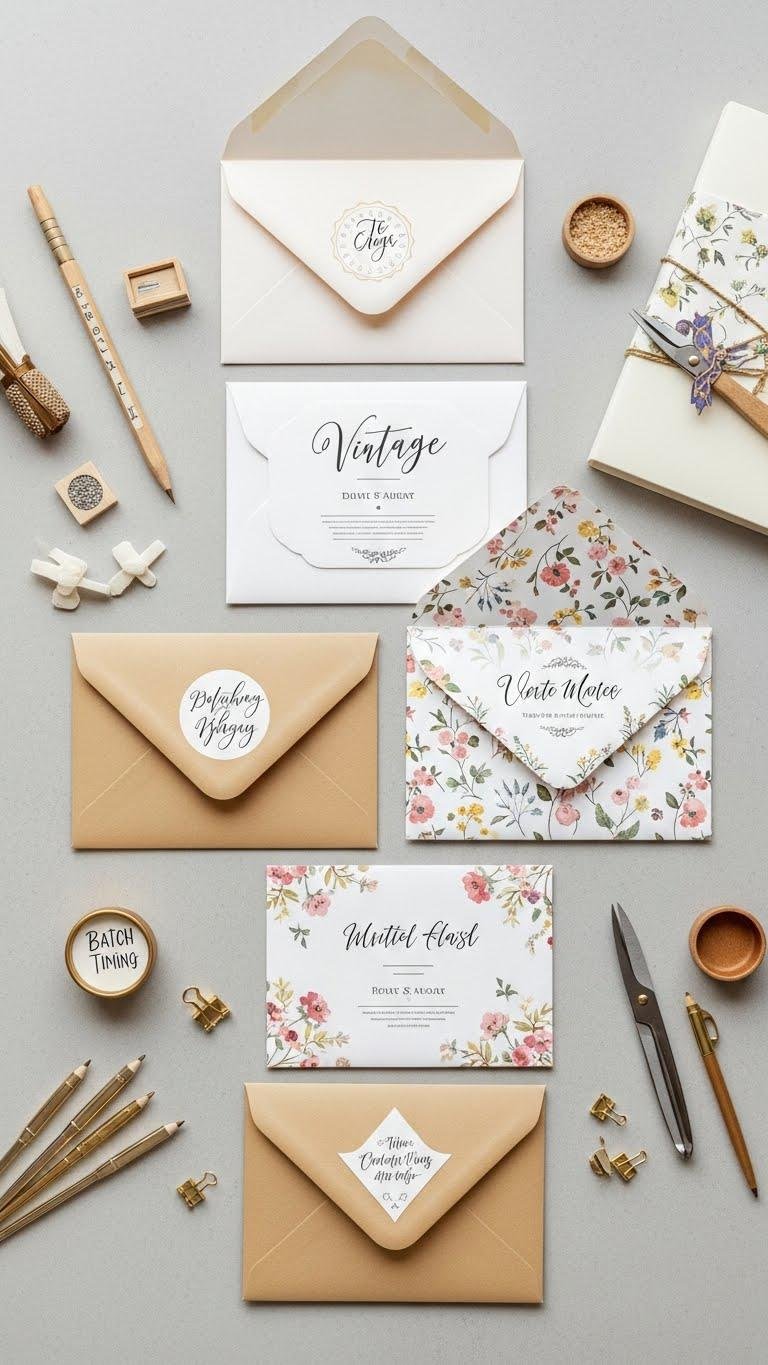
Grouping your envelopes by style saves time and keeps your collection looking cohesive: pick 3–5 complementary designs—think modern minimalist, vintage script, floral—and batch them so you repeat the same layout, color palette, and flourish sequence. You’ll enjoy theme coordination and smoother batch timing; repeatable steps let you roam creatively within a simple system, stay consistent, and finish stacks faster with playful, flowing confidence.